Blood of the Dead Can Easter Egg Be Done on Easy
Call of Duty: Blackness Ops 4 Zombies Blood of the Dead Easter eggs

The Black Ops 4 Zombies Blood of the Dead Easter egg is a remake of Mob of the Dead from Black Ops 2, so information technology may seem familiar to whatever zombies veterans out there. This map has the Primis crew on board only many moons agone, and then Dempsey, Belinski, Masaki, and Richtofen are much younger in this Black Ops 4 Zombies map than we've seen before. Go your pen and newspaper out though because there are a lot of steps to consummate in the Black Ops 4 Zombies Blood of the Dead Easter egg.
As for the Easter egg itself and all the things to unlock, in that location is a lot to do. From turning on the ability and unlocking Pack A Punch, to obtaining the three different wonder weapons and getting started on the master steps, Blood of the Dead is considered to be the most difficult of the three base maps in Blackness Ops 4. Without further ado, let's get started with what you lot need to practise get-go.
- Black Ops 4 Zombies Voyage of Despair Easter eggs (opens in new tab)
- Black Ops 4 Zombies IX Easter eggs (opens in new tab)
- Blackness Ops 4 Blackout Character Missions (opens in new tab) - unlock all Zombies characters
How to turn on the power
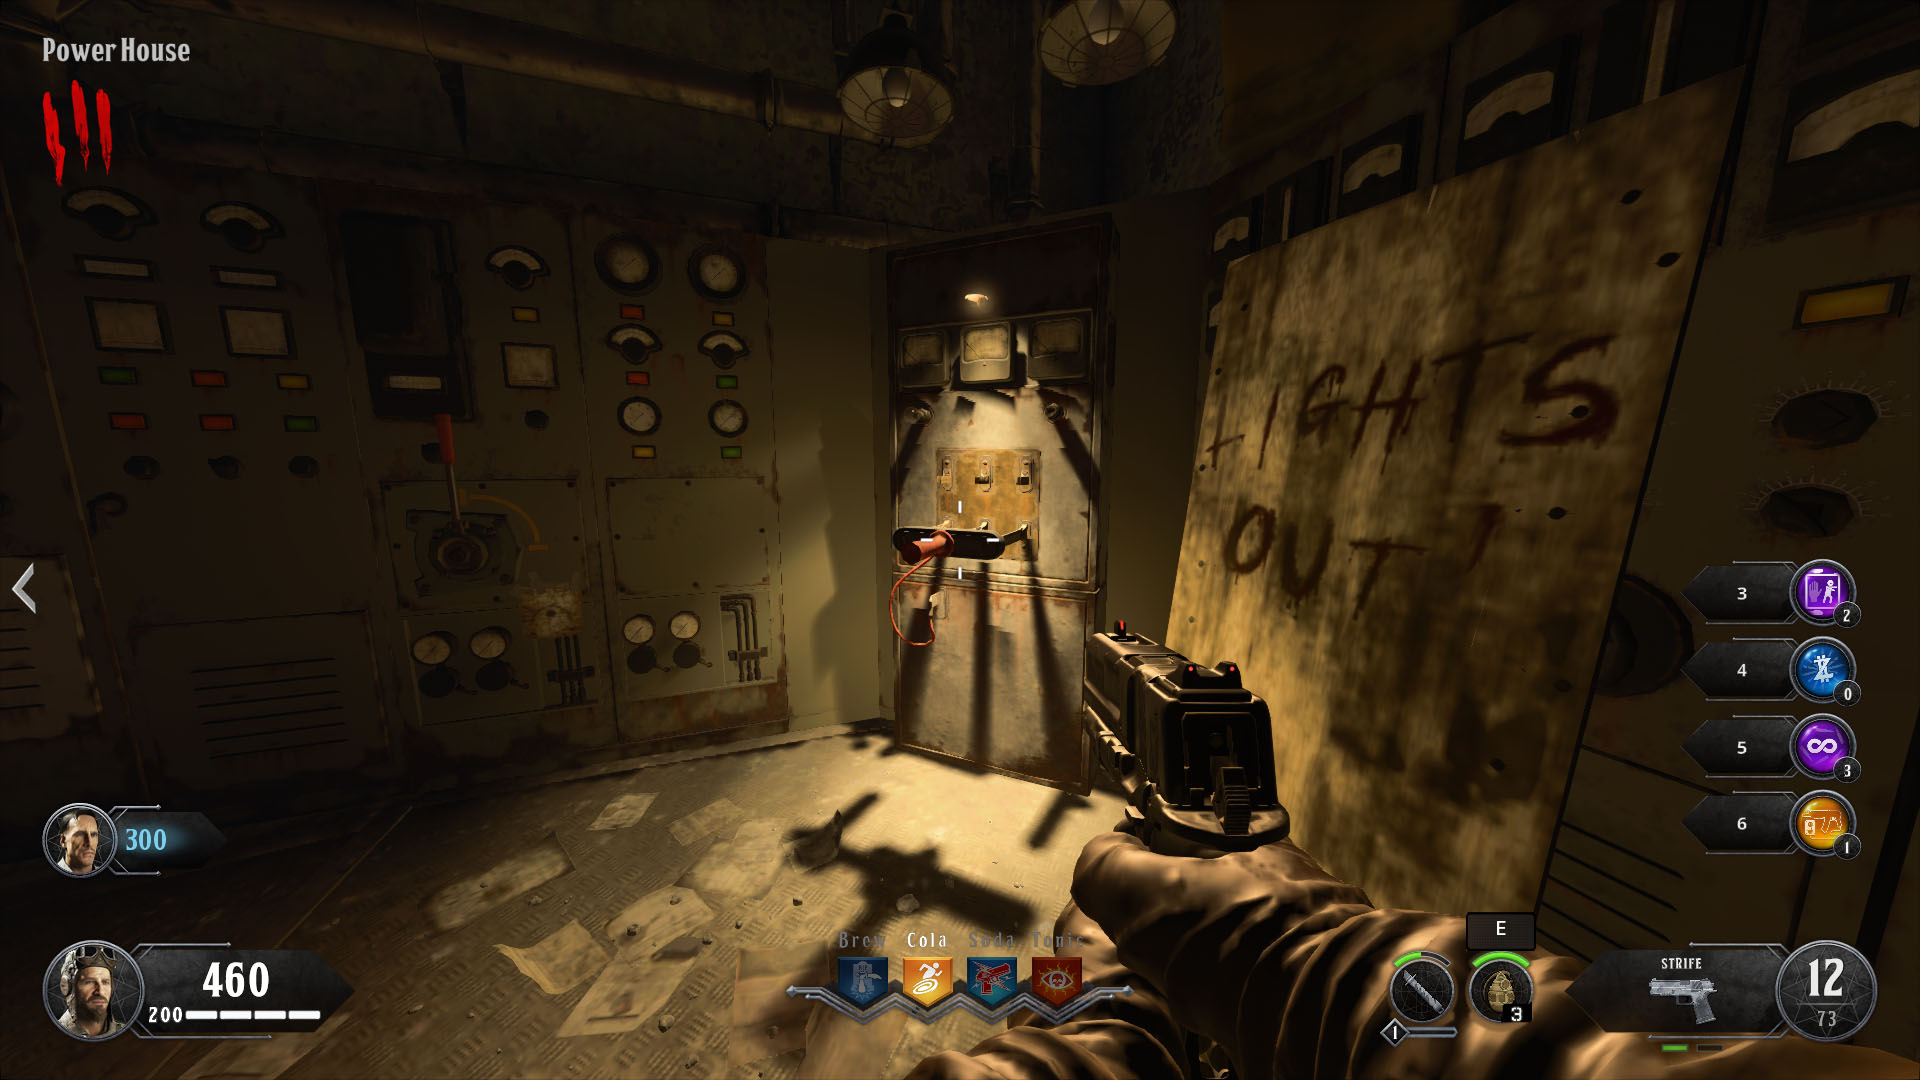
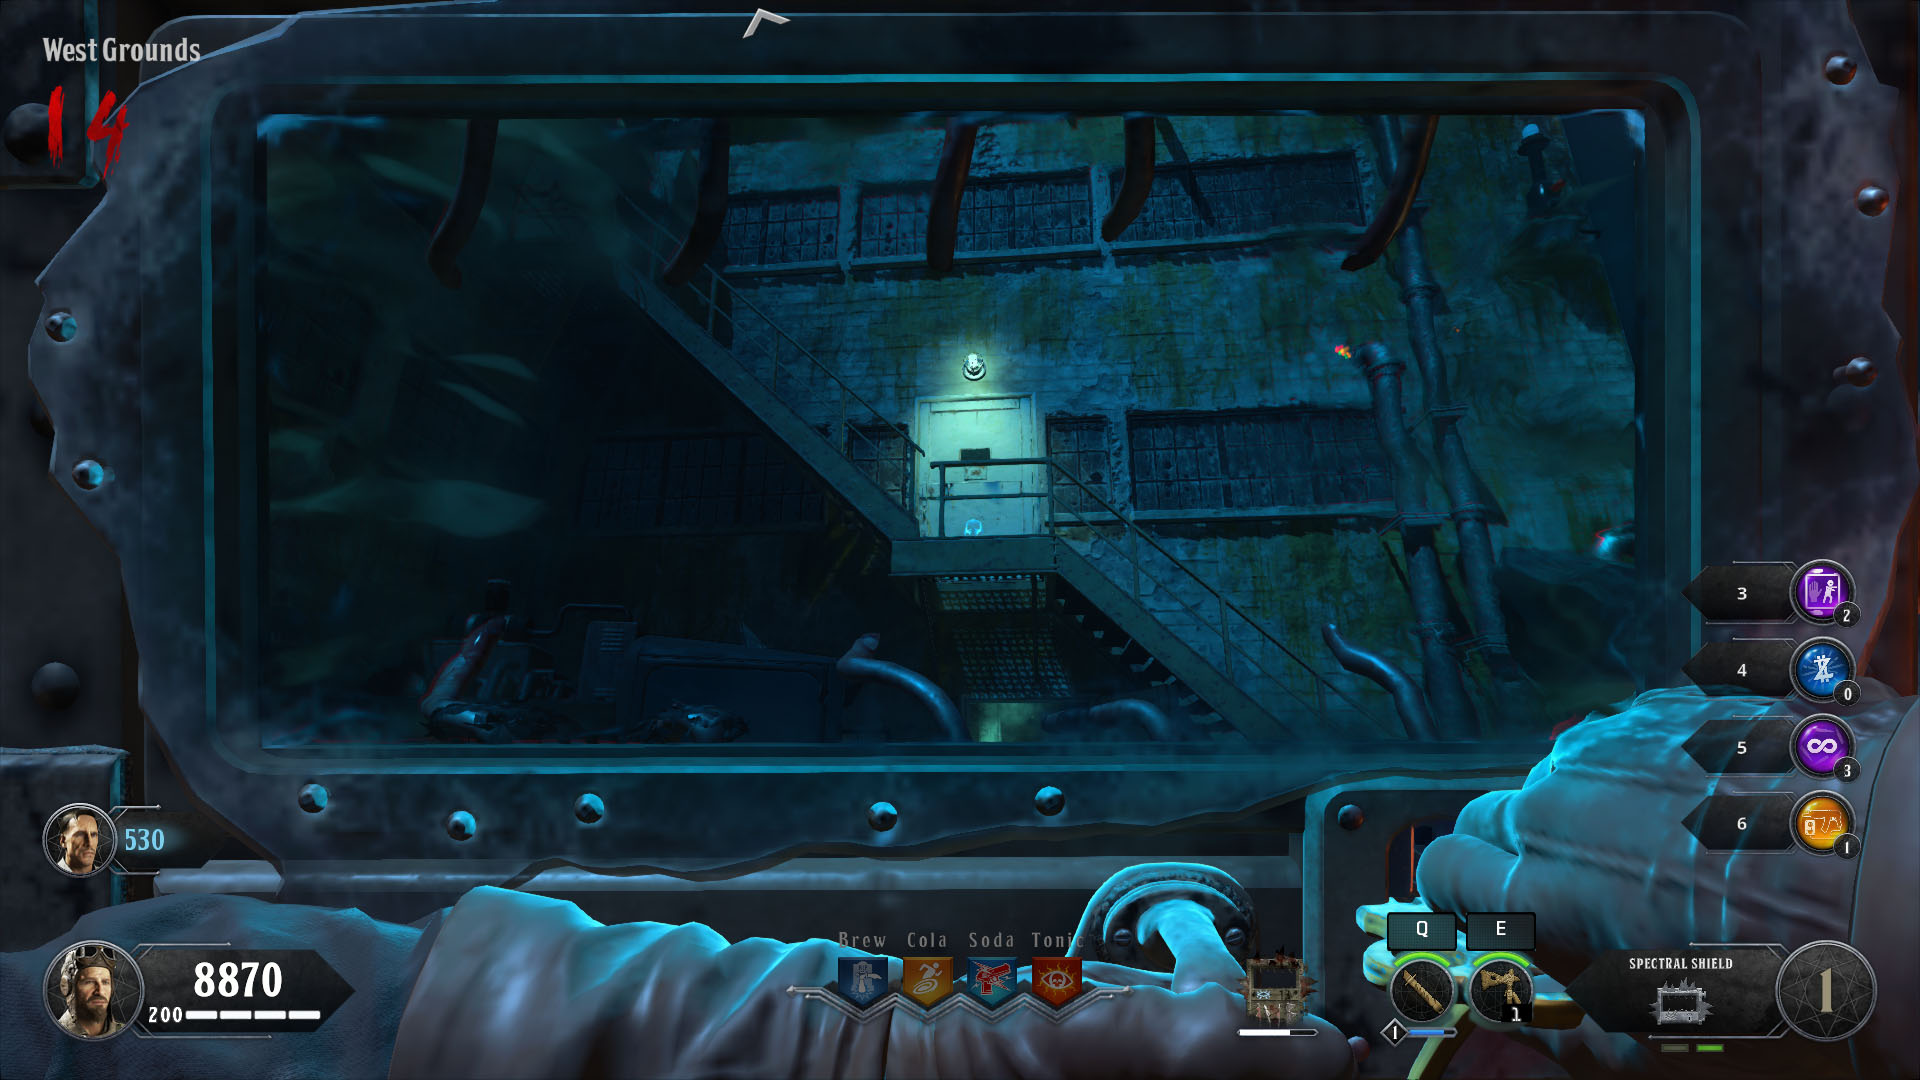
Equally soon as you spawn, your first goal is to turn on the power. Different Classified which only has 1 power switch, to completely turn on the power in Claret of the Expressionless y'all demand to notice two power switches.
From spawn, head through Model Industries and West Grounds to the Ability House. The power switch is lit up in the corner of the room, next to the words "Lights Out" scribbled on the wall in blood.

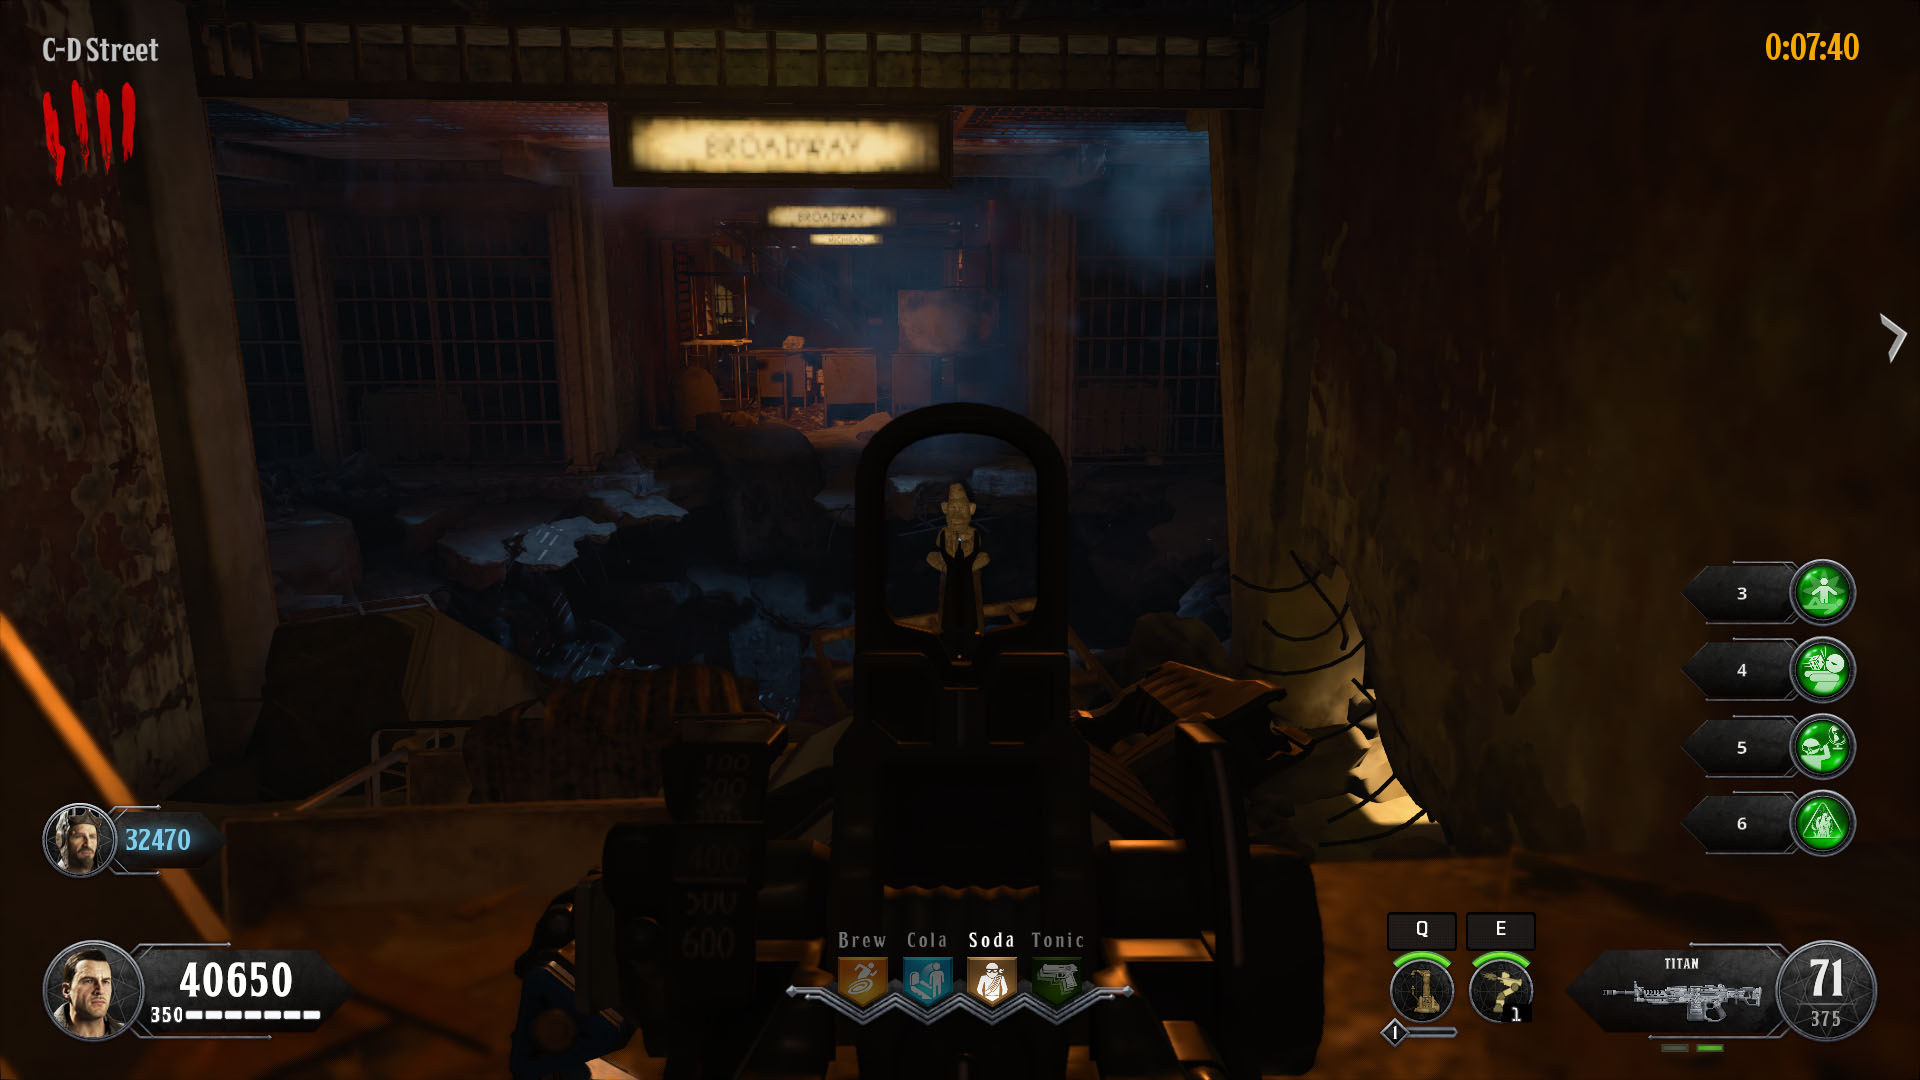
This will unlock the Catwalk and the path through the Recreation Yard. Caput into the principal Alcatraz prison, through D Block and down C-D Street to the Cell Block 3rd Floor. Take the path downward Michigan Artery and into the Citadel, then go all the way down the spiral Citadel Tunnels. At the other stop, yous'll go out to China Alley. Head in to Building 64 and the 2nd power switch is at the very back of the edifice.
- Black Ops iv Coma Challenges (opens in new tab)
- Black Out four Dark Ops Challenges (opens in new tab) guide and how to complete them
- Black Ops 4 Blackout spawn points (opens in new tab) for all the zombies
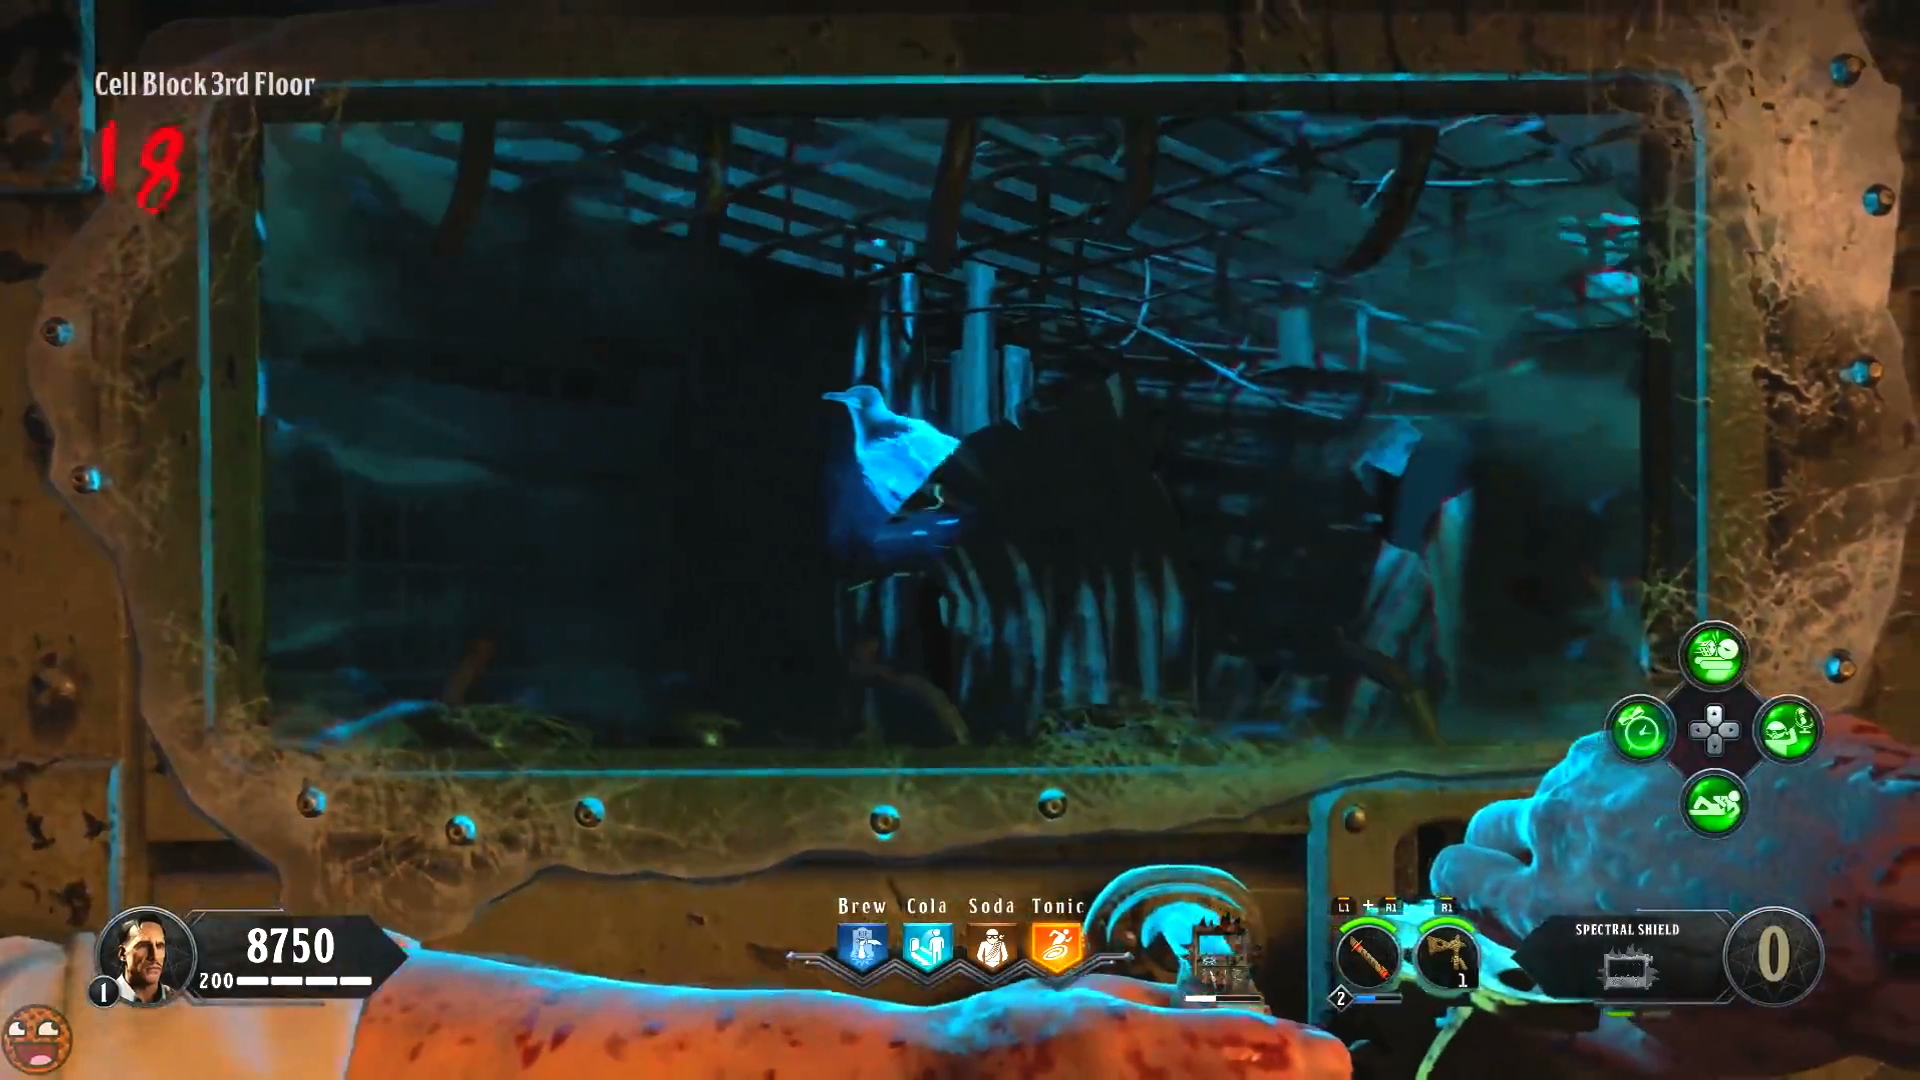
Building the Spectral Shield
Now you lot've turned on the ability, you desire to focus on getting the Spectral Shield as it'southward a key item that you'll employ throughout the entire map. Every bit per usual with Treyarch'southward Zombies maps, you demand to find three parts to craft information technology, each with dissimilar spawn locations. Here'south where you tin find the Spectral Shield parts:
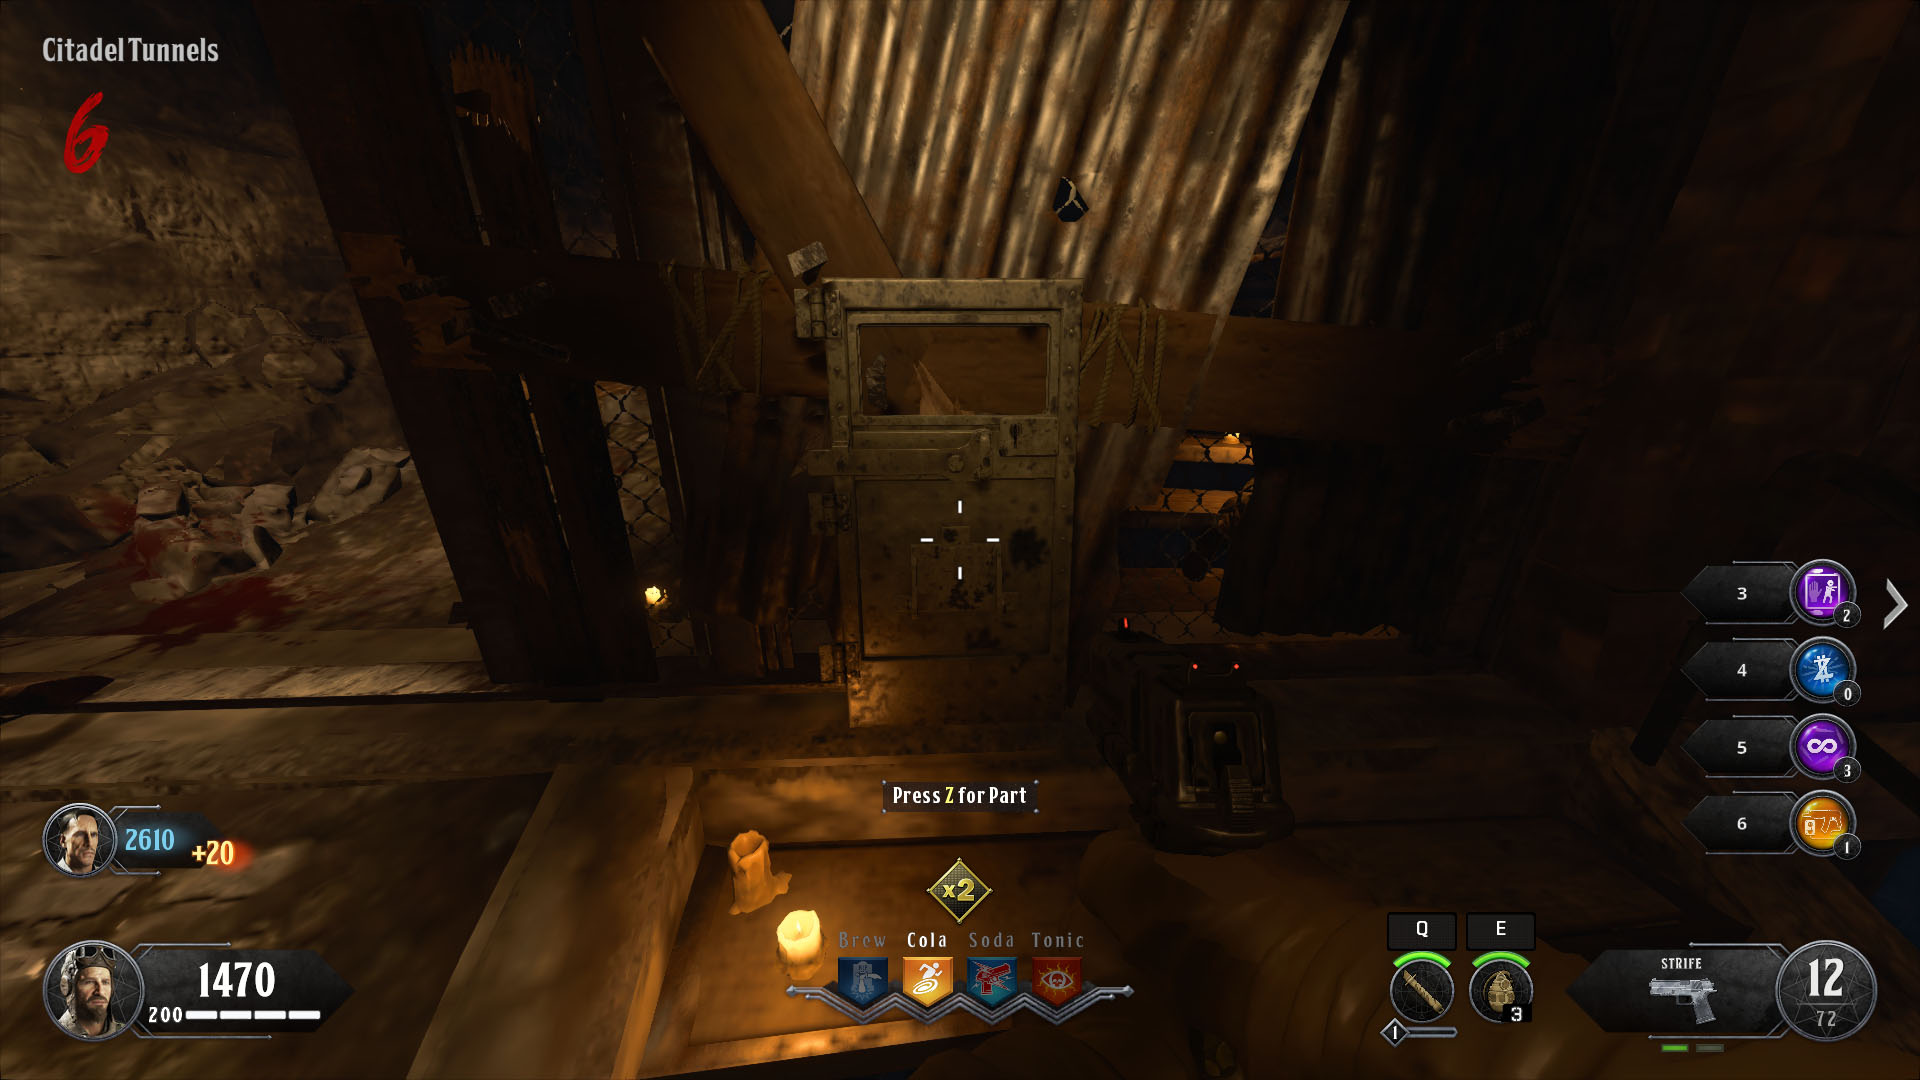
Part I
- At the very lesser of the Citadel Tunnels is the doorway to People's republic of china Aisle. The outset part tin spawn to the right of the doorway.
- It tin also spawn through the doorway, at the superlative of the staircase in Citadel Tunnels.
- The third spawn location is next to the locked elevator cage at the very tiptop of the Citadel Tunnels.
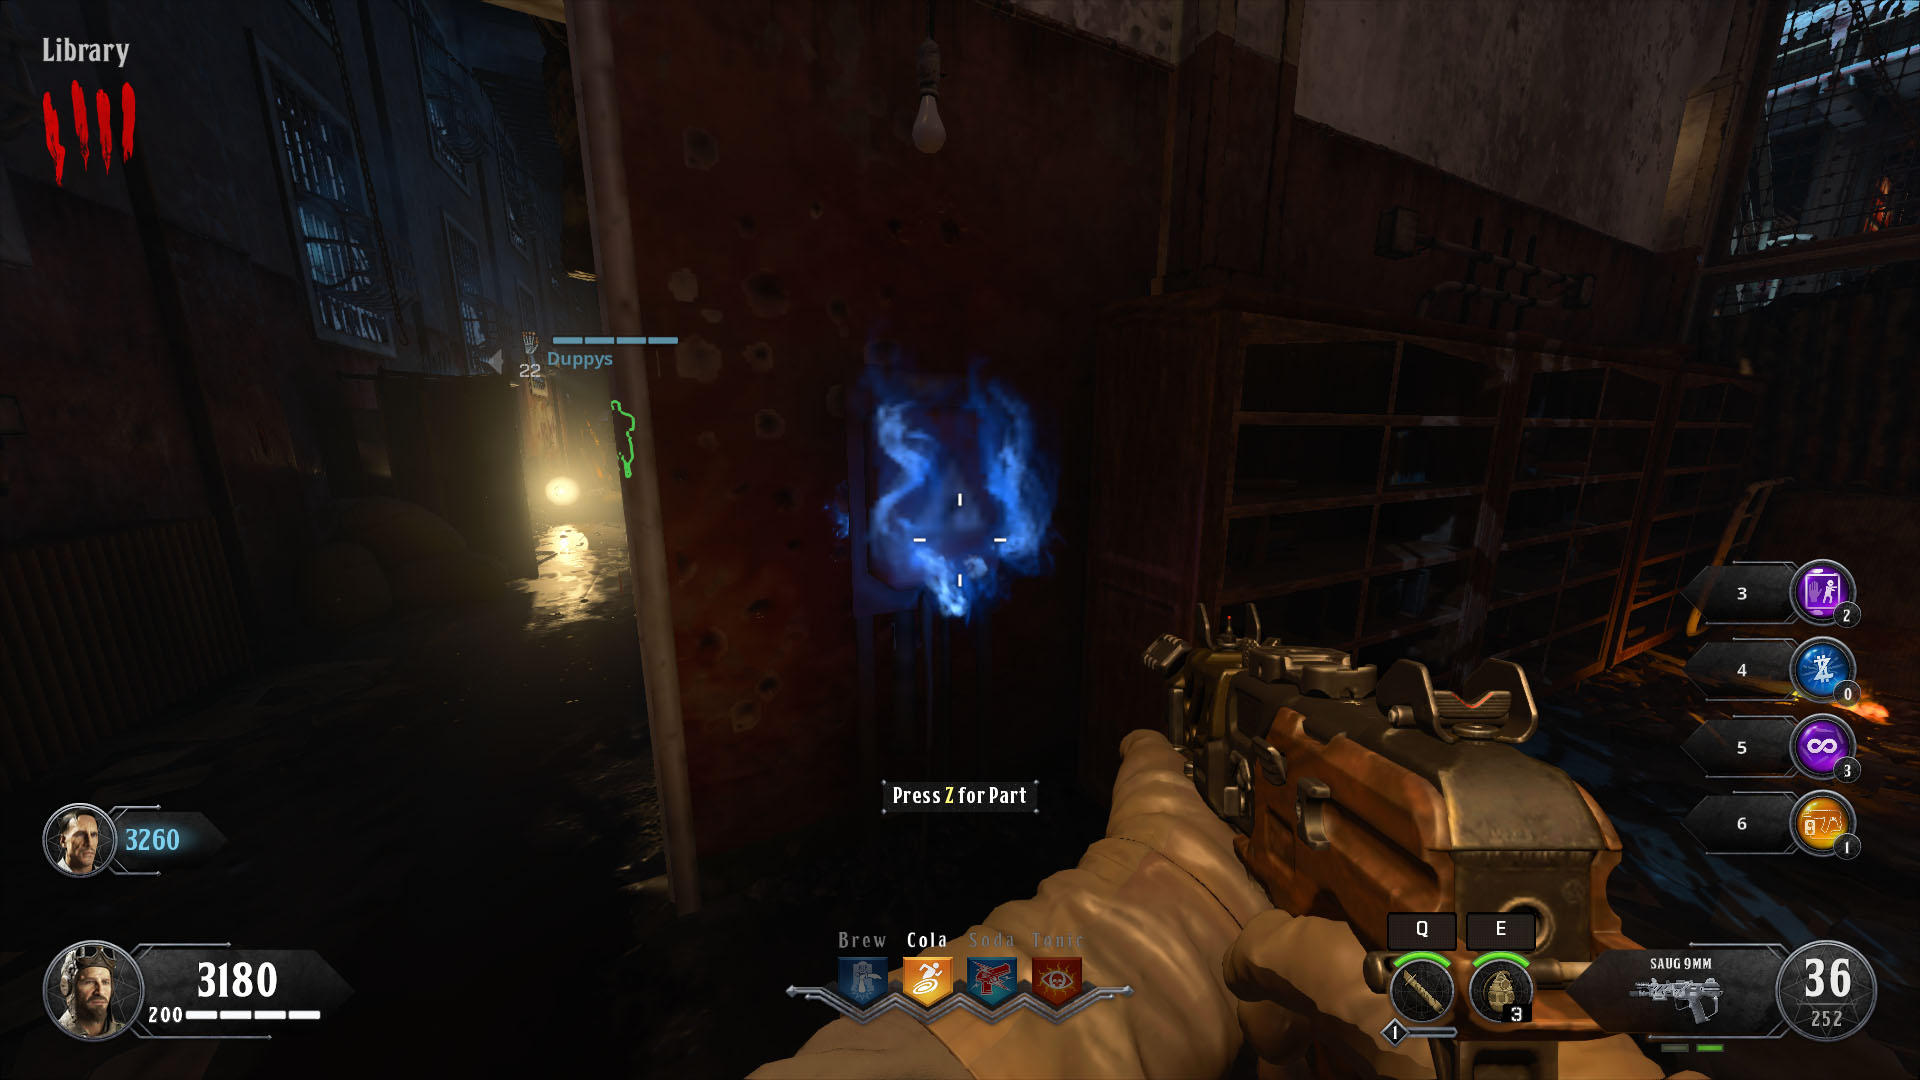
Part Two
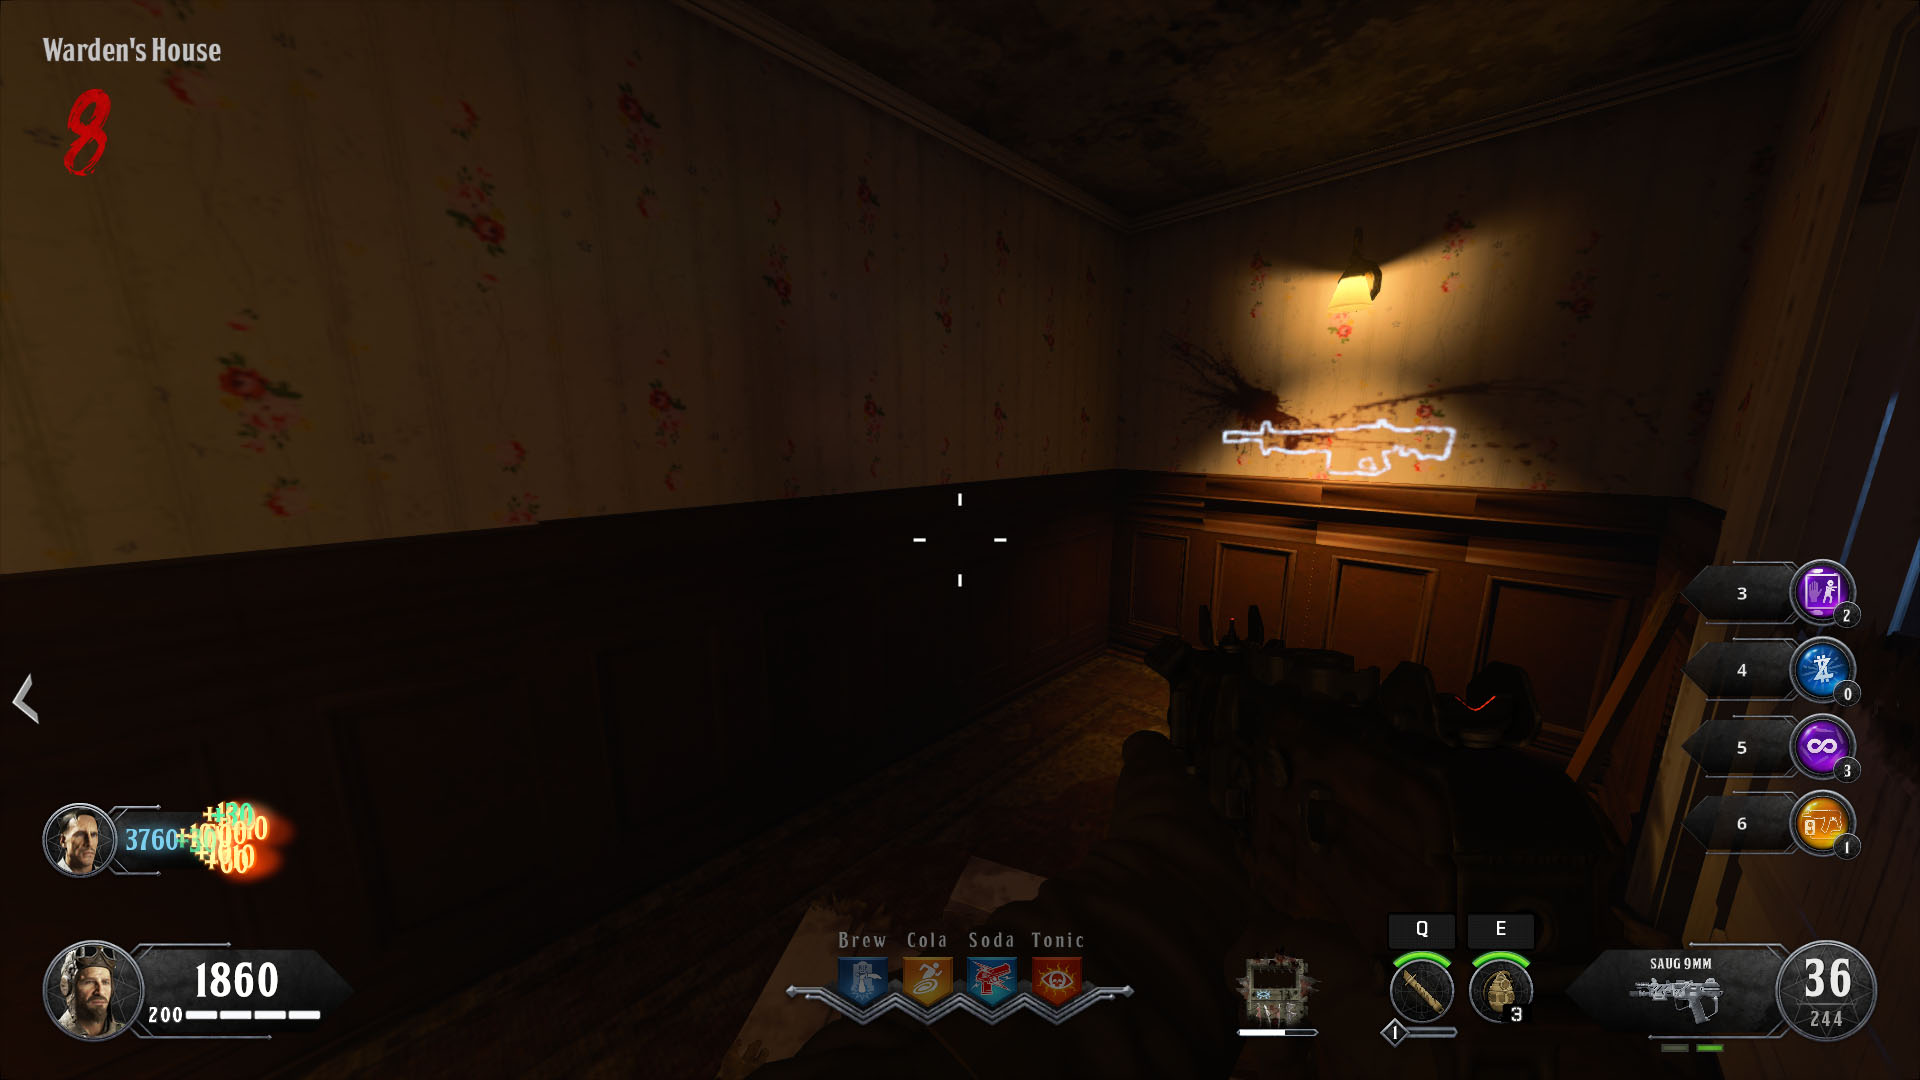
- Role two likewise has three spawn points. The first is on the upper level of Times Square, on the wall adjacent to the Auger DMR wall-buy. It glows so it'southward hard to miss.
- Check the Library adjacent, as it can spawn inside a box.
- Head to Michigan Artery if you haven't establish it at the previous two locations considering it may be underneath the Michigan sign.
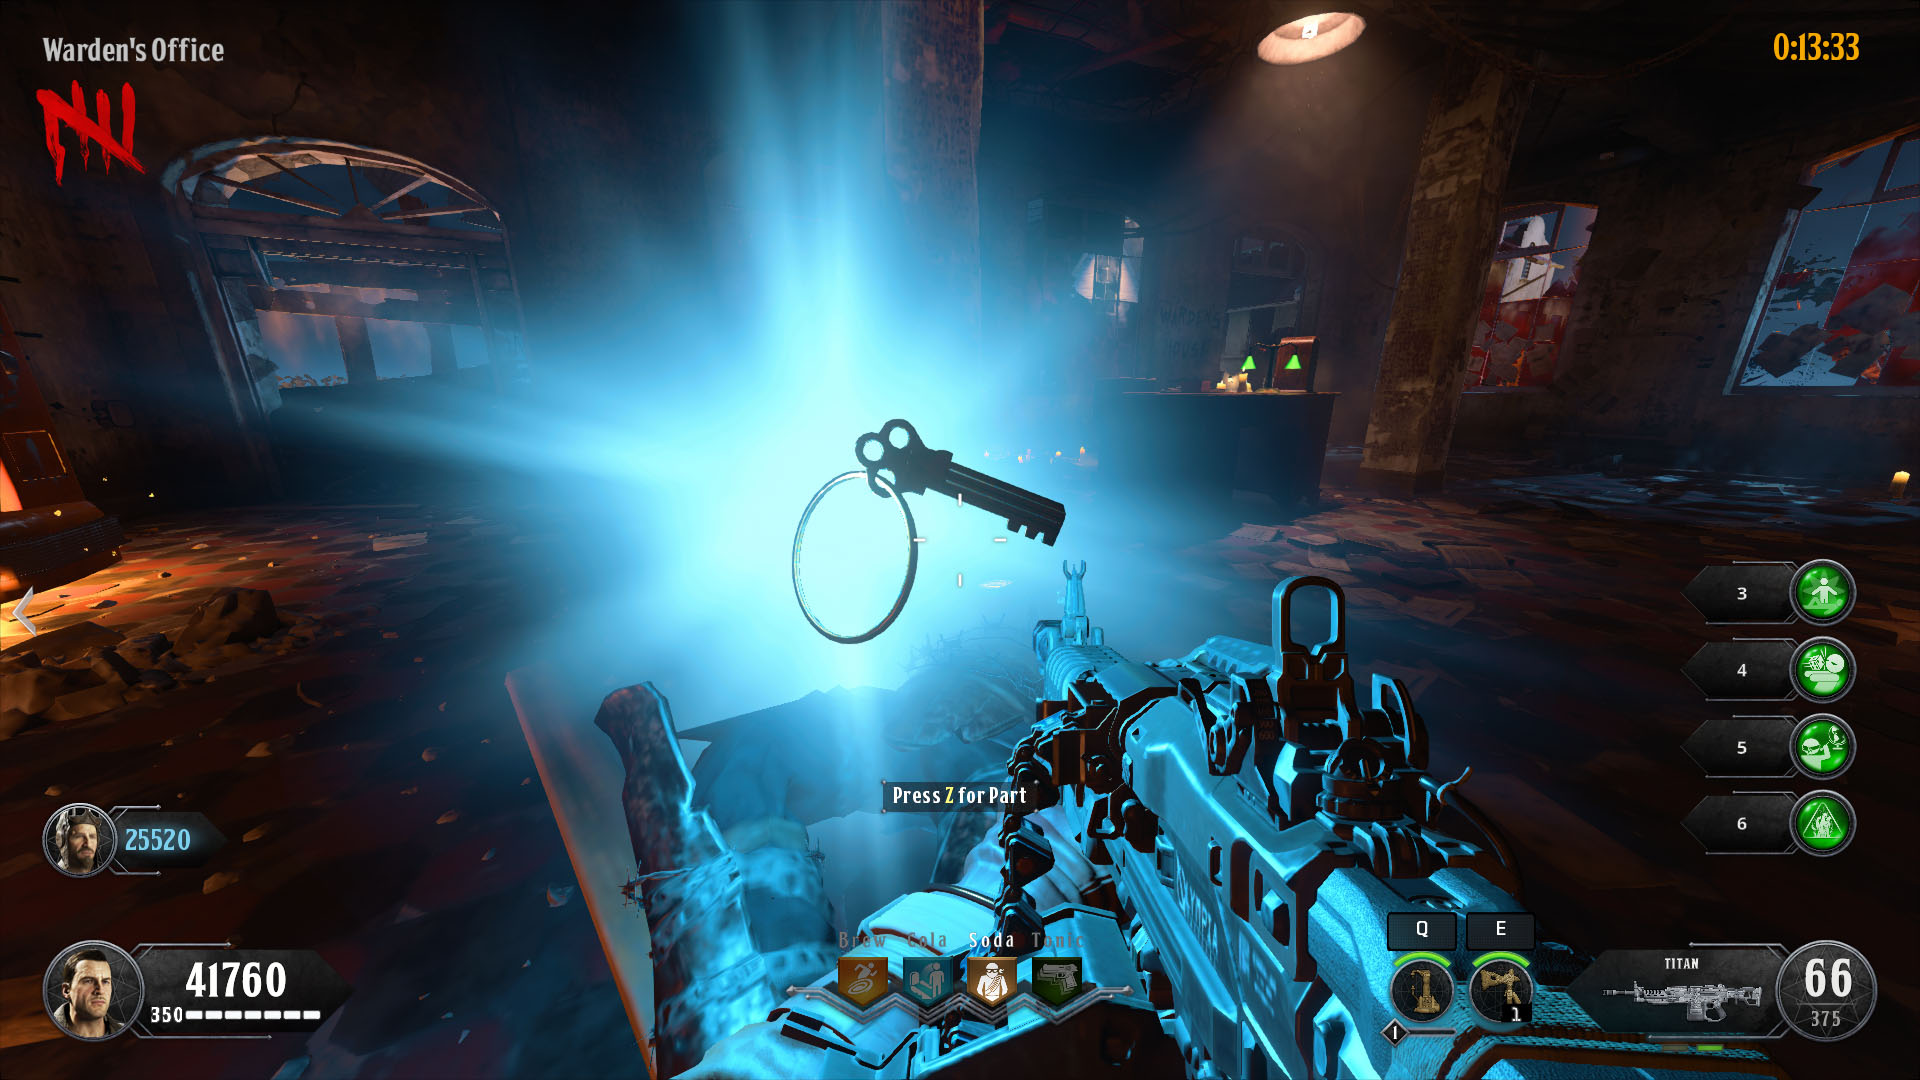
Part 3
- The final piece is the Warden's Fundamental and to get this, you need to slay the Warden himself. He spawns as shortly as you lot turn on both power switches - impale him and catch the key from his corpse.
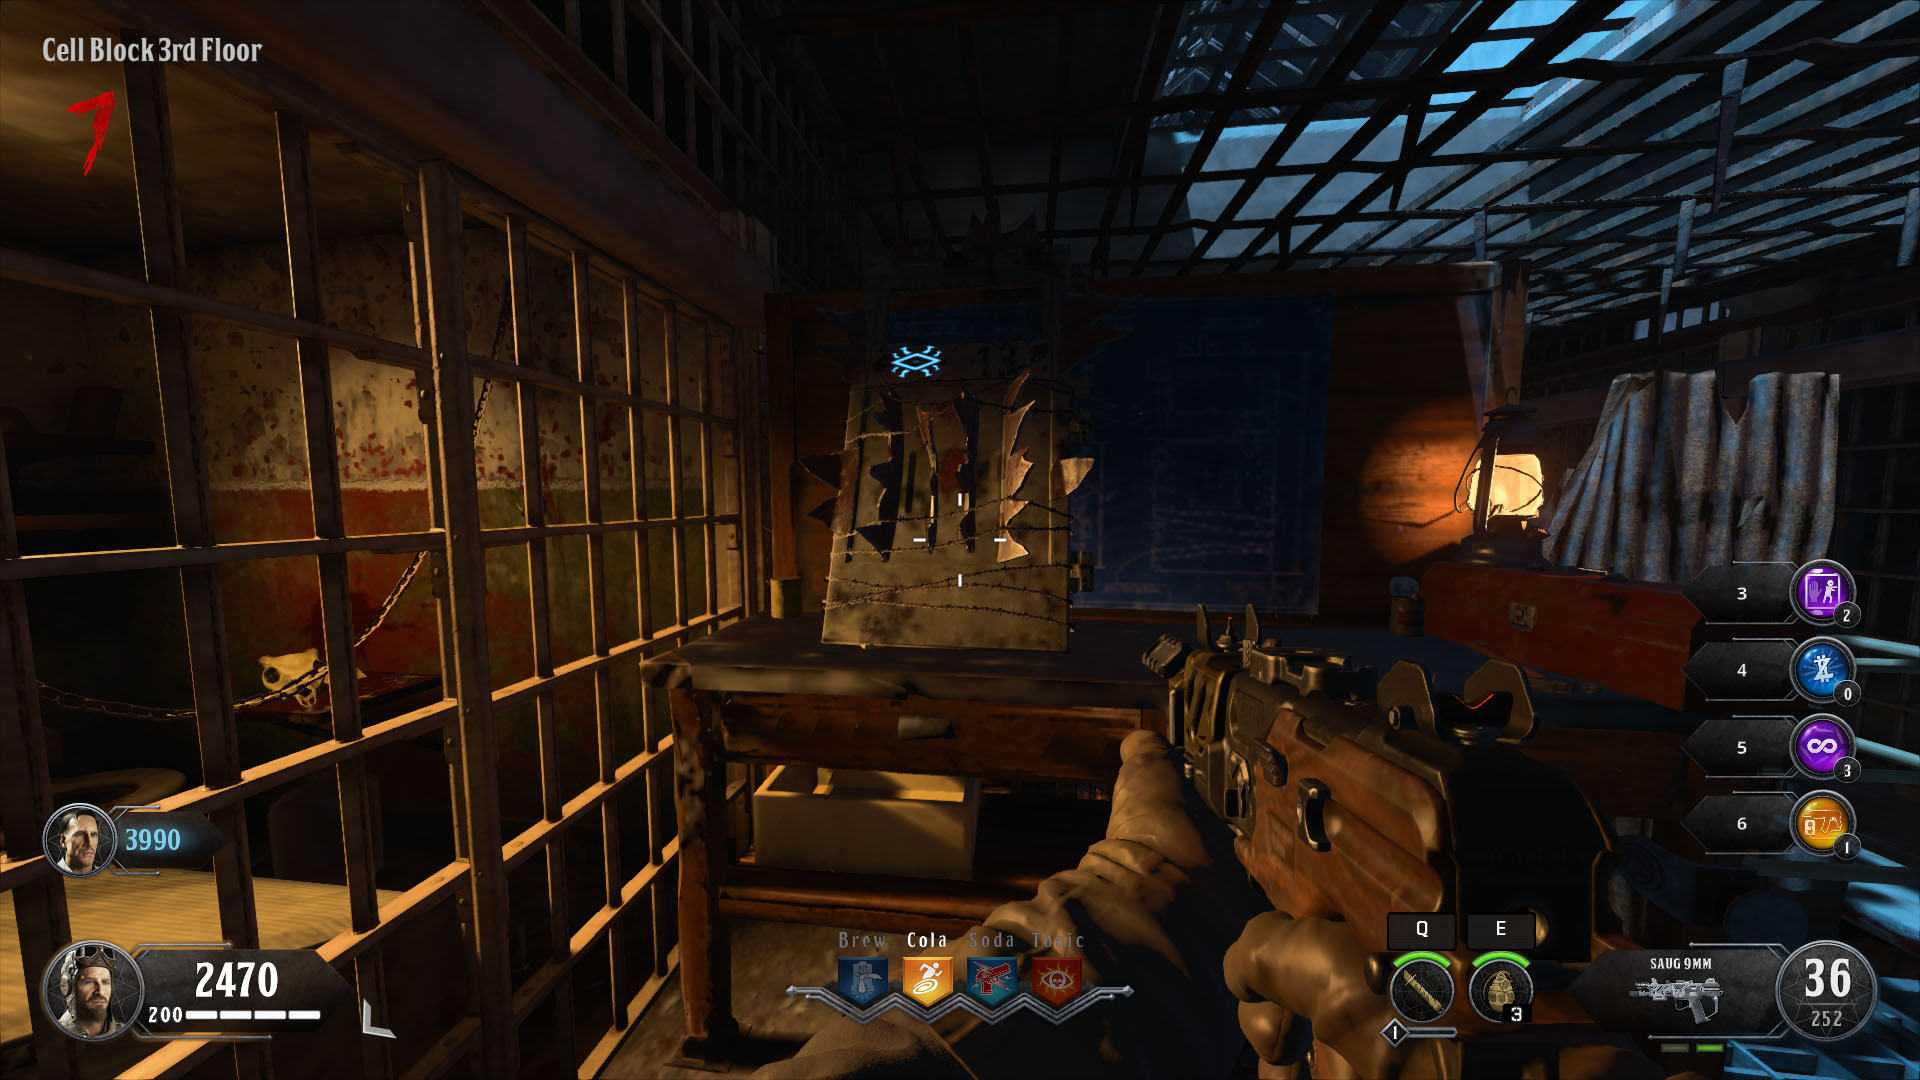
Side by side, you lot actually need to build the Spectral Shield. Head to one of 2 workbenches, either by the Docks or on the Cell Block 3rd Floor, and interact with it to build the shield.
Forth with defending y'all from zombie hits, the Spectral Shield also has a secondary assault with the Warden'south Key. You demand to drain the souls from zombies by using your secondary attack to build up charges for the Spirit Smash. Once you've got a few charges in at that place, you're going to desire to caput to the roof of the prison to unlock Pack A Dial.
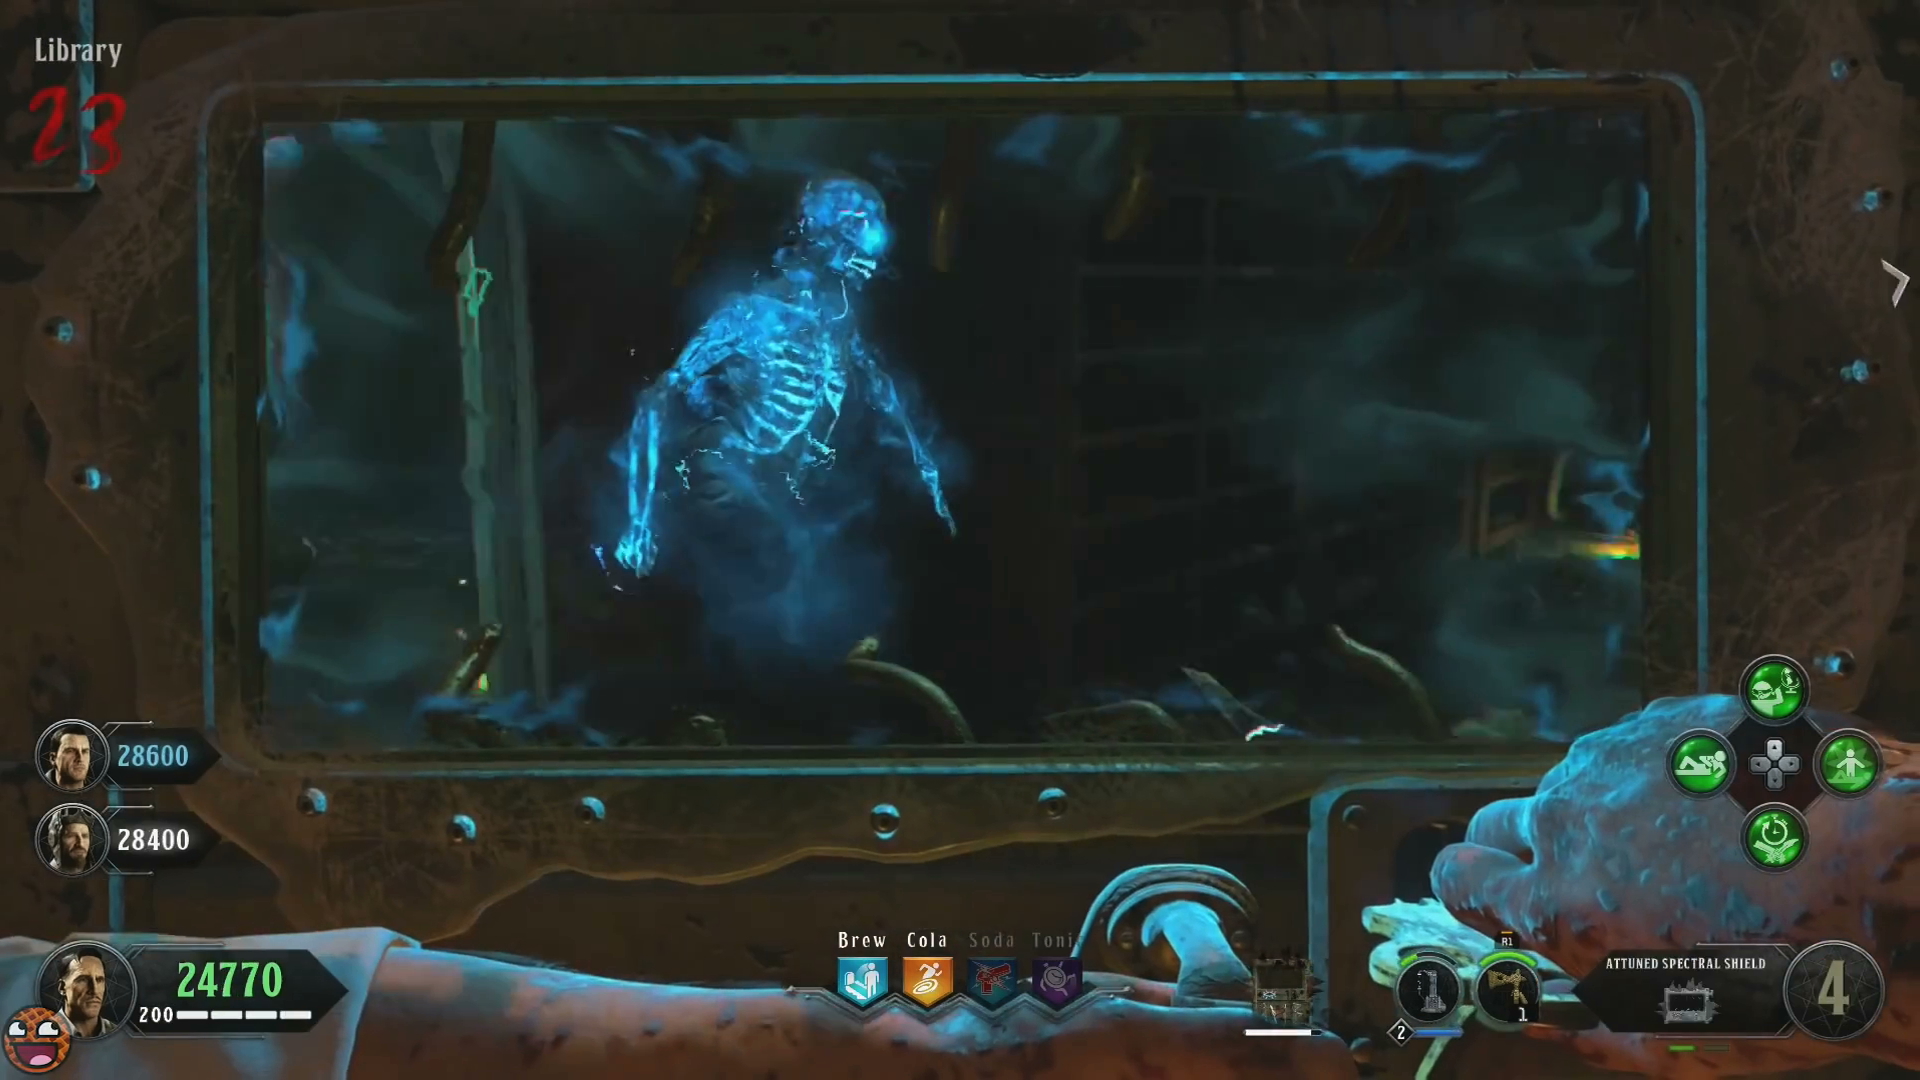
Upgrading the Spectral Shield to the Attuned Spectral Shield
This pace is completely optional but it'south fairly unproblematic to practise and it gives your Spectral Shield more immovability, along with an extra Spirit Blast accuse. To upgrade information technology, yous need to have the Hell'south Retriever and the Spectral Shield already, so read on to the Hell's Retriever stage if you oasis't already.
Find the Mystery Box and use it until y'all go a padlock. When you exercise, equip your Spectral Shield and drain the life from the padlock with your fundamental. When the lock turns bluish, throw the Hell's Retriever at it and your shield will be upgraded to the Attuned Spectral Shield. This is a great matter to practice if you've got time to kill while teammates are upgrading weapons and doing their ain steps for the Easter egg.
Unlocking Pack A Punch
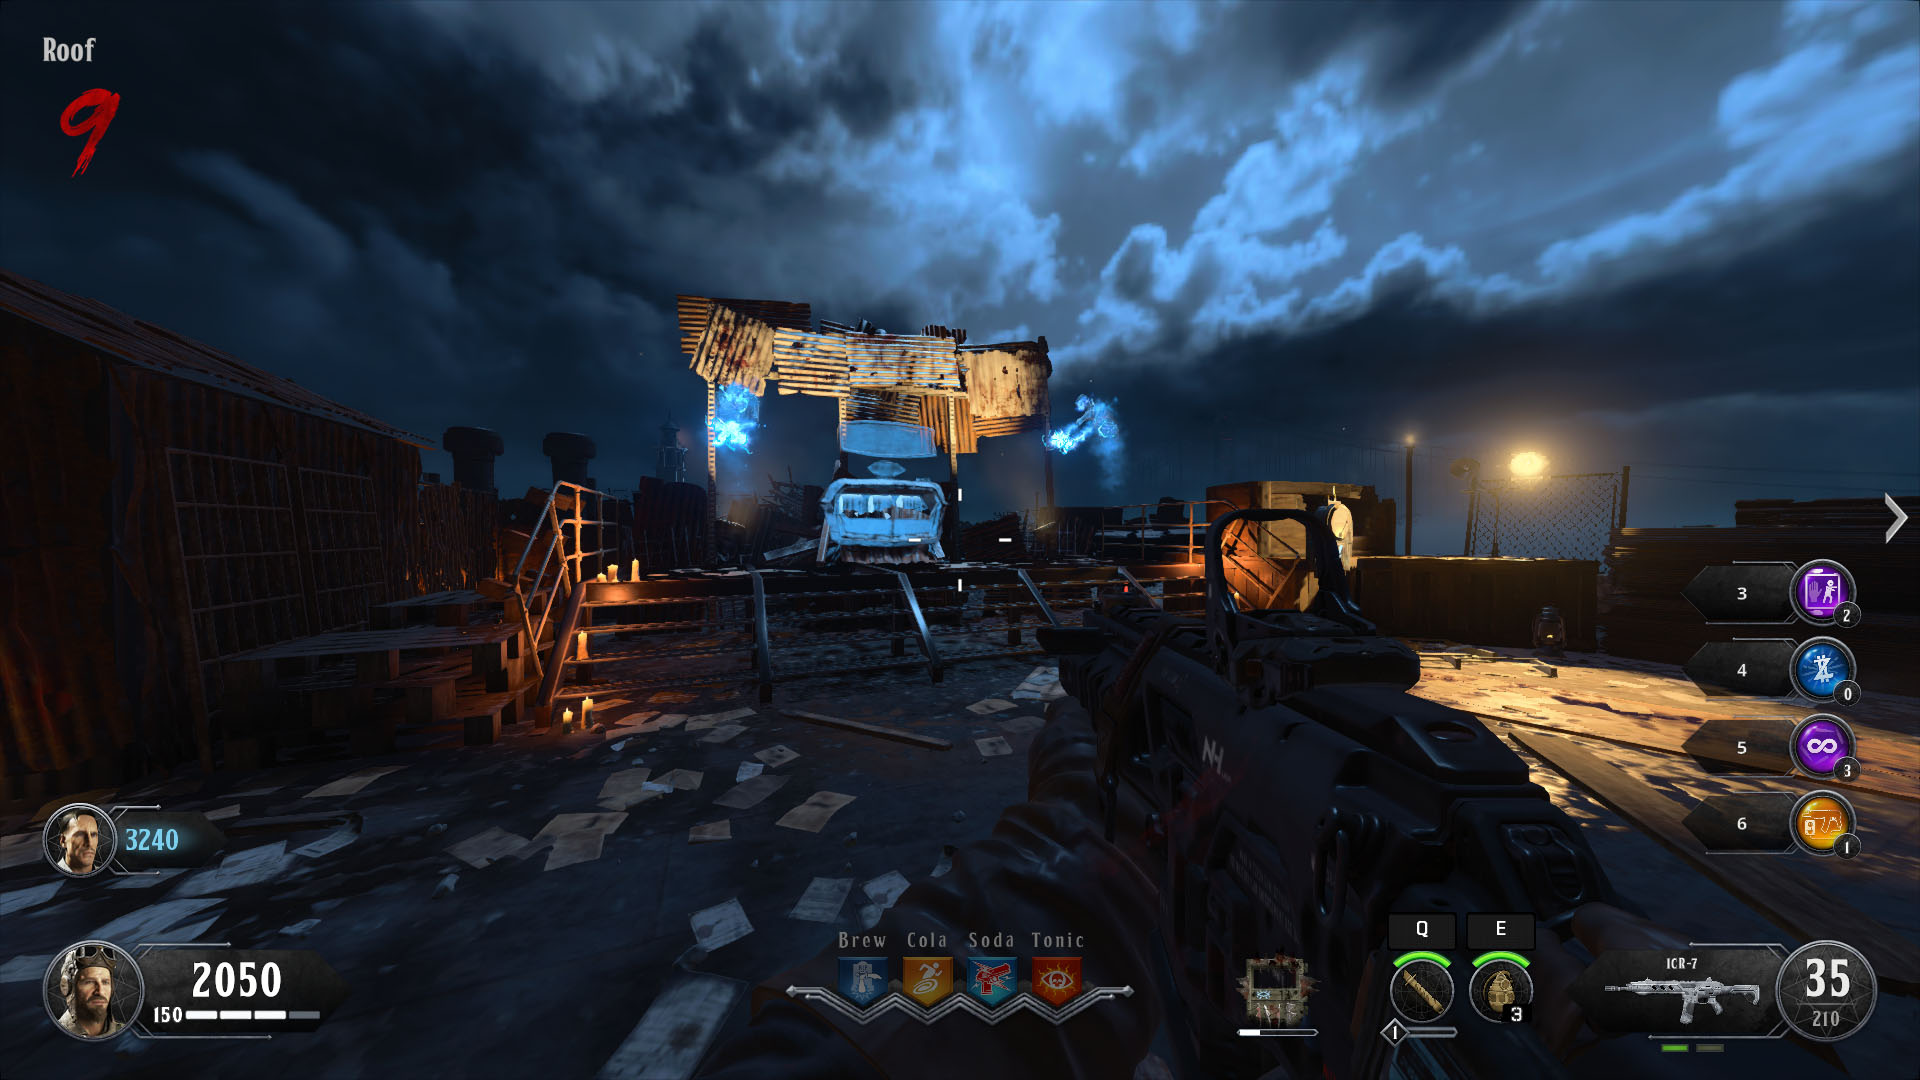
You can run across the Pack A Dial automobile on the roof, but it's not active. This is where your Spectral Shield charges come up in - use the Spirit Smash attack on the ability gauge to the side of the machine. This will actuate the Pack A Punch automobile for the rest of the game then you tin can upgrade your weapons for 5,000 points.
Obtaining the Hell's Retriever
Now you want to think about getting all three wonder weapons on the map. The first is the Hell'due south Retriever - a throwable tomahawk that replaces your usual equipment. Every bit you lot can tell by the name, information technology also retrieves items, which is a crucial part to completing the map.
The first step you need to exercise to become the Hell's Retriever is feed the three Cerberus heads on the map. You just demand to kill enough zombies by them then they snatch them in their jaws and eat them. Here'southward where you can discover all iii Cerberus heads:
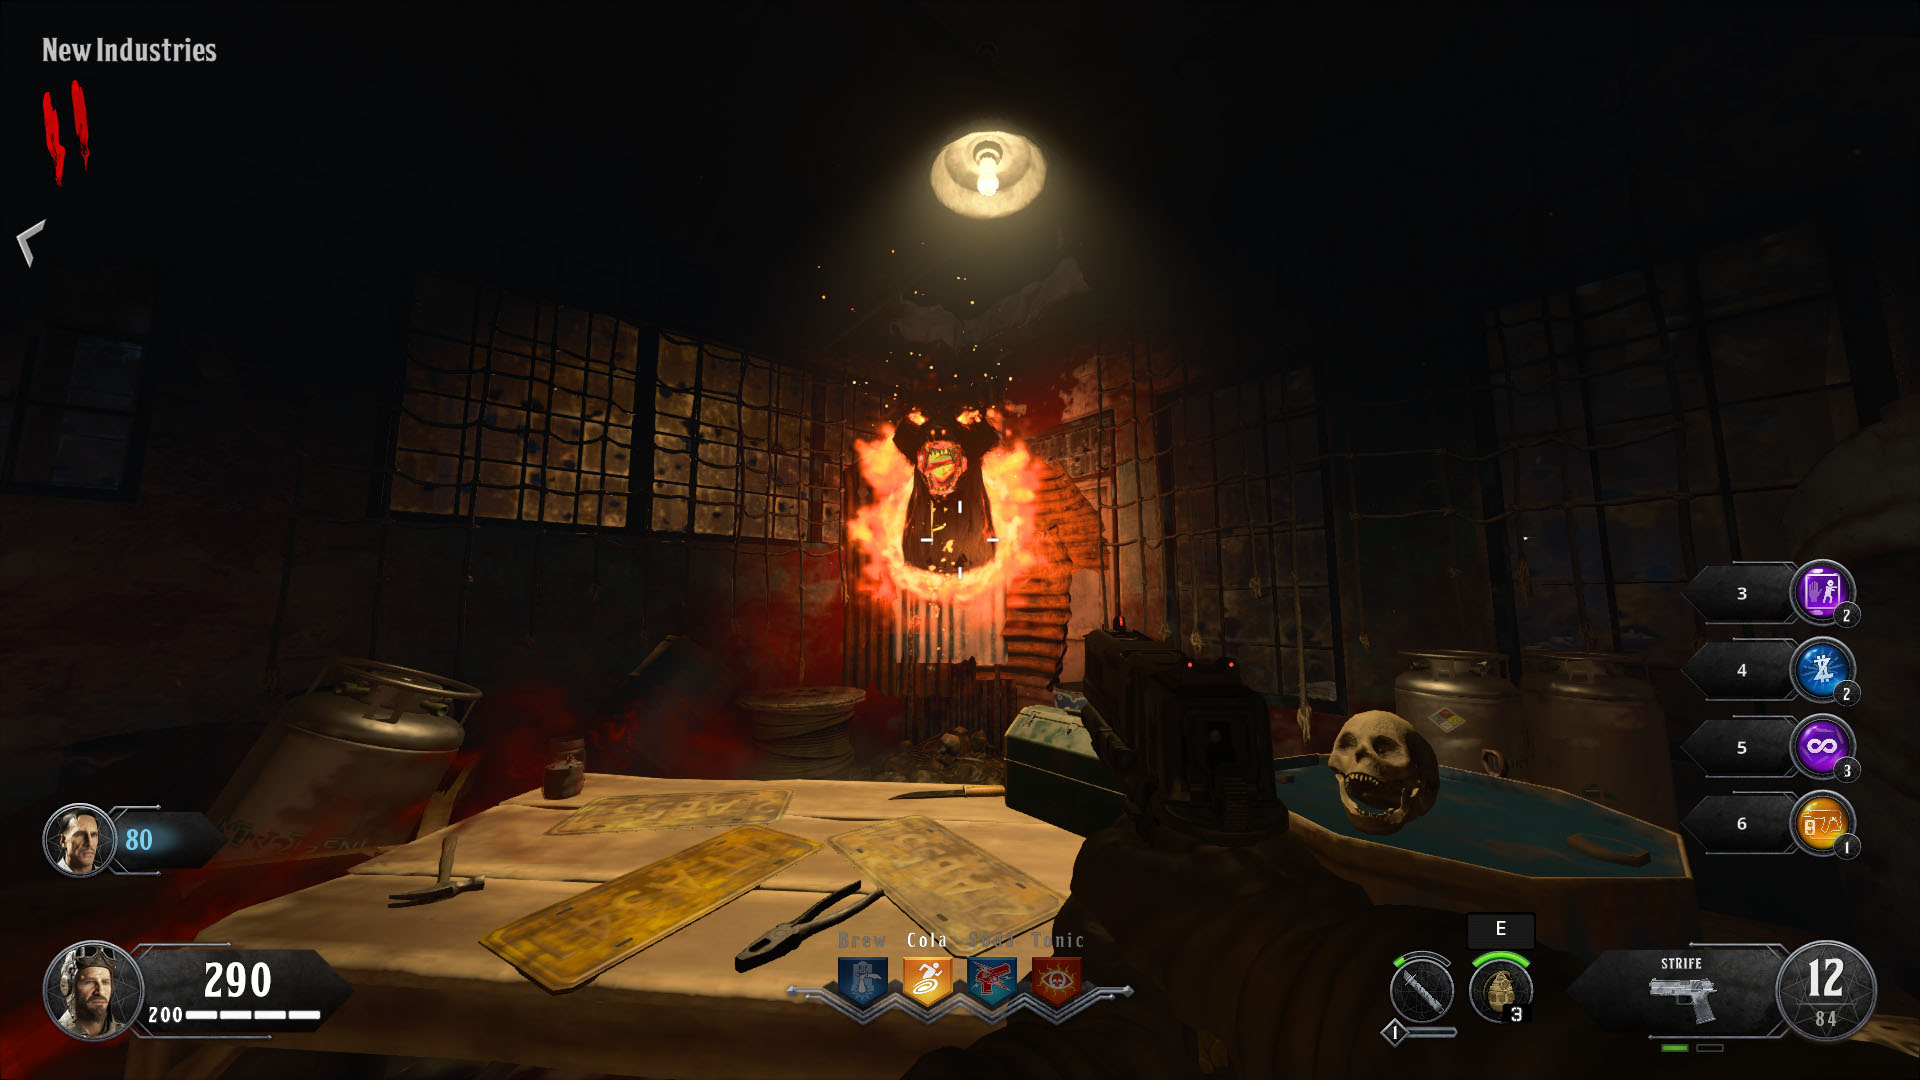
- New Industries - New Industries is the first building you'll explore. The Cerberus caput spawns in the far corner.

- Prison cell Block Second Flooring - In the Prison cell Blocks, head upwardly the stairs and the next Cerberus head is in the middle of some railings.
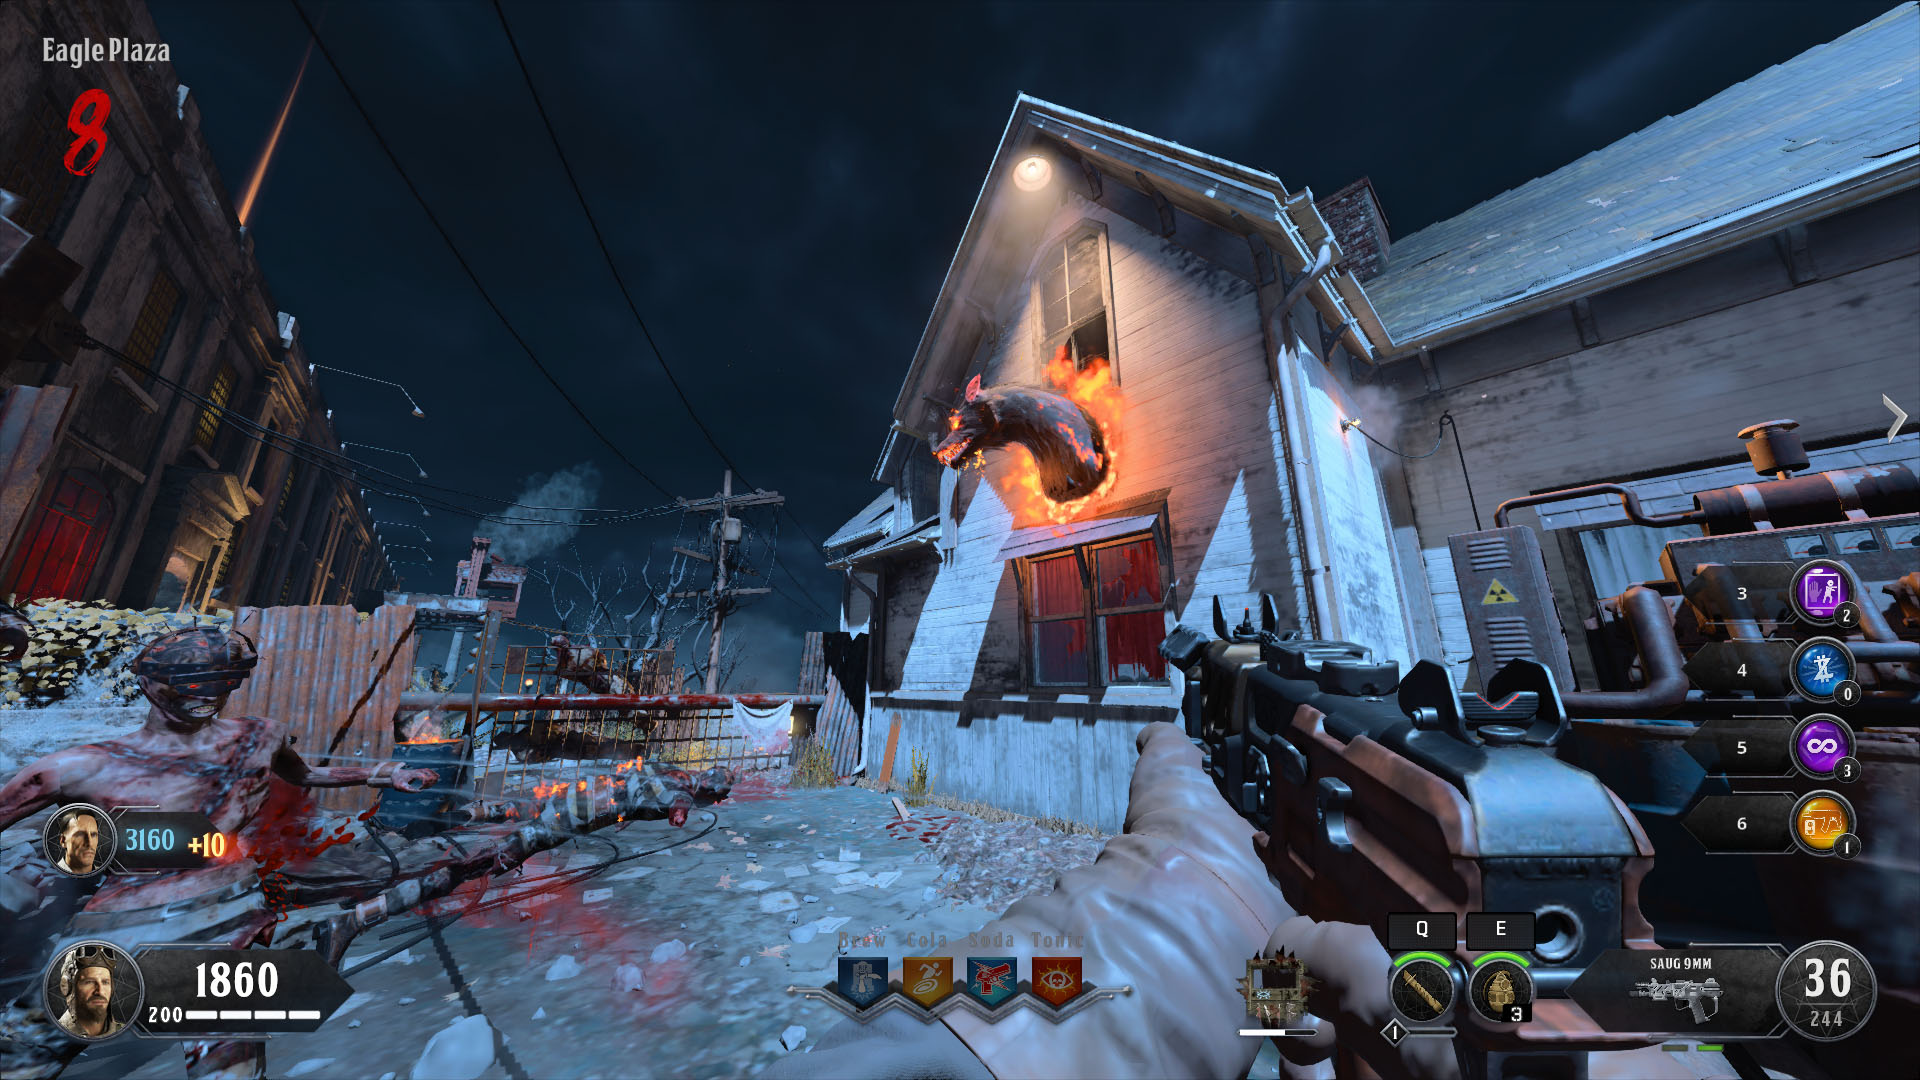
- Eagle Plaza - The final one is on the side of the Warden'south Office in Eagle Plaza.
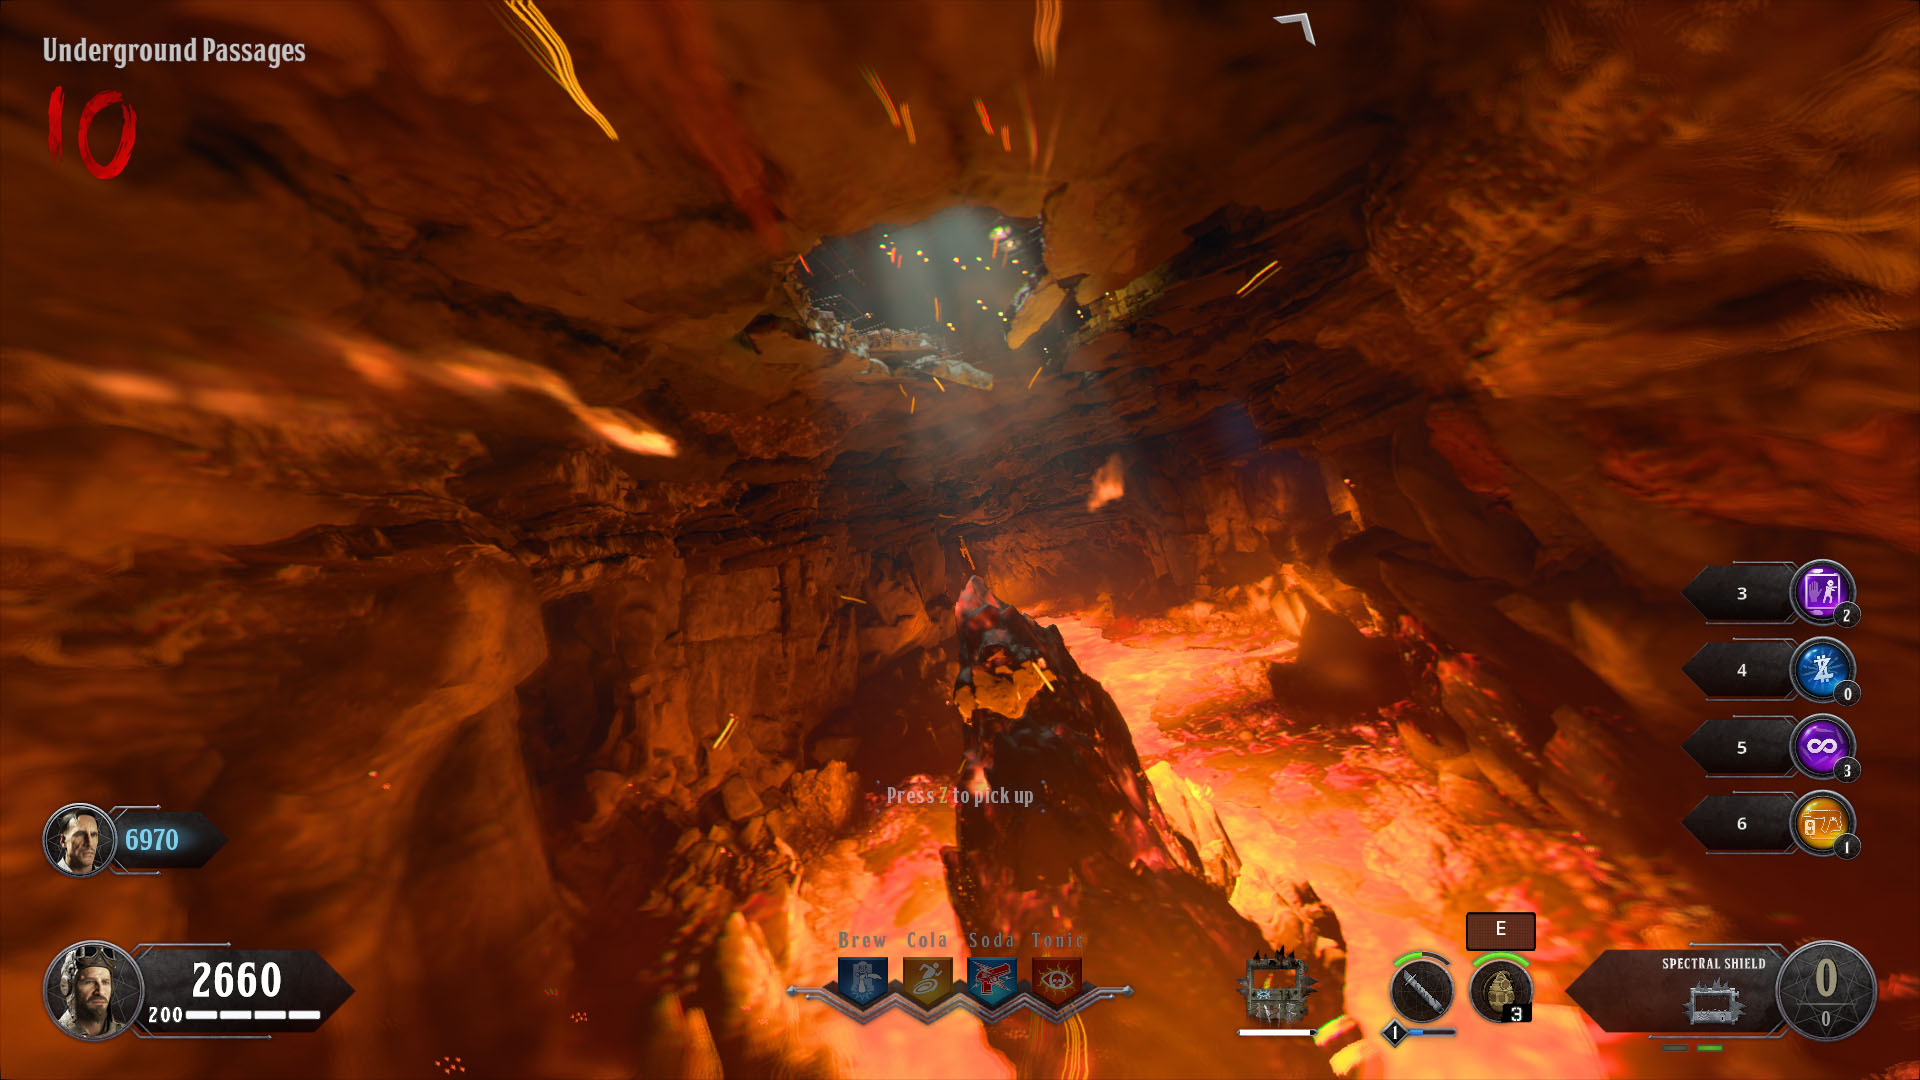
When all three Cerberus heads take been satiated, head to either the Warden's House or the Showers. As long as you've turned on the power by this point, you lot'll be able to use the fast travel. When y'all're zooming through the lava-filled hugger-mugger, wait for the Hell's Retriever floating on peak of some rocks in the middle of the river. Pick it upwardly as you lot go past and y'all'll accept information technology in your inventory.
Upgrading it to the Hell'south Redeemer
You can upgrade the Hell's Retriever to the Hell'south Redeemer, though it isn't required for the chief Easter egg. To obtain the upgrade, you need to have the Spectral Shield already, so make sure y'all've done that in the steps mentioned above.
To upgrade it, you lot're looking for a Spectral Image. It can be found in one of six locations:
- Through a cracked wall on the right side of the Citadel
- Through one of the windows with hanging corpses in the Citadel
- Above the entrance to the Warden'southward Office in Hawkeye Plaza
- On the floor of Eagle Plaza, through a crack in the floor by a pipage protruding from the ground
- Look toward the Prison Archway from the Recreation Thousand and the image may spawn on some rocks
- On the same bridge in the Recreation Yard, wait by the spinous wire and it can spawn backside information technology
To see it, yous need to look through your Spectral Shield. When y'all find the Spectral Image, throw the Hell's Retriever at information technology. This will temporarily remove the wonder weapon from your inventory. At present y'all demand to await till the next hell hound circular, which will spawn a Spectral Domestic dog. Equip your Spectral Shield again and commencement searching the entire map for the dog. The just clue yous take is that you tin see the hand prints information technology leaves through your shield vision.
When yous find the Spectral Dog, shoot it with a Spirit Blast. You can now go and grab the Hell's Redeemer from the same identify you got the Hell'south Retriever - use the fast travel arrangement and choice information technology upwardly in the fiery tunnels.
Obtaining the Spoon
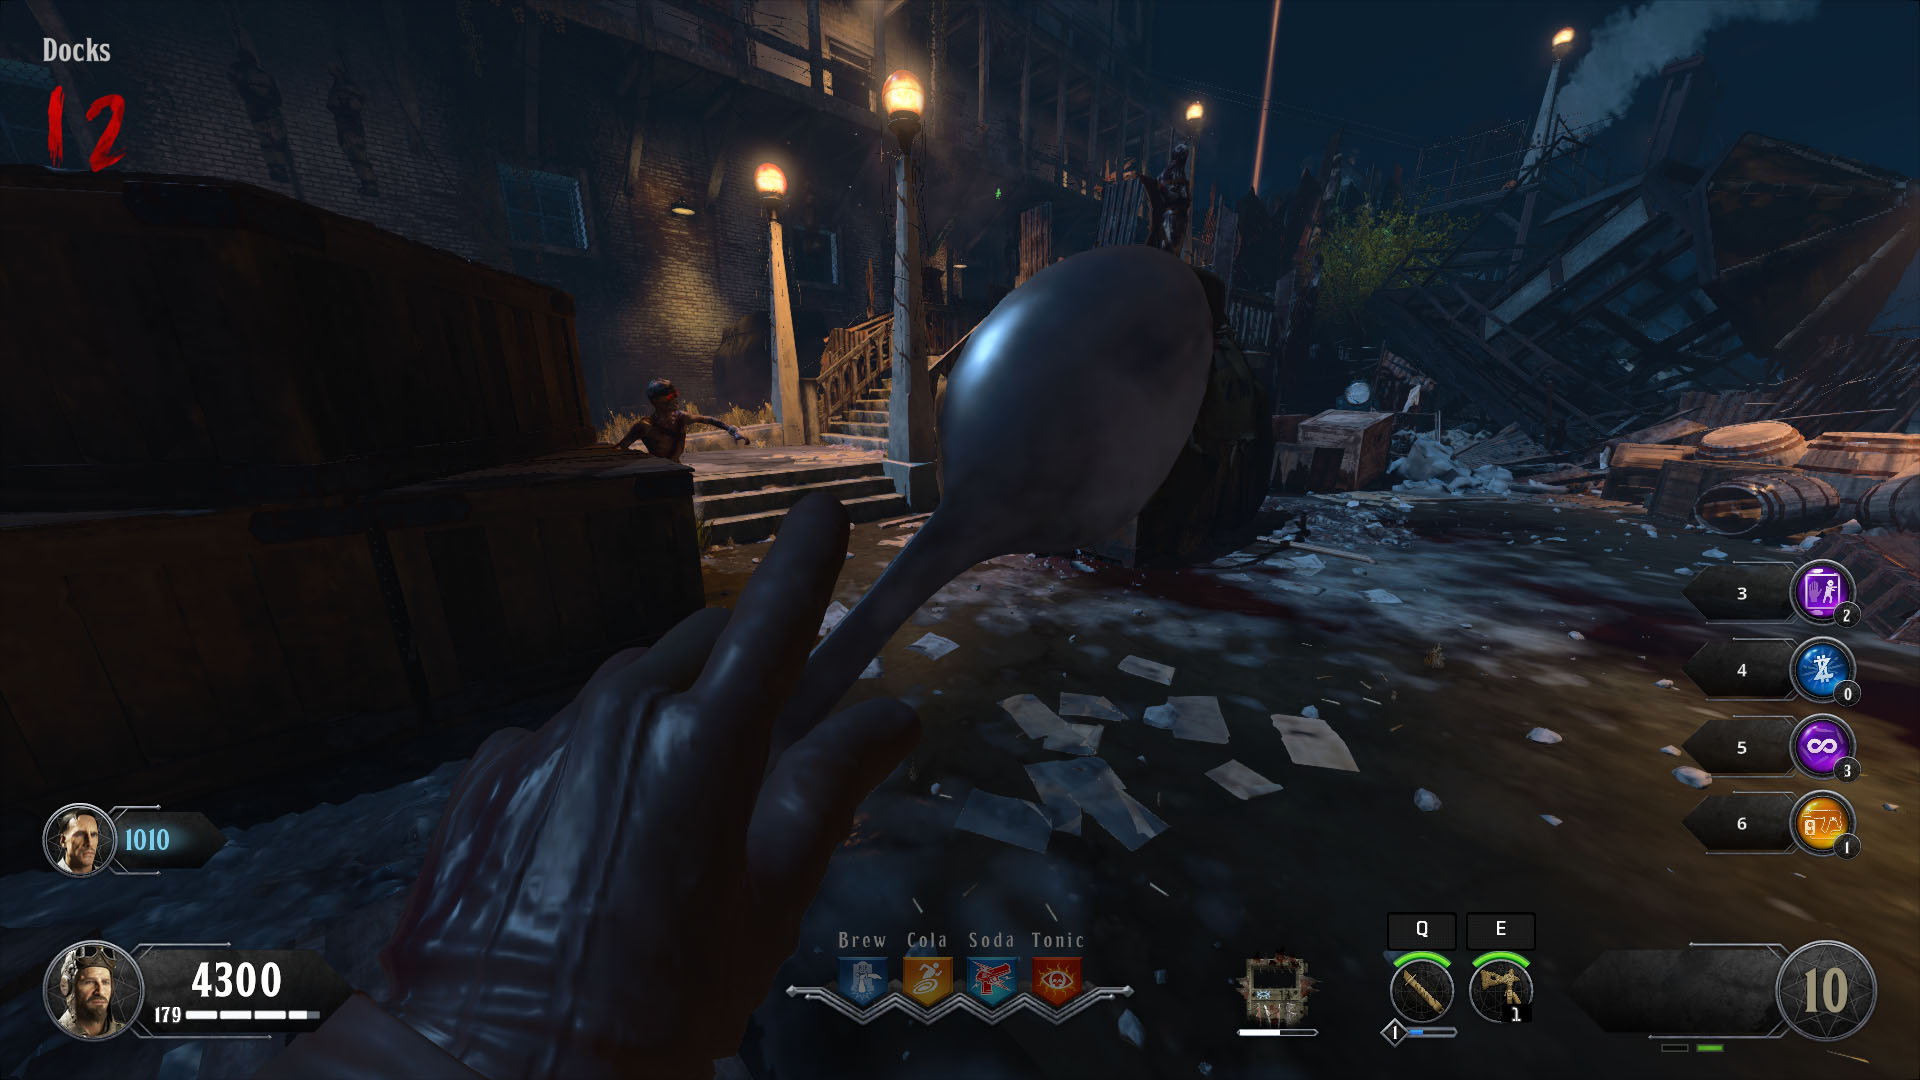
When yous've got the Hell's Retriever, yous need to go the next wonder weapon. Despite it literally just existence a spoon, unfortunately you won't be eating whatsoever ice foam. The Spoon is a wonder weapon that replaces your melee weapon and is much more powerful than the knife… somehow.
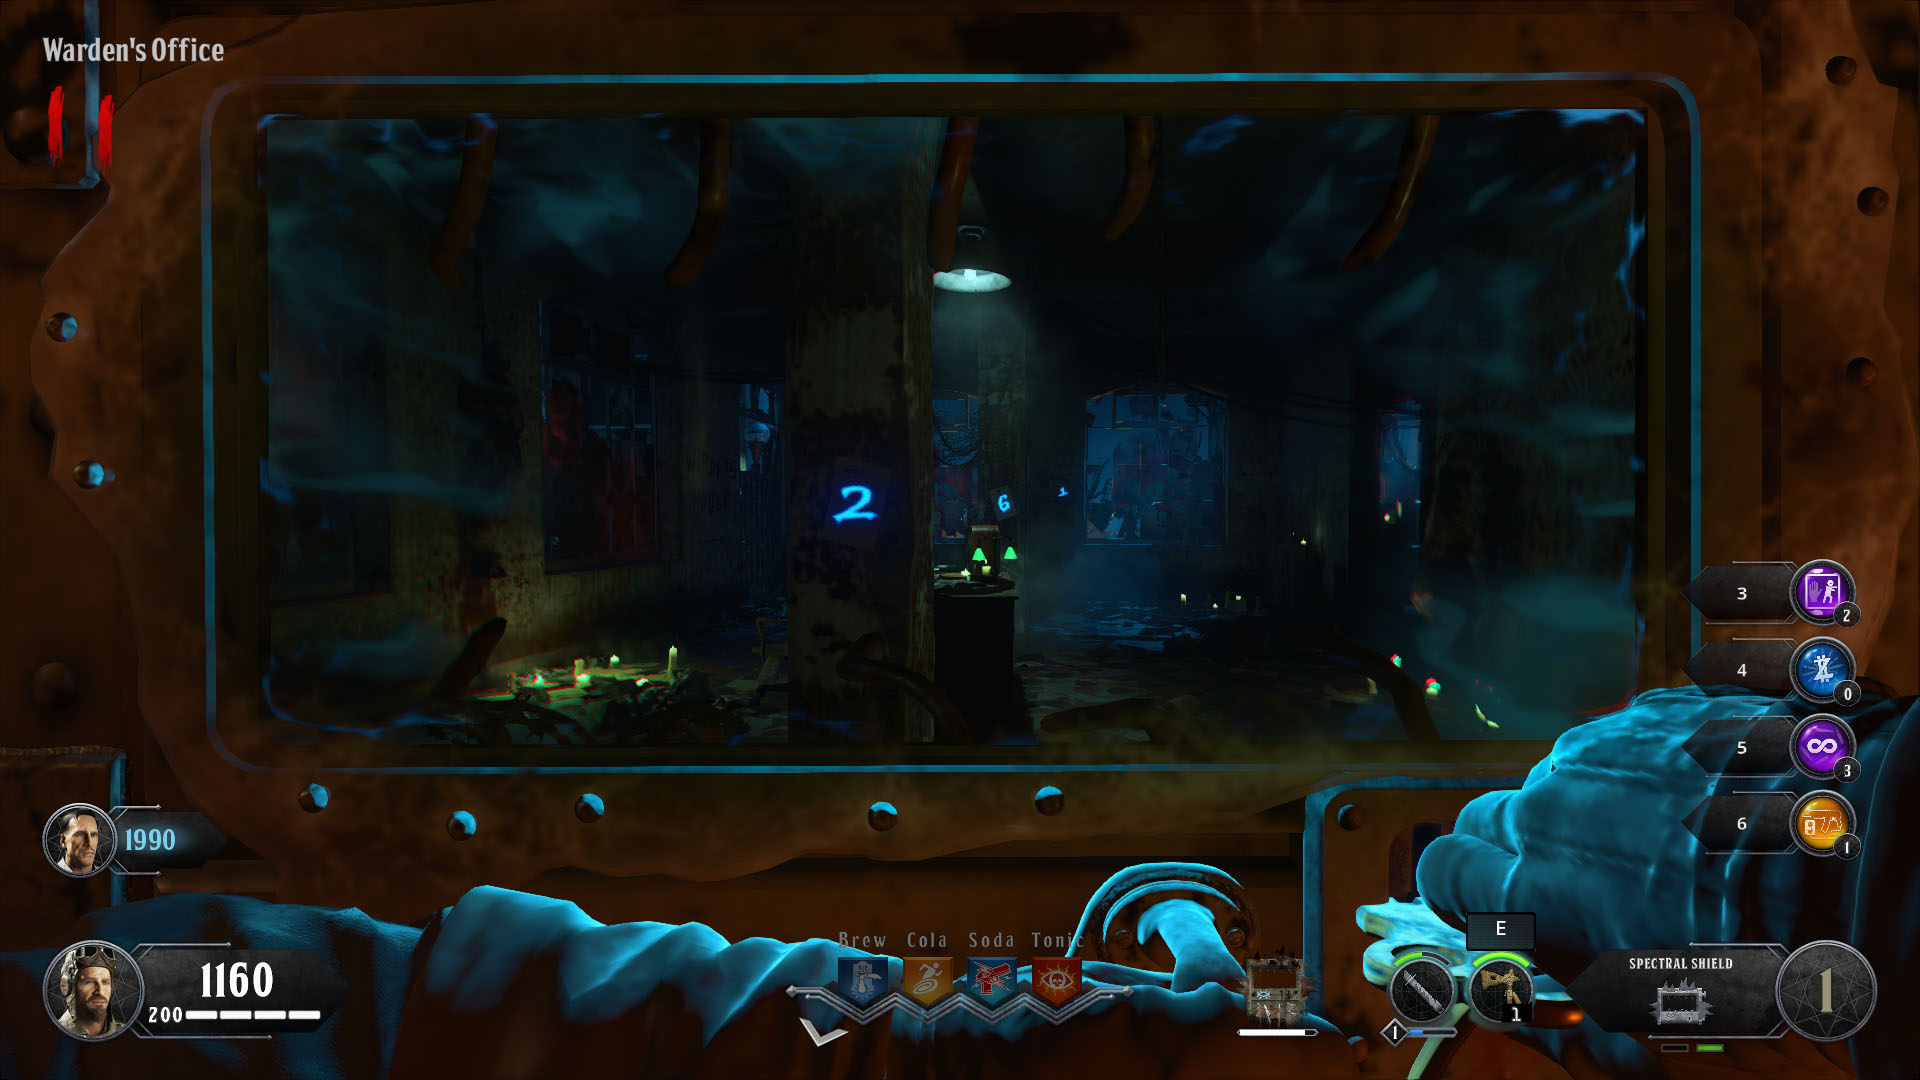
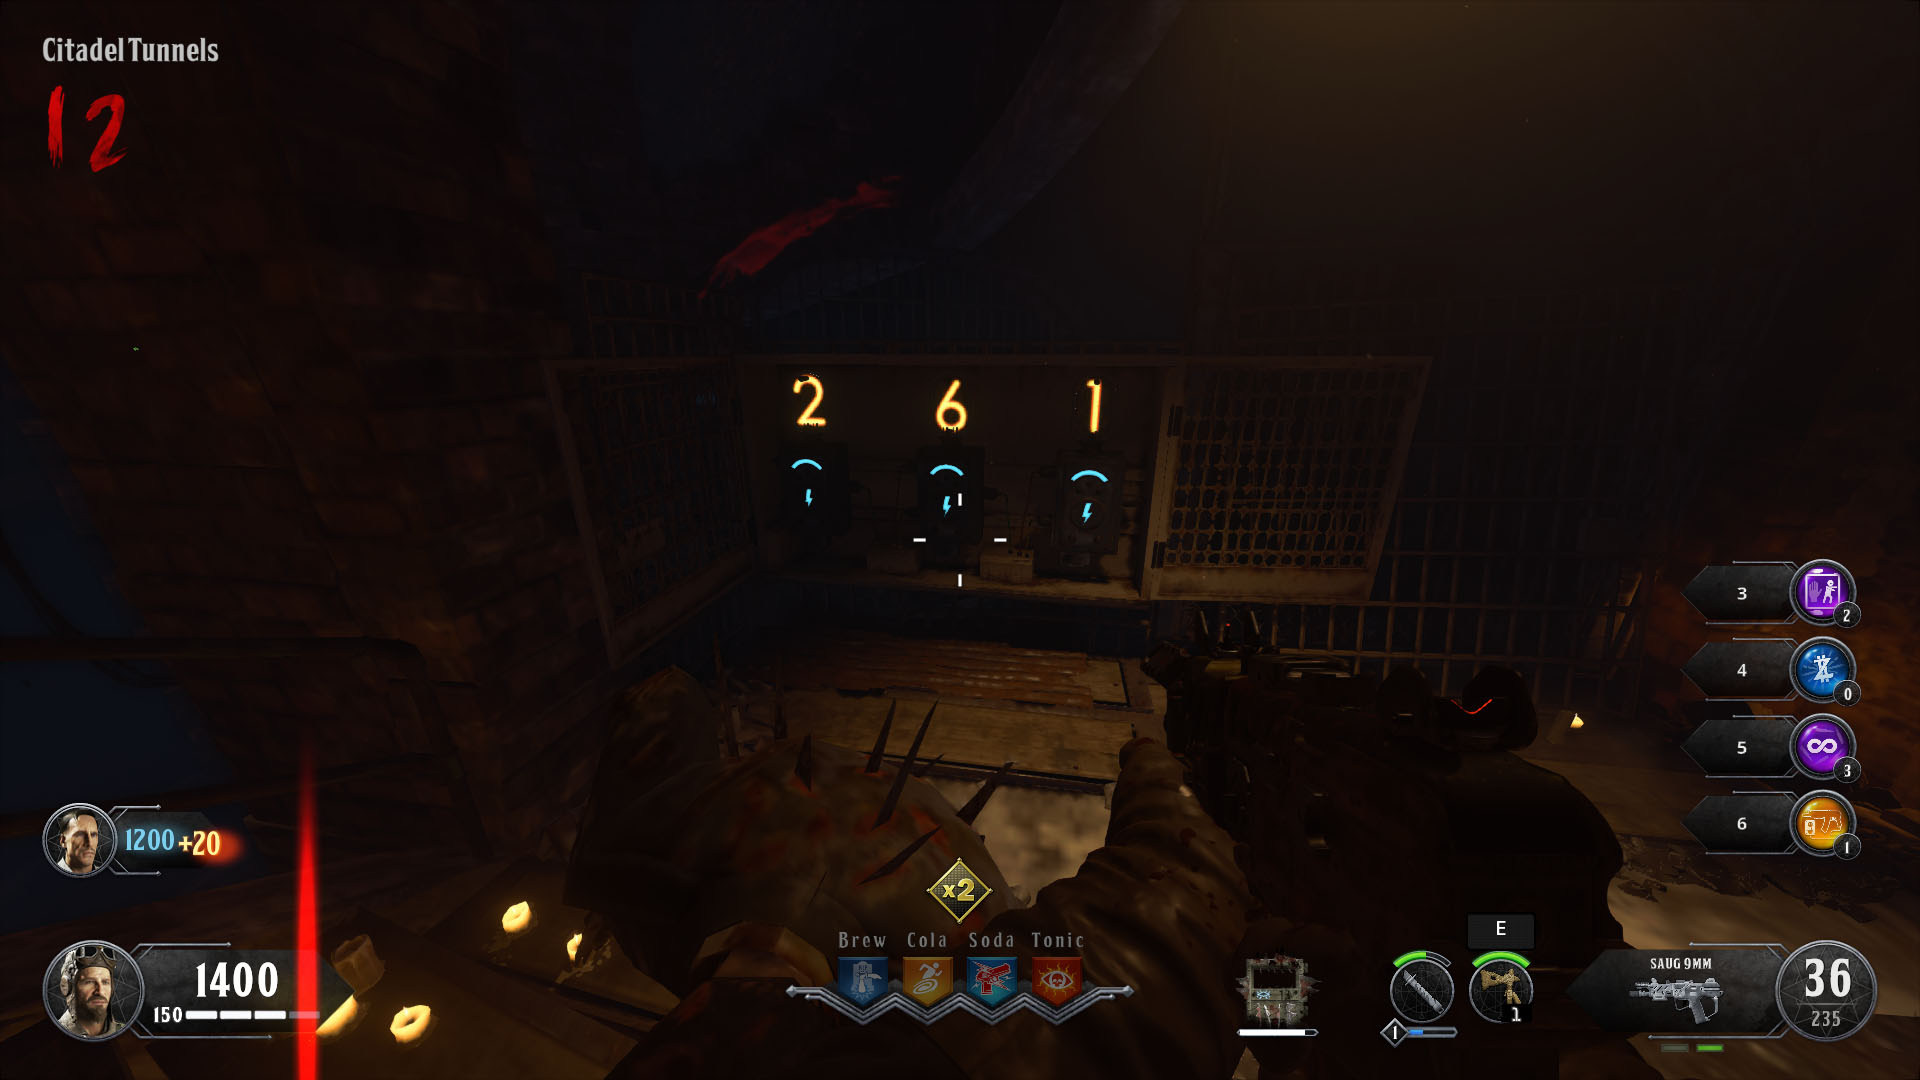
To get the Spoon, head to the Warden's Role. In that location'south iii pillars - equip your Spectral Shield and you'll meet three spectral numbers. Take note of the numbers from the closest to furthest away. Make certain you've got a accuse of your Spirit Smash and head to the bottom of the Citadel Tunnels where you lot'll find a number pad. Shoot information technology with the Spirit Smash to activate it and input the three numbers you lot had in order.
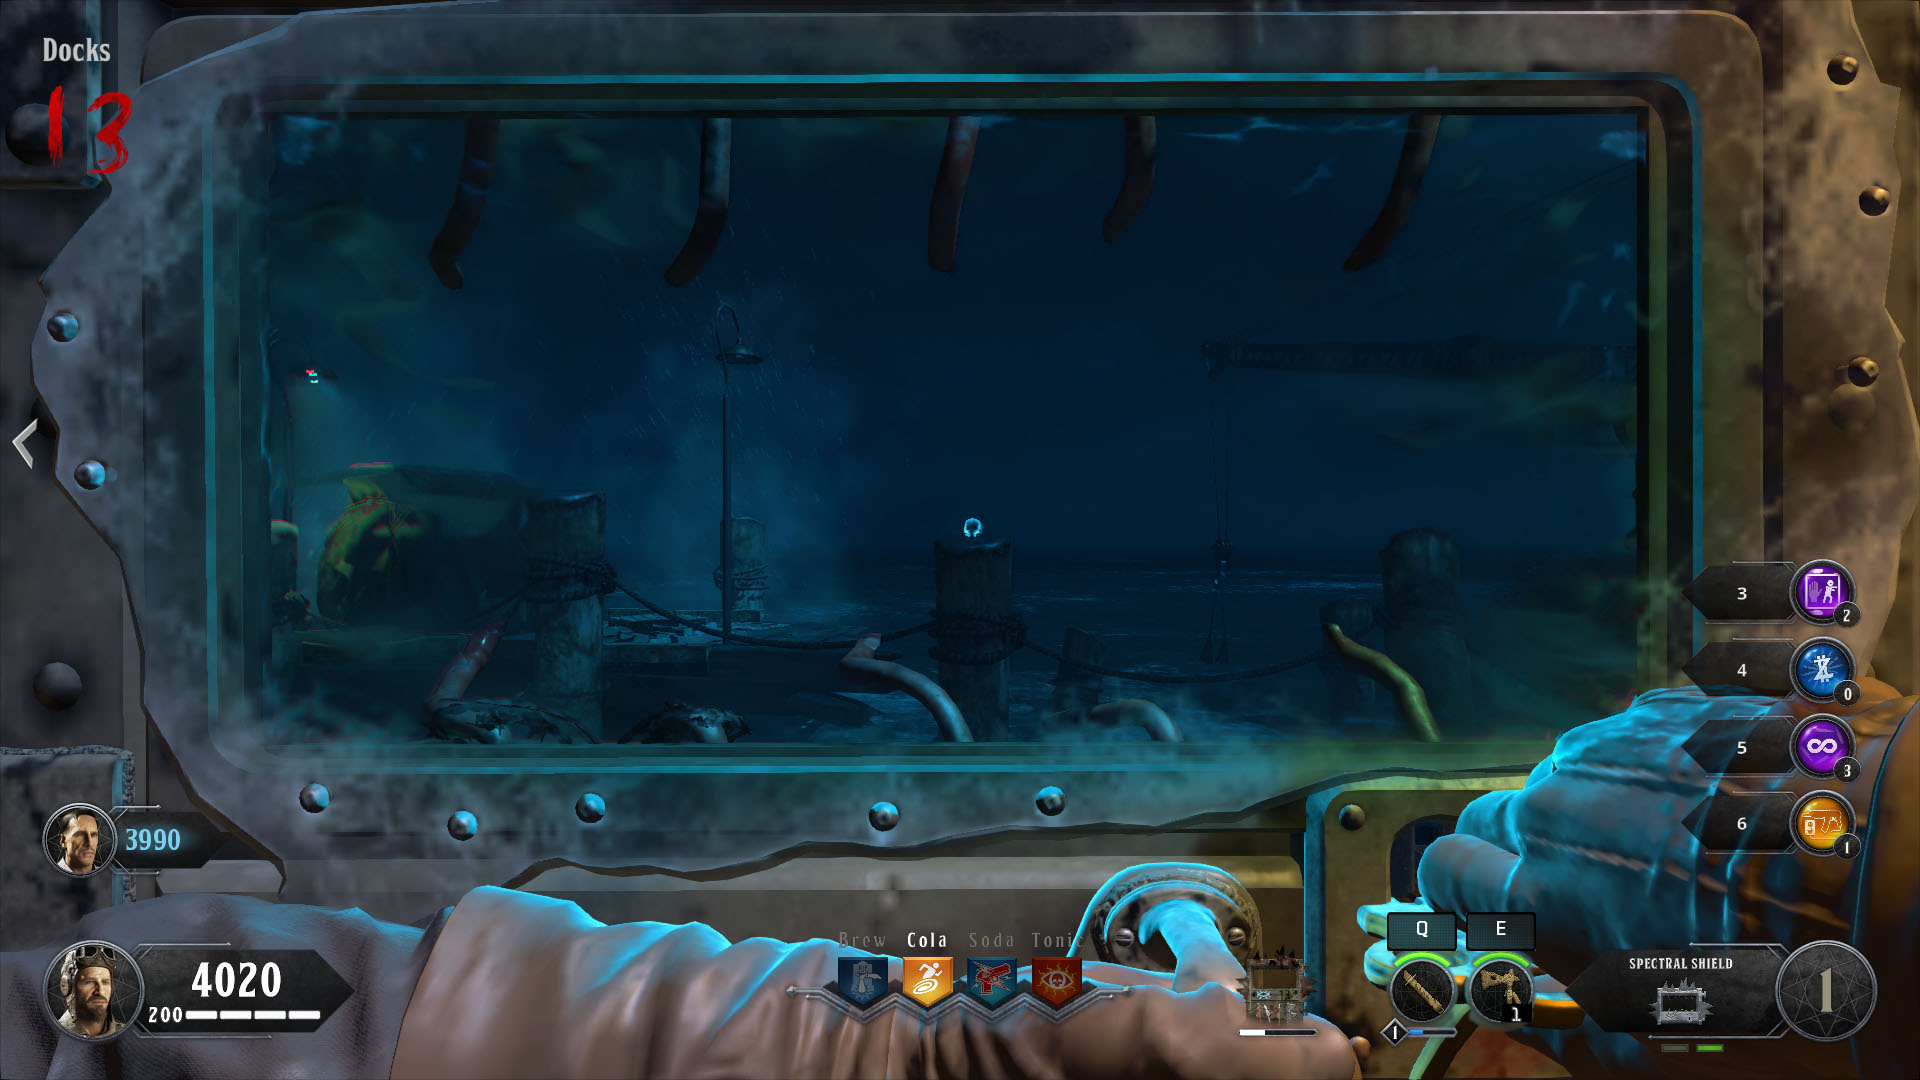
Somehow, those iii numbers will cause the enormous locked elevator to fall from where its hanging. It'll land in the water below and the Spoon will float away. Make your way out to the Docks and there should be a power gauge downwardly at that place. Shoot it with some other Spirit Blast to activate the crane.
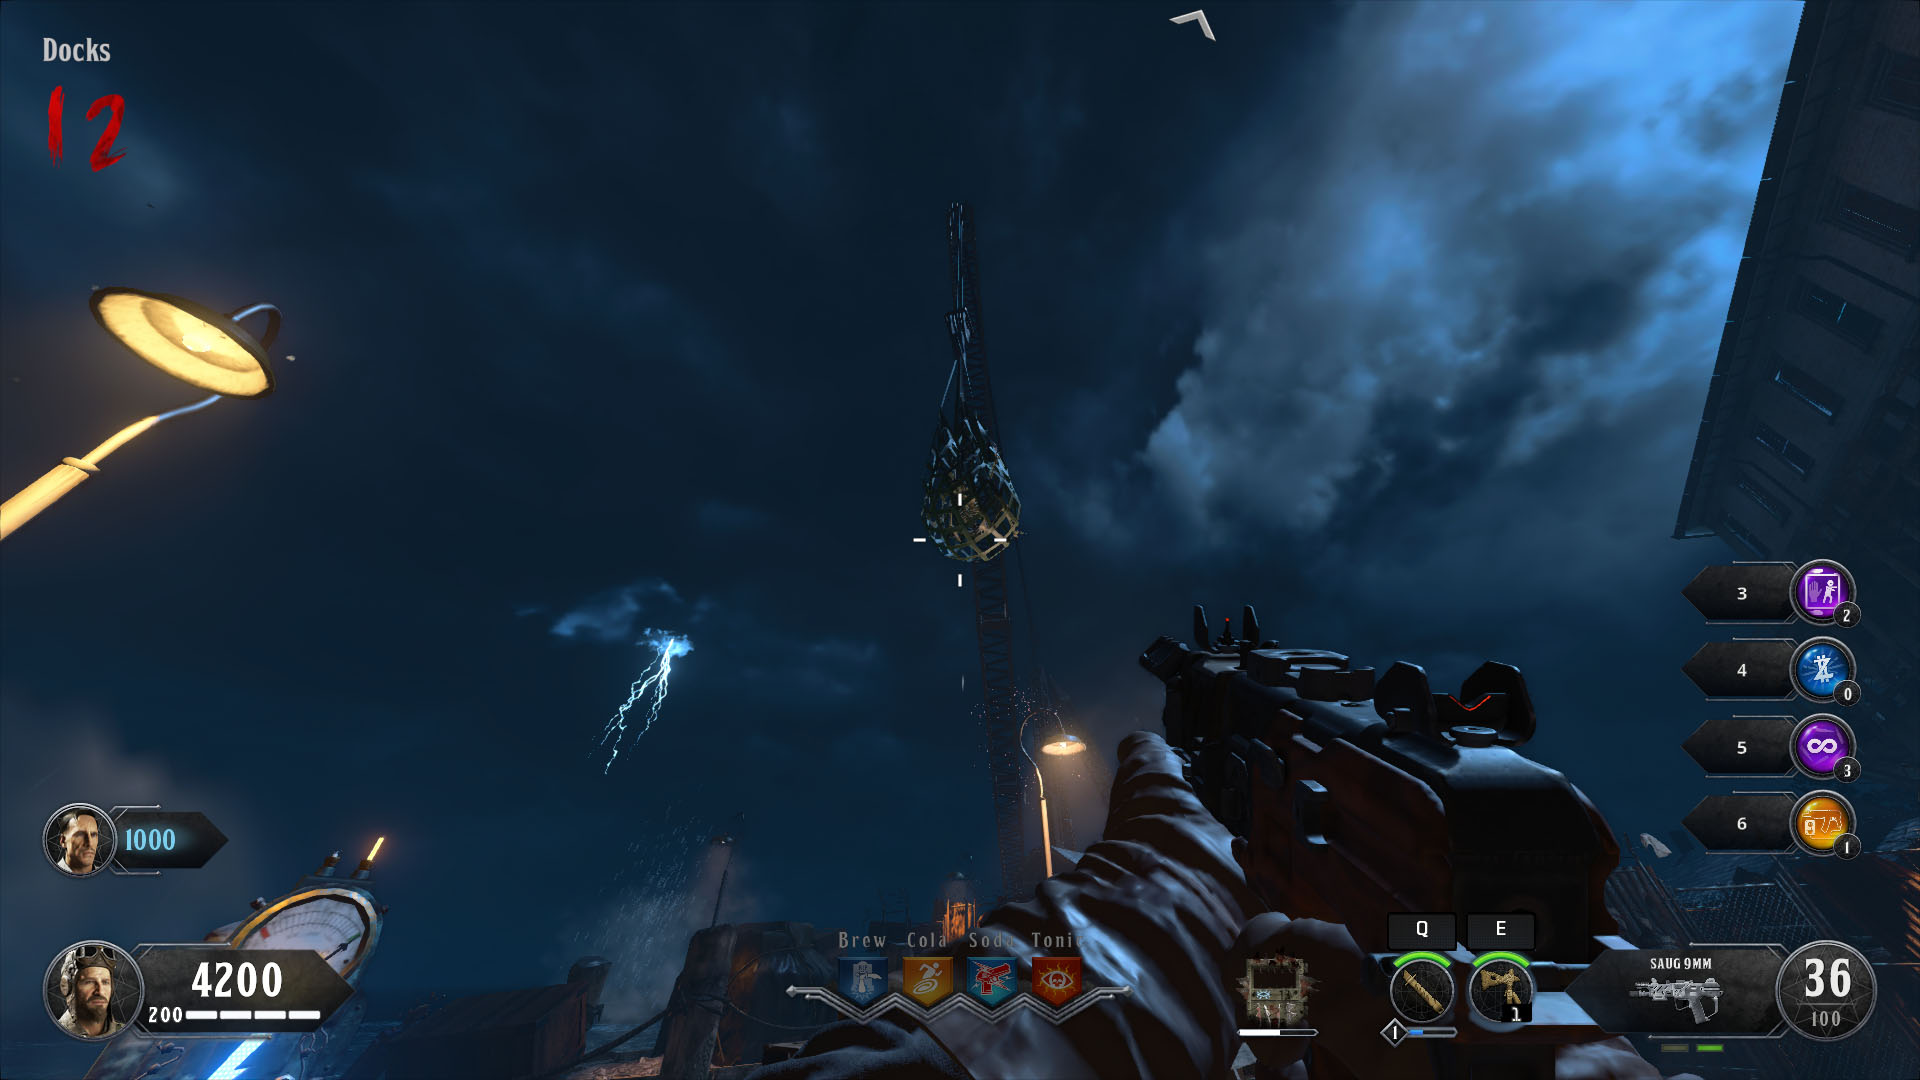
When the crane finishes moving, throw your Hell'due south Retriever at the hanging net with a skeleton in. The Spoon volition autumn out of the net and land on the wooden crate by the edge of the dock. Pick information technology up and you lot've got a slightly better melee weapon that deals one-hit-kills for the before rounds.
Upgrading the Spoon to the Golden Spork
For this pace, y'all need to have already obtained the Blundergat and upgraded information technology to either the Magmagat or the Acidgat. We've covered that in the next step beneath, so revisit this when you lot've done that.
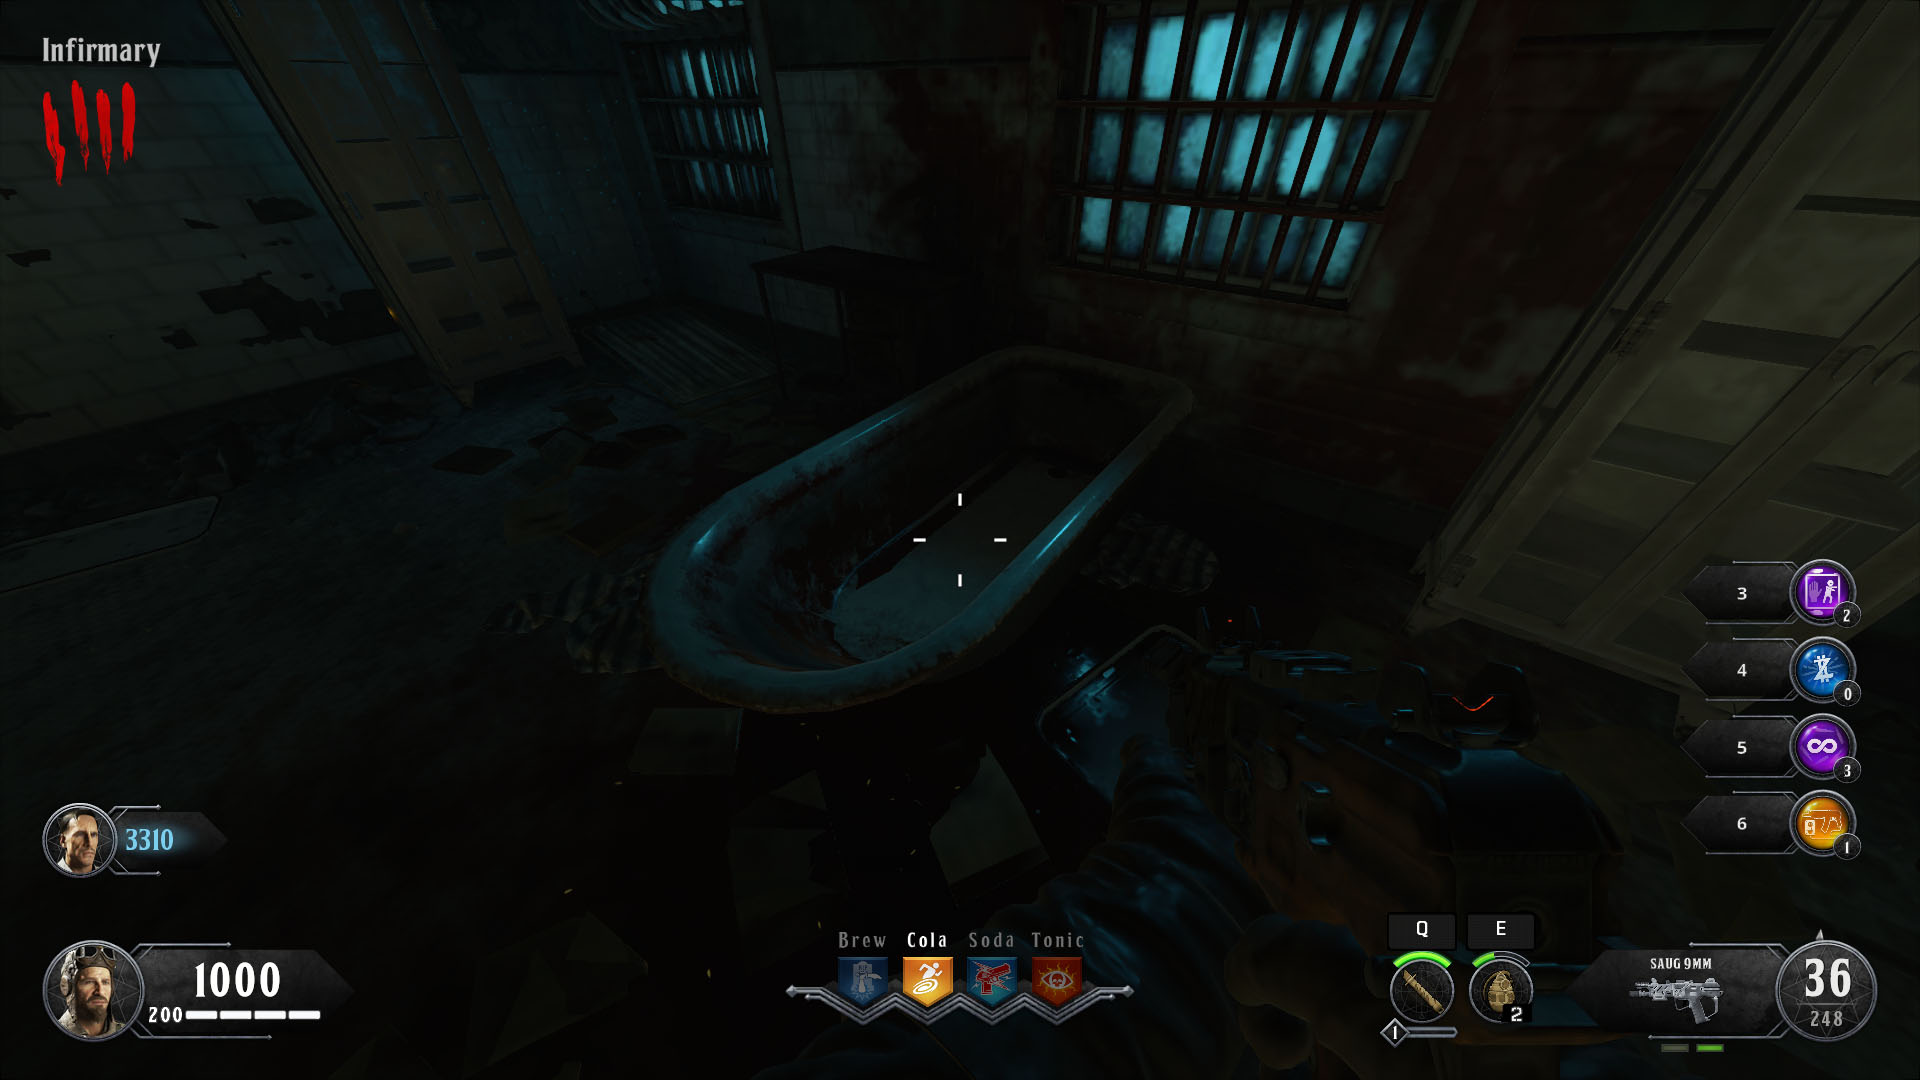
If you lot want an incredibly powerful melee weapon that kills zombies in 1 hit until round 34, upgrade the Spoon to the Golden Spork. Make your style to the Infirmary and you'll notice an empty bathtub. Place the Spoon inside and so go to the roof and keep the Pack A Punch machine visitor for a while.
With either the Magmagat or the Acidgat, you need to kill zombies on the roof. This will slowly start to fill the bathtub in the Infirmary up with claret. When the bathtub is eventually full, interact with information technology to drain all the blood abroad and you'll run across the Spoon has vanished.
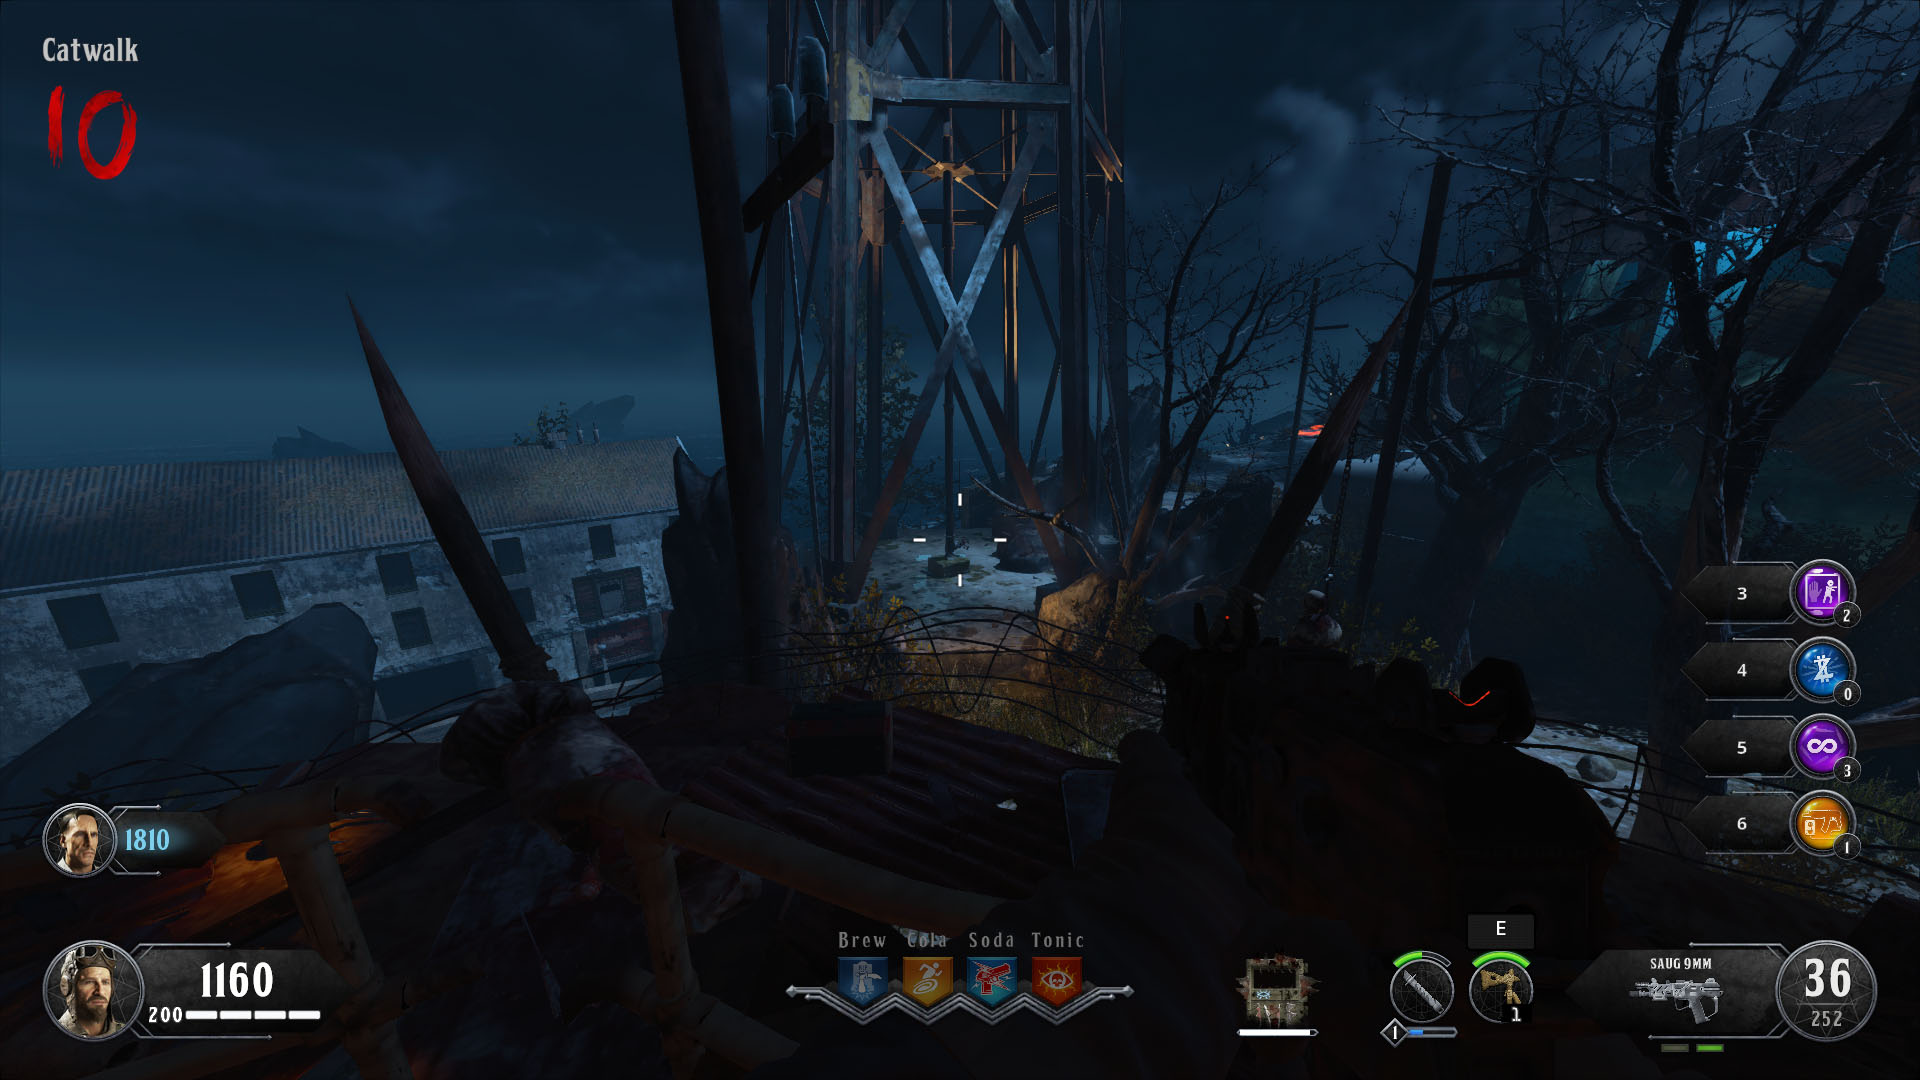
Go down to the Recreation G and up the path to the Catwalk. Look to the enormous water tower on your correct. At that place'due south four hinges on the water tower that y'all can shoot off, although to striking them all you lot may need to look at the water belfry from unlike angles. When all four have been cleaved off, the water belfry will crumple. Become back to the Catwalk and throw your Hell's Retriever at the base of the water tower and it should come up flying dorsum to your hands with the Gilt Spork. Happy meleeing!
Obtaining the Blundergat
It's possible to obtain the Blundergat via the Mystery Box, for the pocket-size price of 950 points. Of course, this isn't reliable in any mode then while you could get information technology on your starting time go, information technology may also accept yous 50 goes. Thankfully, you can too obtain the Blundergat for free.
With the Spectral Shield equipped, you need to search for and hunt downward five Spectral Skulls. Thankfully, these all spawn in the same place each game so you don't demand to check multiple locations for each one:
- Opposite the Library entrance, within a cell on C-D Street
- On the third wooden pole from the left in the water at the Docks
- To the right of the Pack A Dial car on the Rooftop, a skull should be on a wooden crate

- On summit of one of the poles in Hawkeye Plaza
- Role of the way upwardly the metal staircase in West Grounds
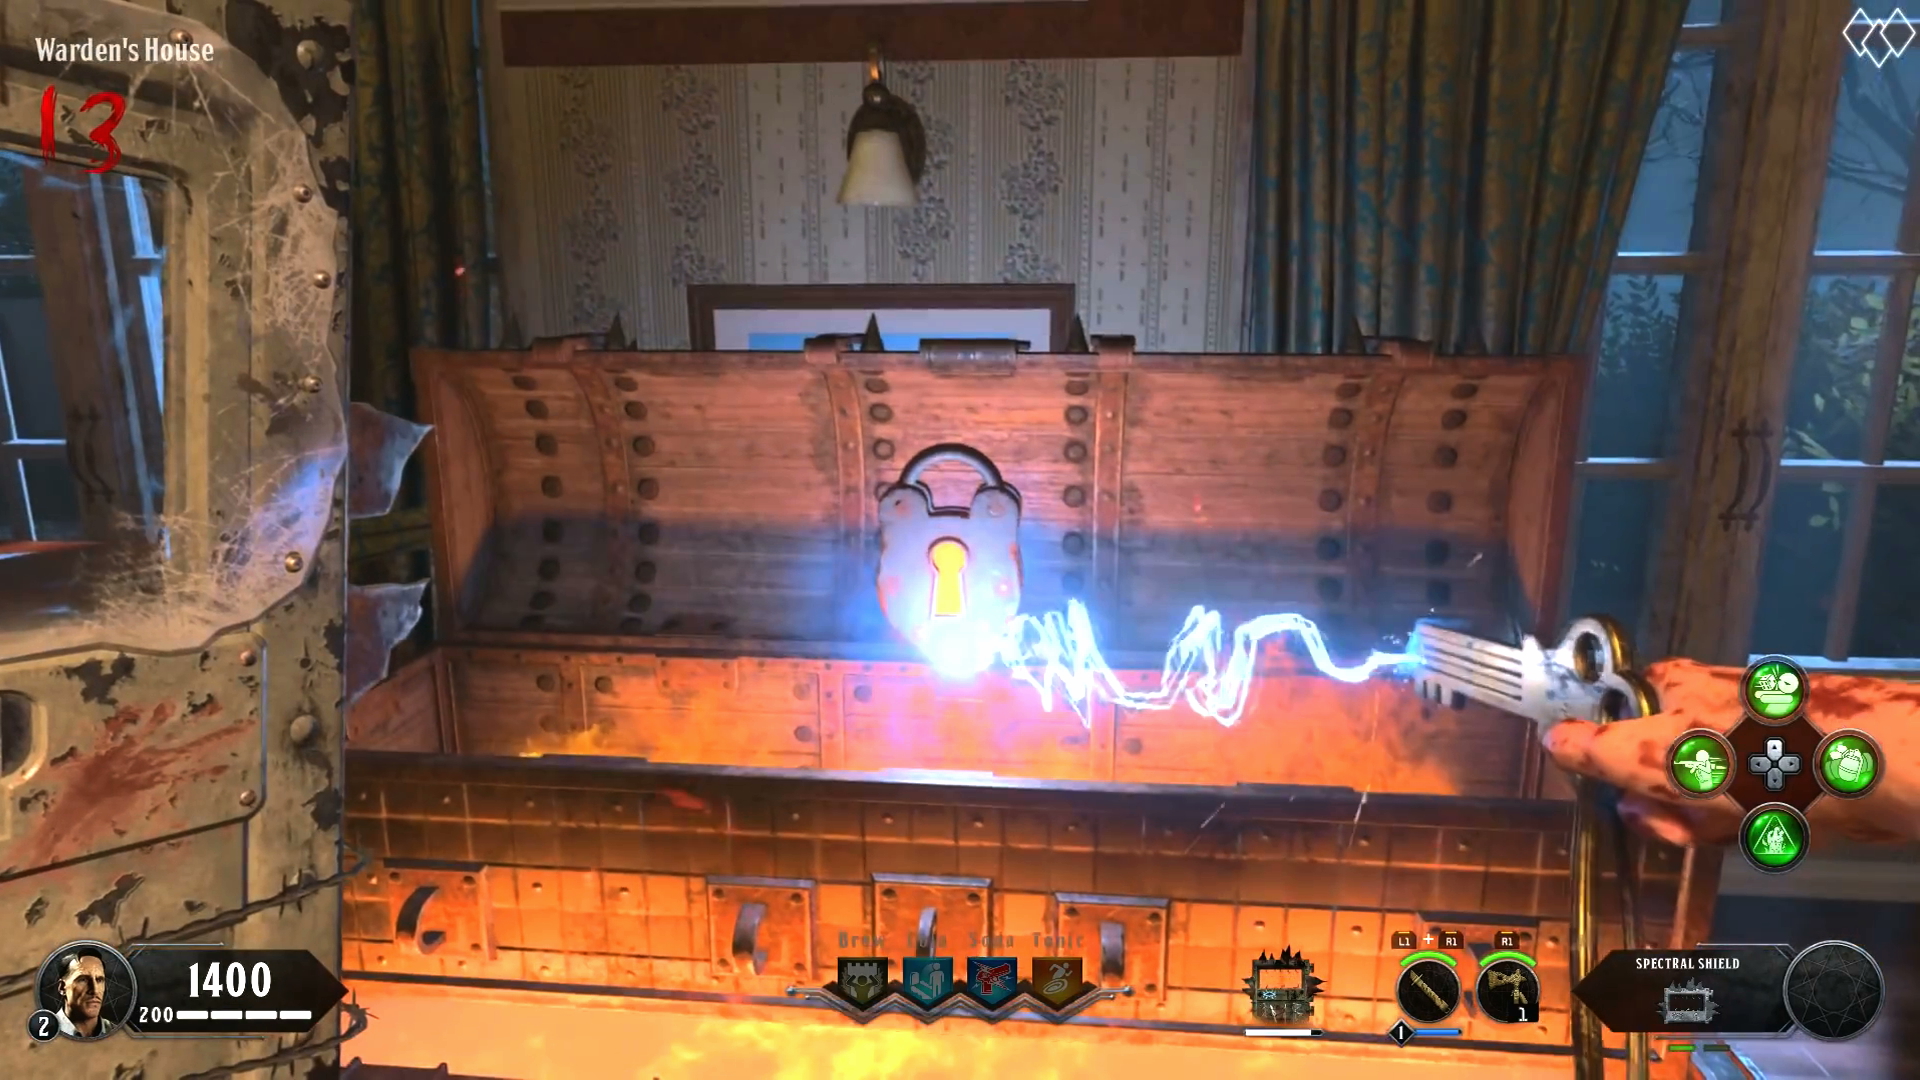
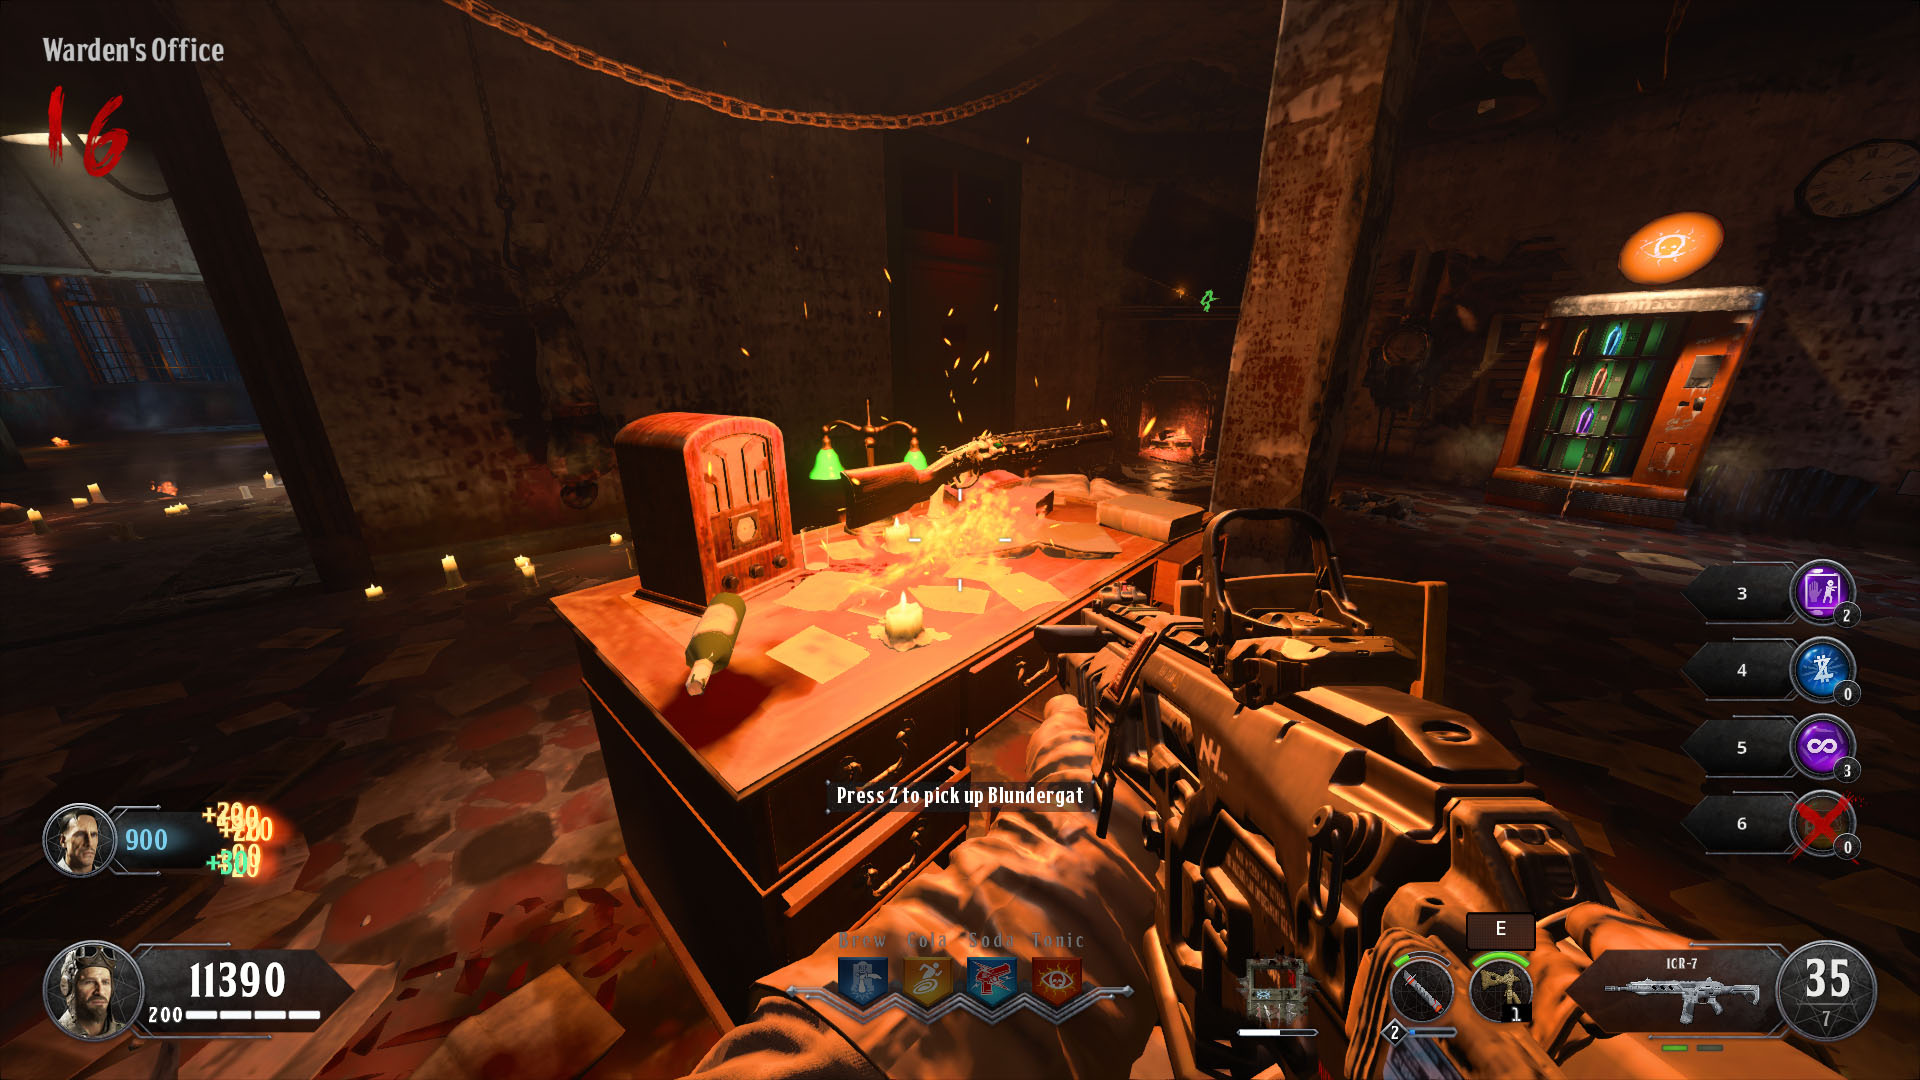
To pick up all of the skulls, but throw your Hell'south Retriever at them. We told y'all it comes in handy! After yous've got them all, make your way to the Warden's Function and you should be able to grab the Blundergat from on top of the desk.
Upgrading the Blundergat to the Magmagat
The Magmagat is the fiery version of the Blundergat. Firing information technology at the floor leaves backside molten puddles which damage any enemy that walks across them, meaning it's a fantastic weapon for the later rounds. To upgrade it though, y'all demand to leap through a few hoops.

As soon as you pick upward the Blundergat off the desk-bound, head to the fireplace and identify the Blundergat in in that location. Kill zombies within the Warden'due south House and they will drop essence. Walk over the essence to pick information technology up and the three skulls above the fireplace will start to fill up up. When all iii are flaming blueish, collaborate with them to eolith the essence and the Blundergat will come out of the fireplace every bit the Tempered Blundergat.
As soon every bit you pick it up, a time trial will start. Make sure you do not burn the weapon and use your other gun instead for any zombies you kill. Yous need to race confronting fourth dimension and interact with half dozen flaming blueish barrels in this gild:
- Eagle Plaza
- Michigan Avenue
- Times Square
- Recreation Yard
- Due west Grounds
- New Industries
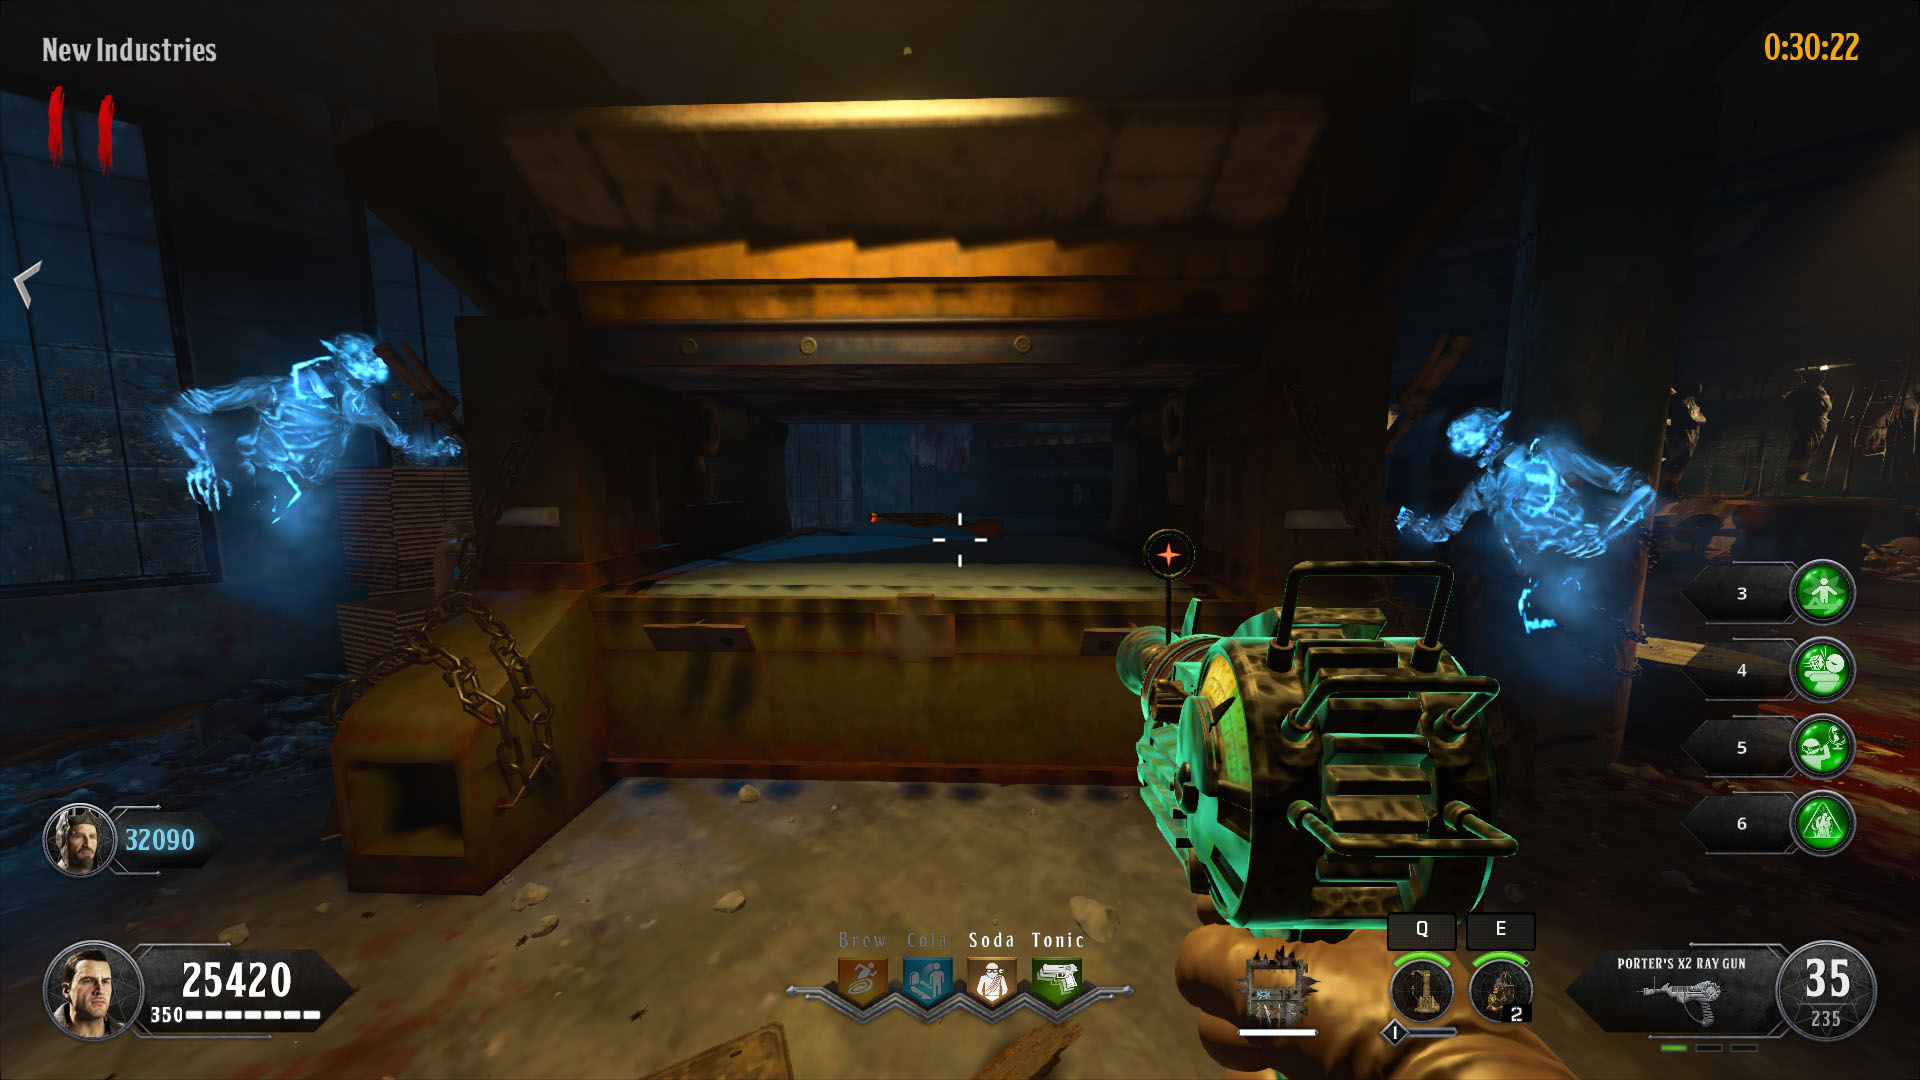
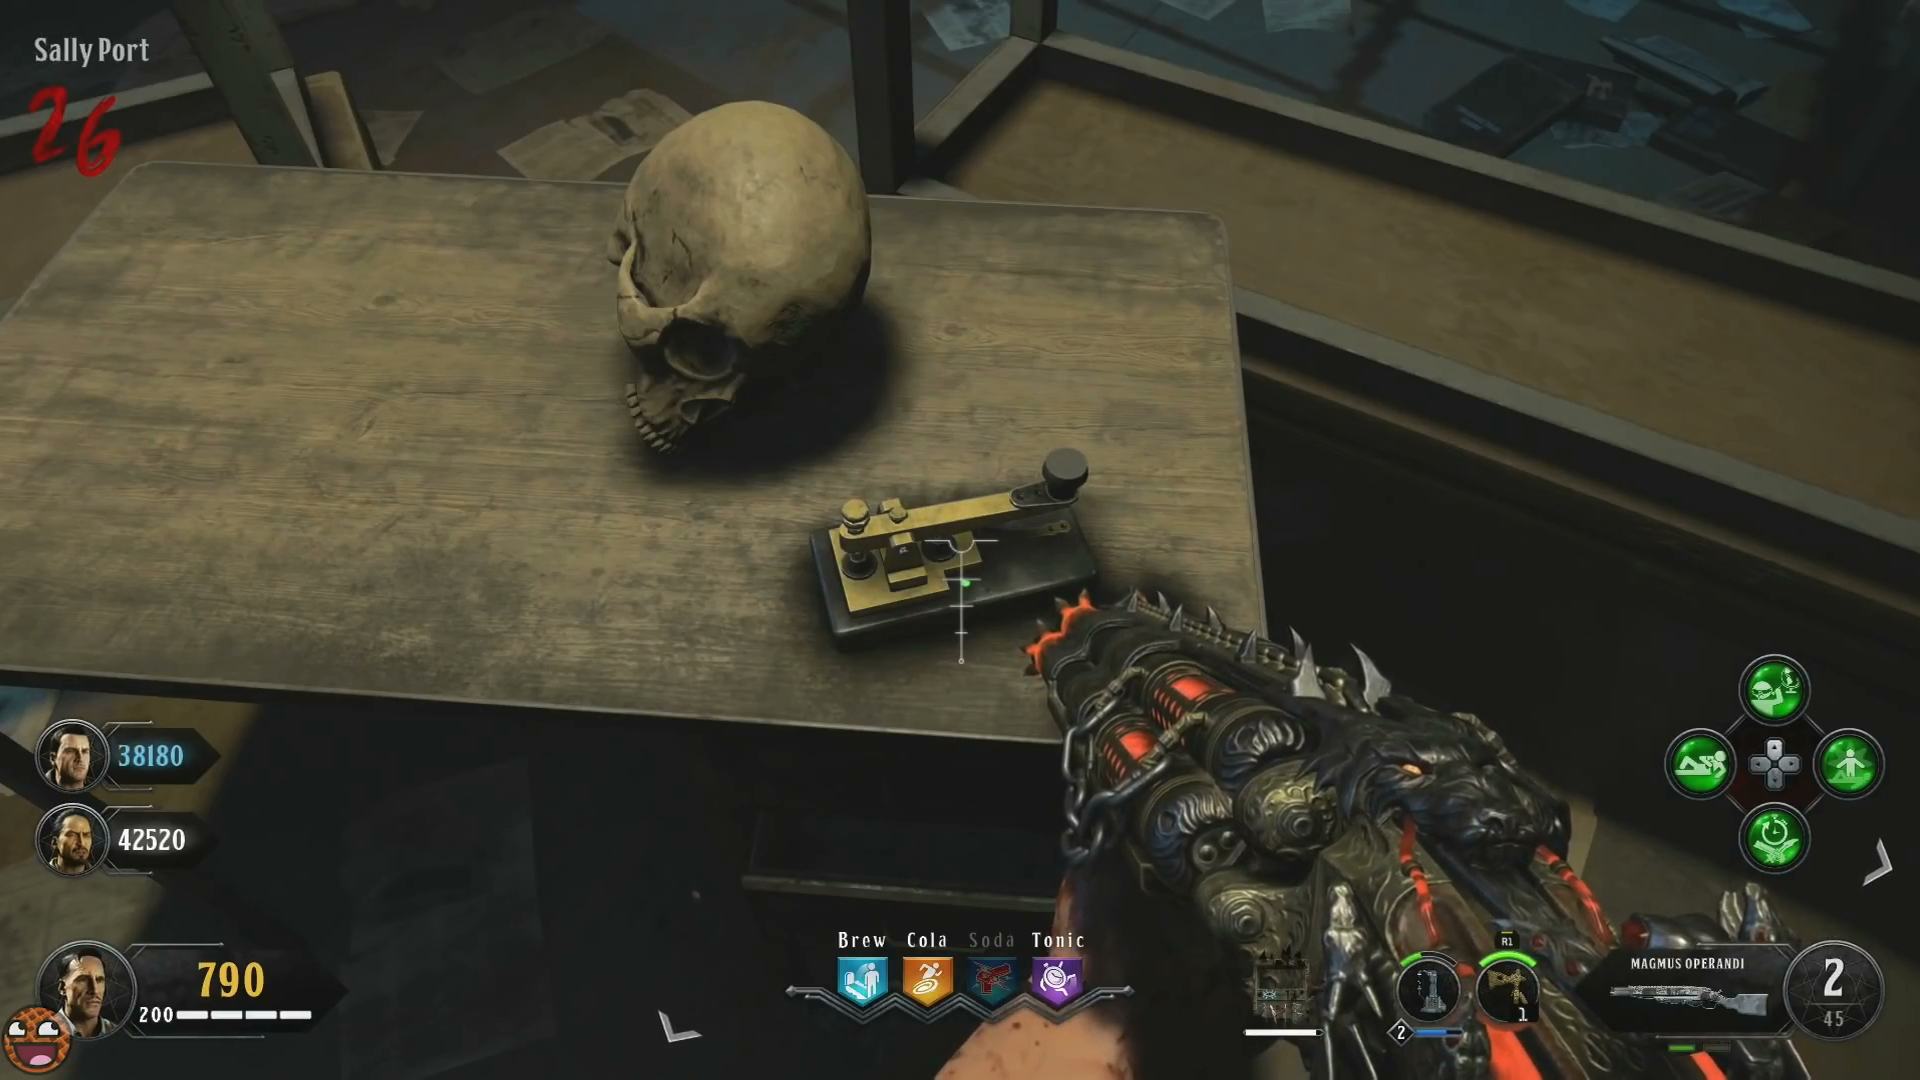
When y'all reach New Industries and collaborate with the barrel there, interact with the compactor auto by the side and 2 spectral ghosts will appear. Let them do their affair with the machine and it will give yous the Magmagat in return. Pack A Punch it for the Magmus Operandi, an incredibly powerful gun that will kill about every enemy in but a few hits.
Note that if anyone else wants to upgrade their Blundergat to the Magmagat from this indicate onwards, they just need to collaborate with the compactor in New Industries. They don't have to do the time trial themselves.
Upgrading the Blundergat to the Acidgat
If you'd adopt the poison version of the weapon known as the Acidgat, you need to search for some more than parts. Again, these don't actually have random spawn locations and so you lot should be able to choice them all upwardly from the aforementioned place every game:
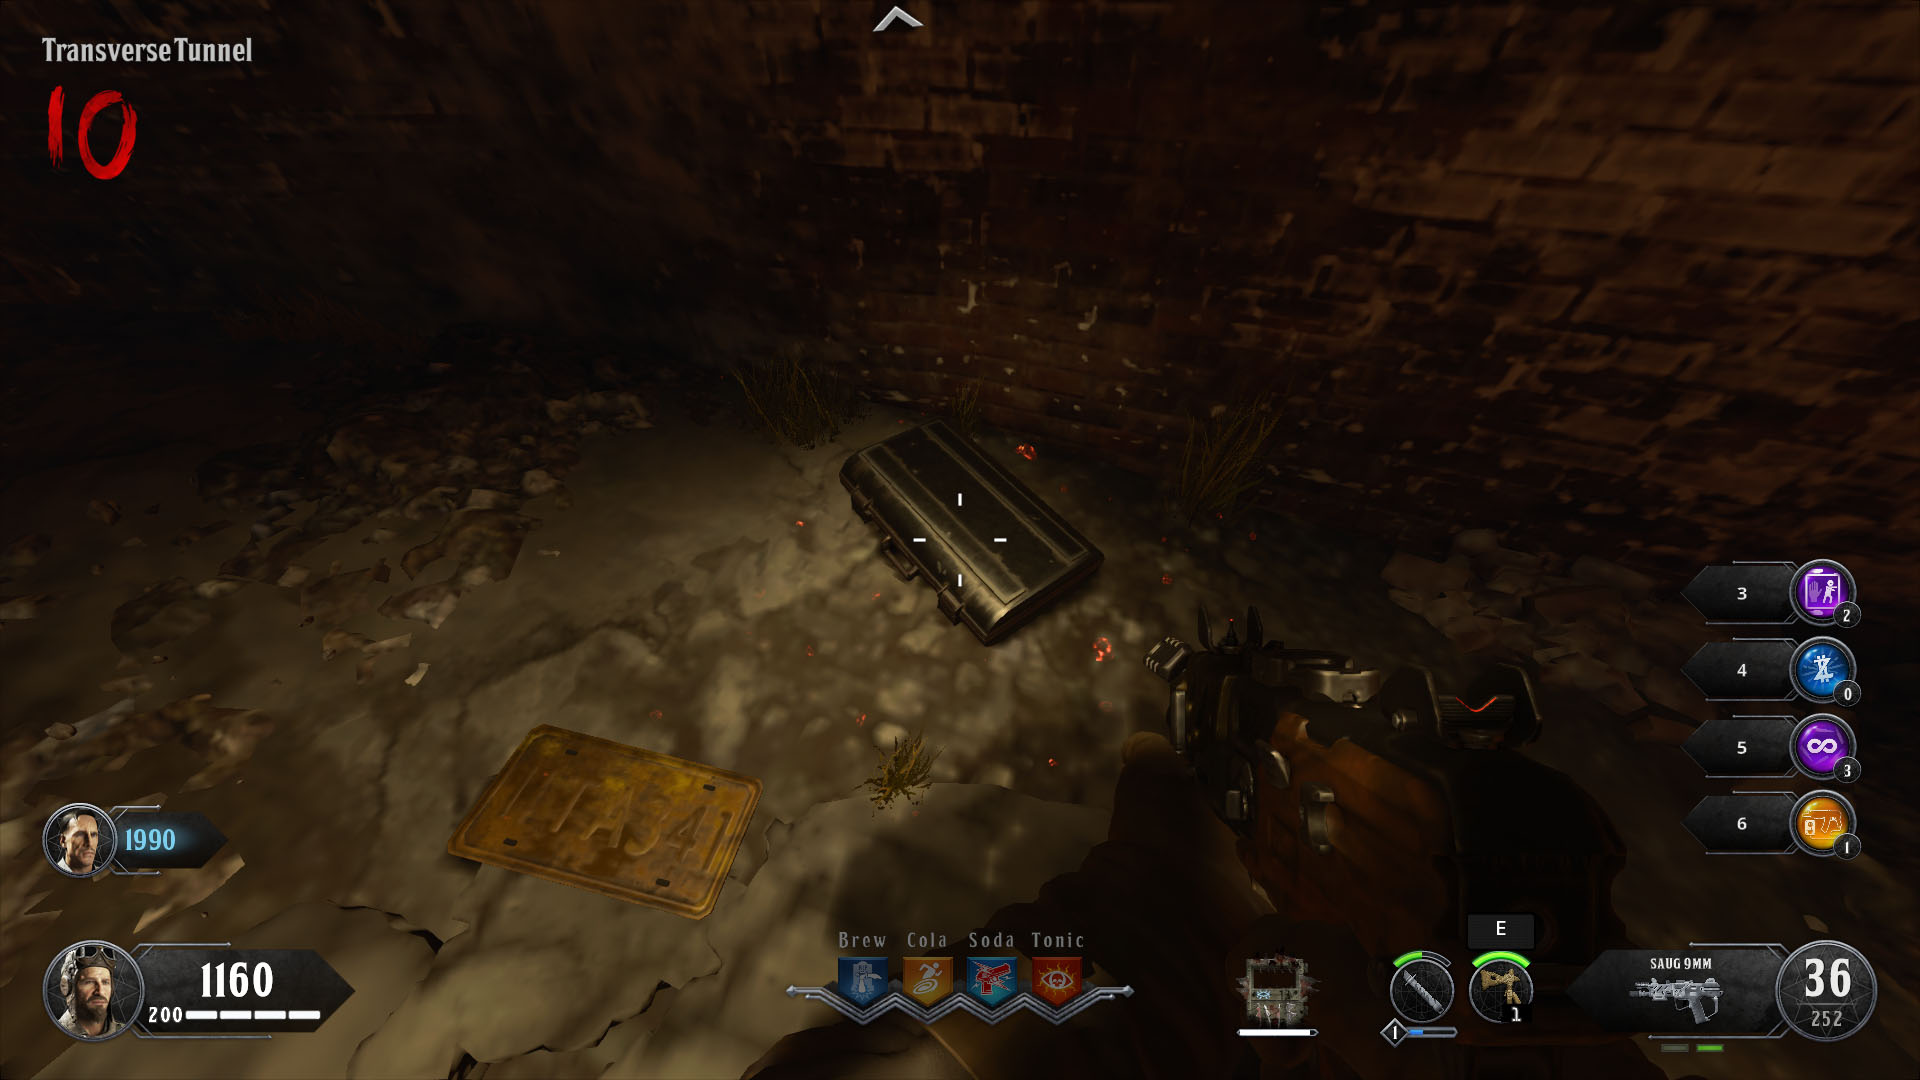
- The commencement part is in the Transverse Tunnel, on the floor by the right-hand wall near a wall-buy.
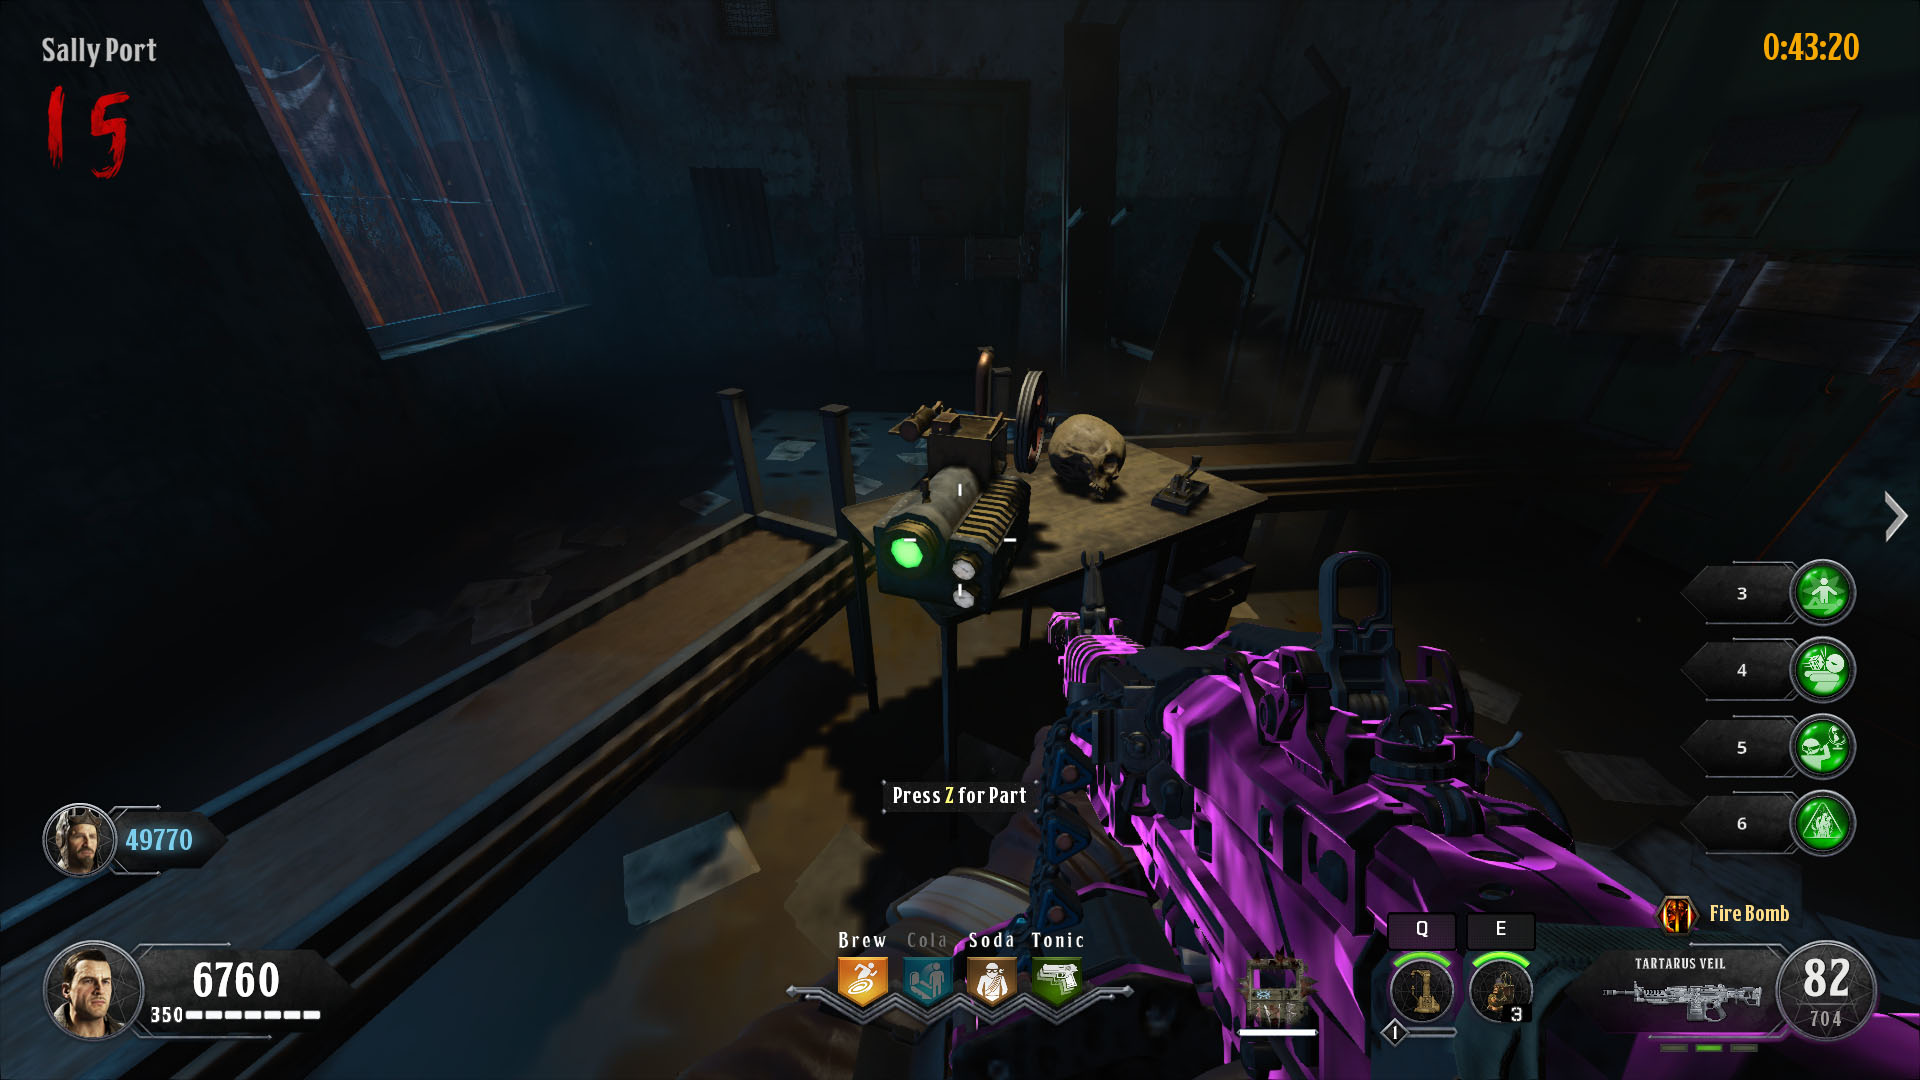
- Next, head to Sally Port. In one of the rooms is a table with a skull and a morse code machine. Recall this morse lawmaking car because you lot'll demand it later down the line merely for now, grab the third object on the table which is the second role for the Acidgat.
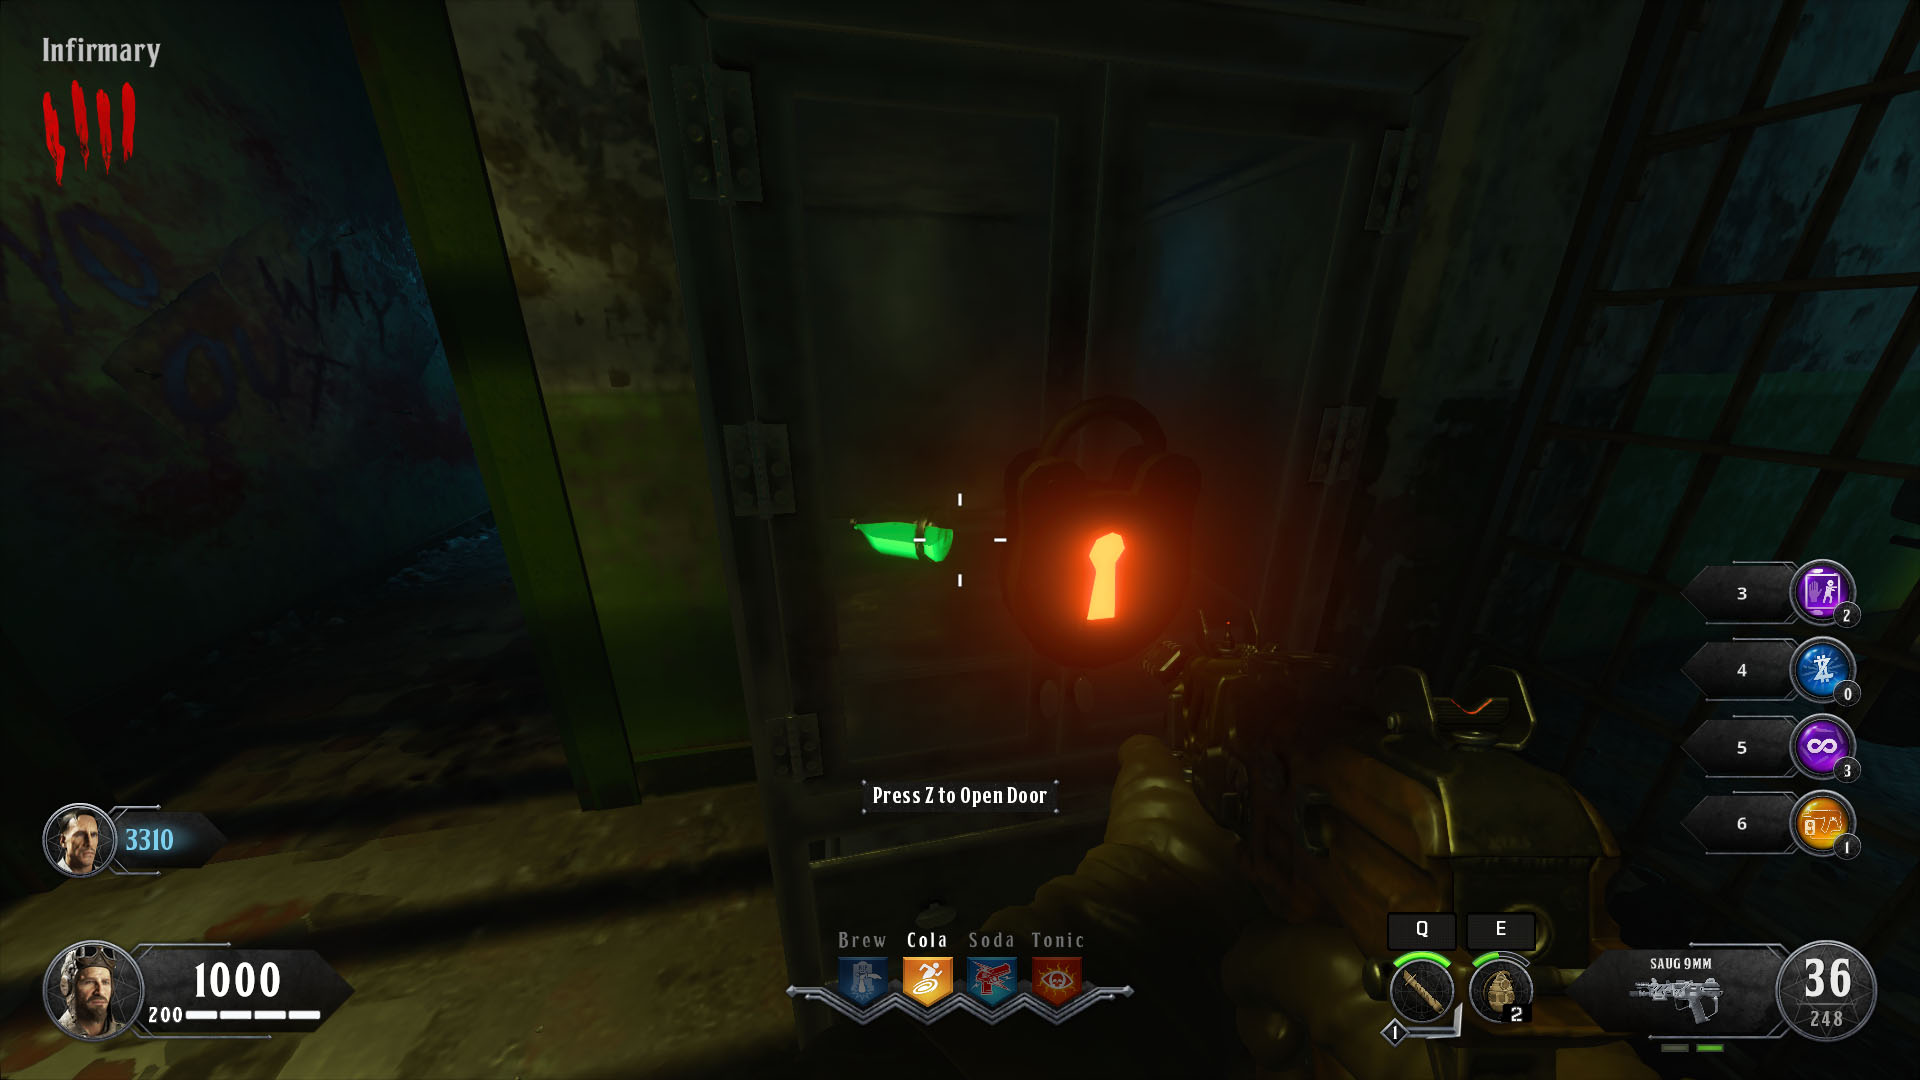
- The Infirmary is where you'll discover the third function. In the corner of the room, near the path to the Rooftop is a cabinet. Collaborate with it and the Warden's Key will open information technology.
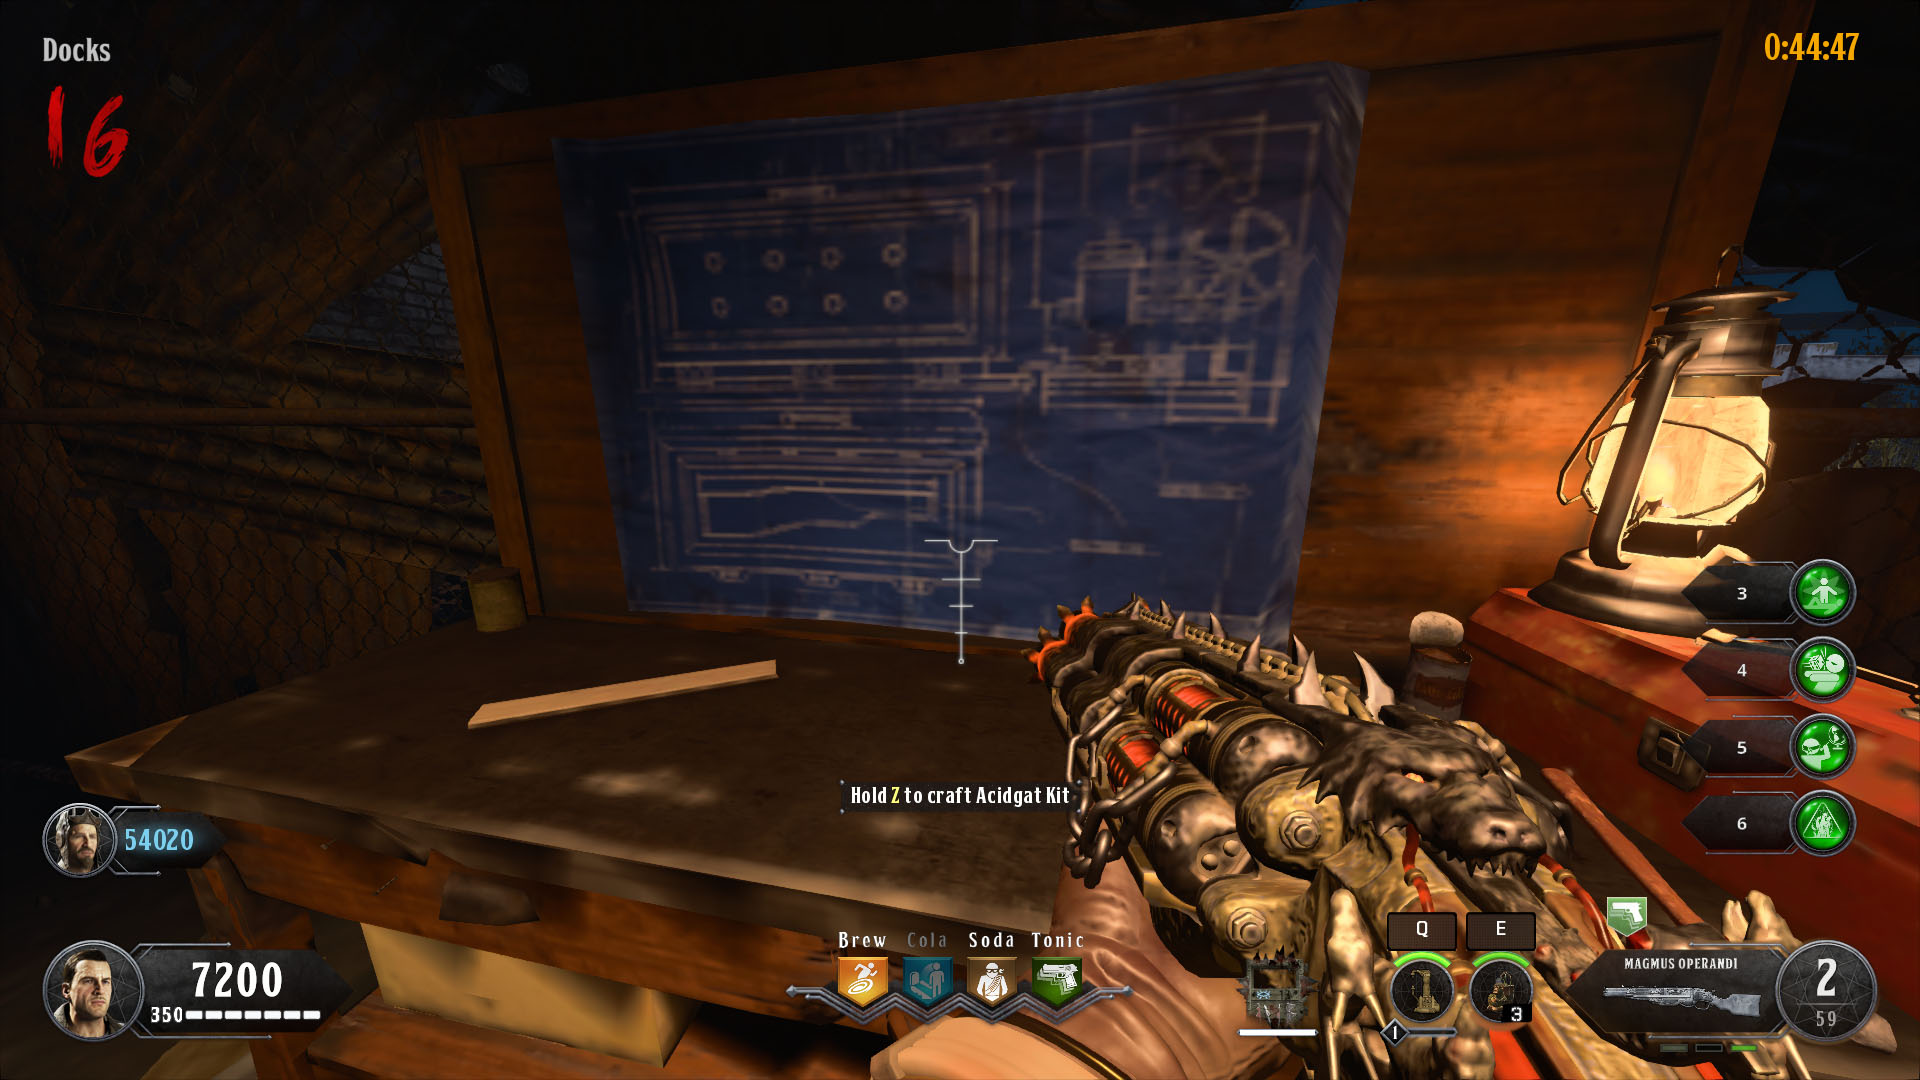
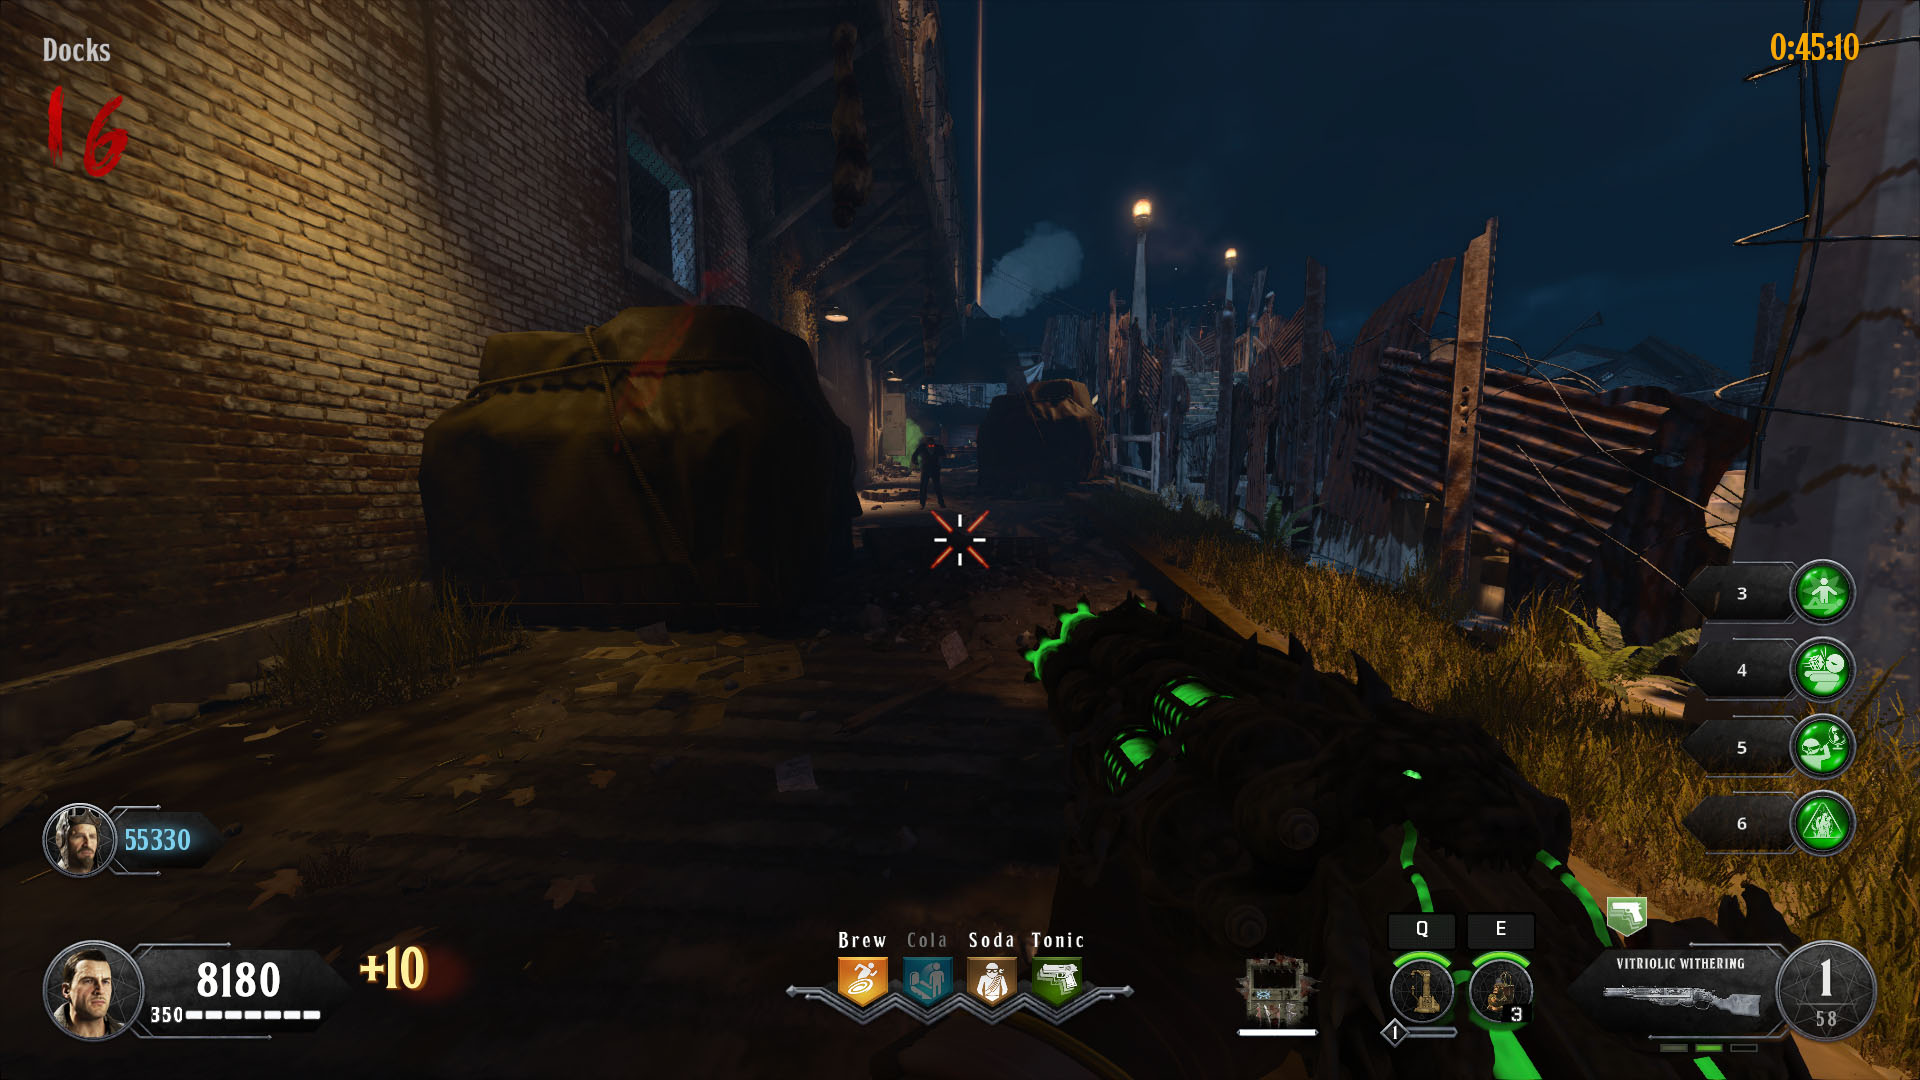
With all iii parts, head to a workbench to build the Acidgat - either on the Docks or Cell Block Third Floor. If you've already got the Magmagat you tin can substitution it for the Acidgat. Pack A Punching it volition create the Vitriolic Withering which, every bit you'd expect, is very powerful.
How to earn free Monkey Bombs
The last thing y'all're going to want to exercise before cracking on with the main Easter egg is obtain Monkey Bombs. Now these can come from the Mystery Box and then if one of your squad is lucky enough to have got them already, y'all tin skip this step. If yous oasis't got them so far though, then you're going to want to follow these steps.
Note: Having Monkey Bombs volition supercede the Hell'south Retriever in your equipment slot so make sure someone else is grabbing these, as y'all'll have to go surreptitious to pick up the Hell's Retriever once again later on.
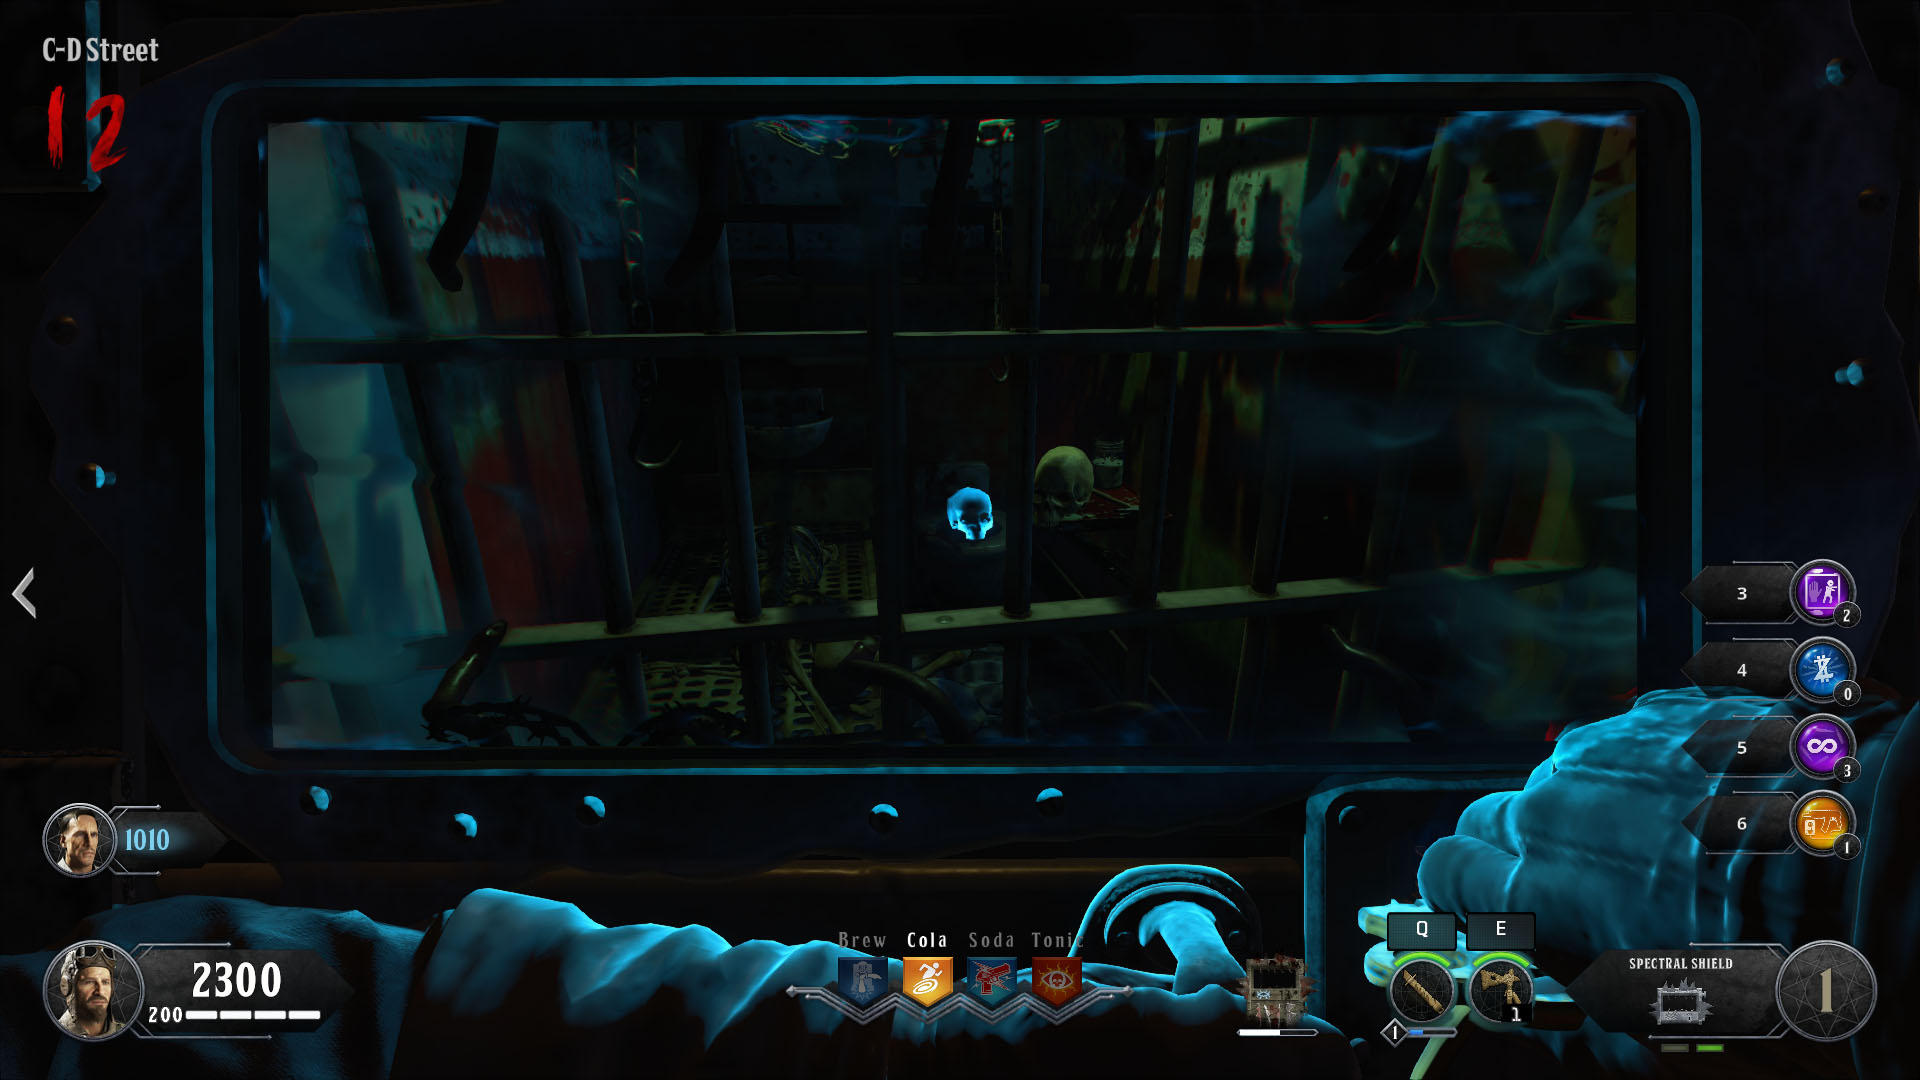
On the lesser floor of C-D Street, there is a zombie window that overlooks the very centre of the prison cell block. Yous'll see it has caved in and of course, the area is inaccessible. Only before the crater is a rock statue of a Monkey Bomb. Ensure your specialist weapon has reached level ii then kill as many zombies equally you can with it by the monkey statue. The statue's lid will begin to fill with zombie souls. When it turns red, shoot information technology and it will levitate then vanish. It'due south popped off to Richtofen's Laboratory - the room you spawn in. Y'all can now pick up free Monkey Bombs from the teleporter pad by the typewriter.
Making a Brutus open the Warden'south Ritual Sleeping room
Now you've done everything above, it'south fourth dimension to get started on the master Easter egg. By this signal, y'all ideally want to be at near wave x or lower. This map becomes seriously tough, so getting everything washed as early as possible is crucial.
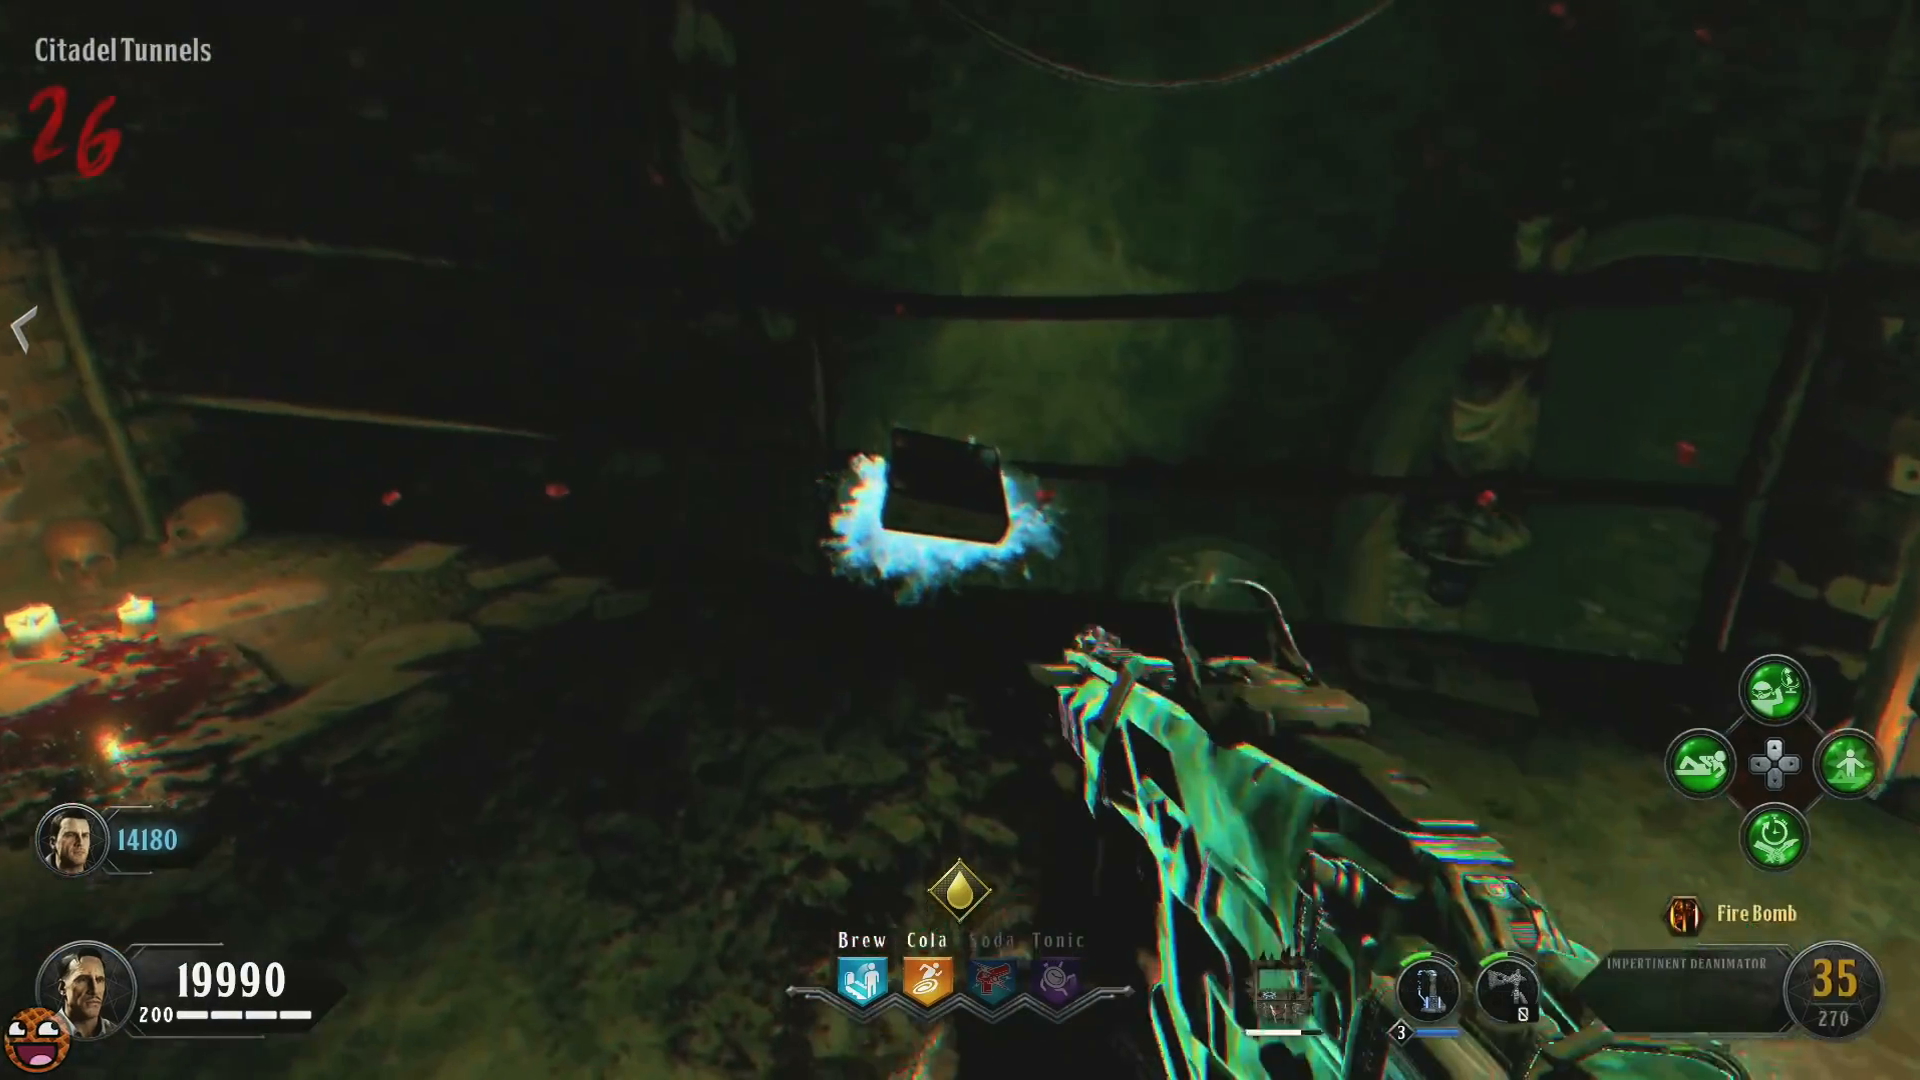
Showtime, you need to make a Brutus spawn. These are the big chaps with helmets that take i hell of a beating. Can't discover 1? In that location'southward a manner to force a Brutus to spawn only you can only practice this once per game, and then ensure nobody else has already washed this. Head to the number pad at the bottom of Citadel Tunnels, shoot it with a Spirit Blast to activate it, and so enter "666". This volition spawn a Brutus correct next to y'all.
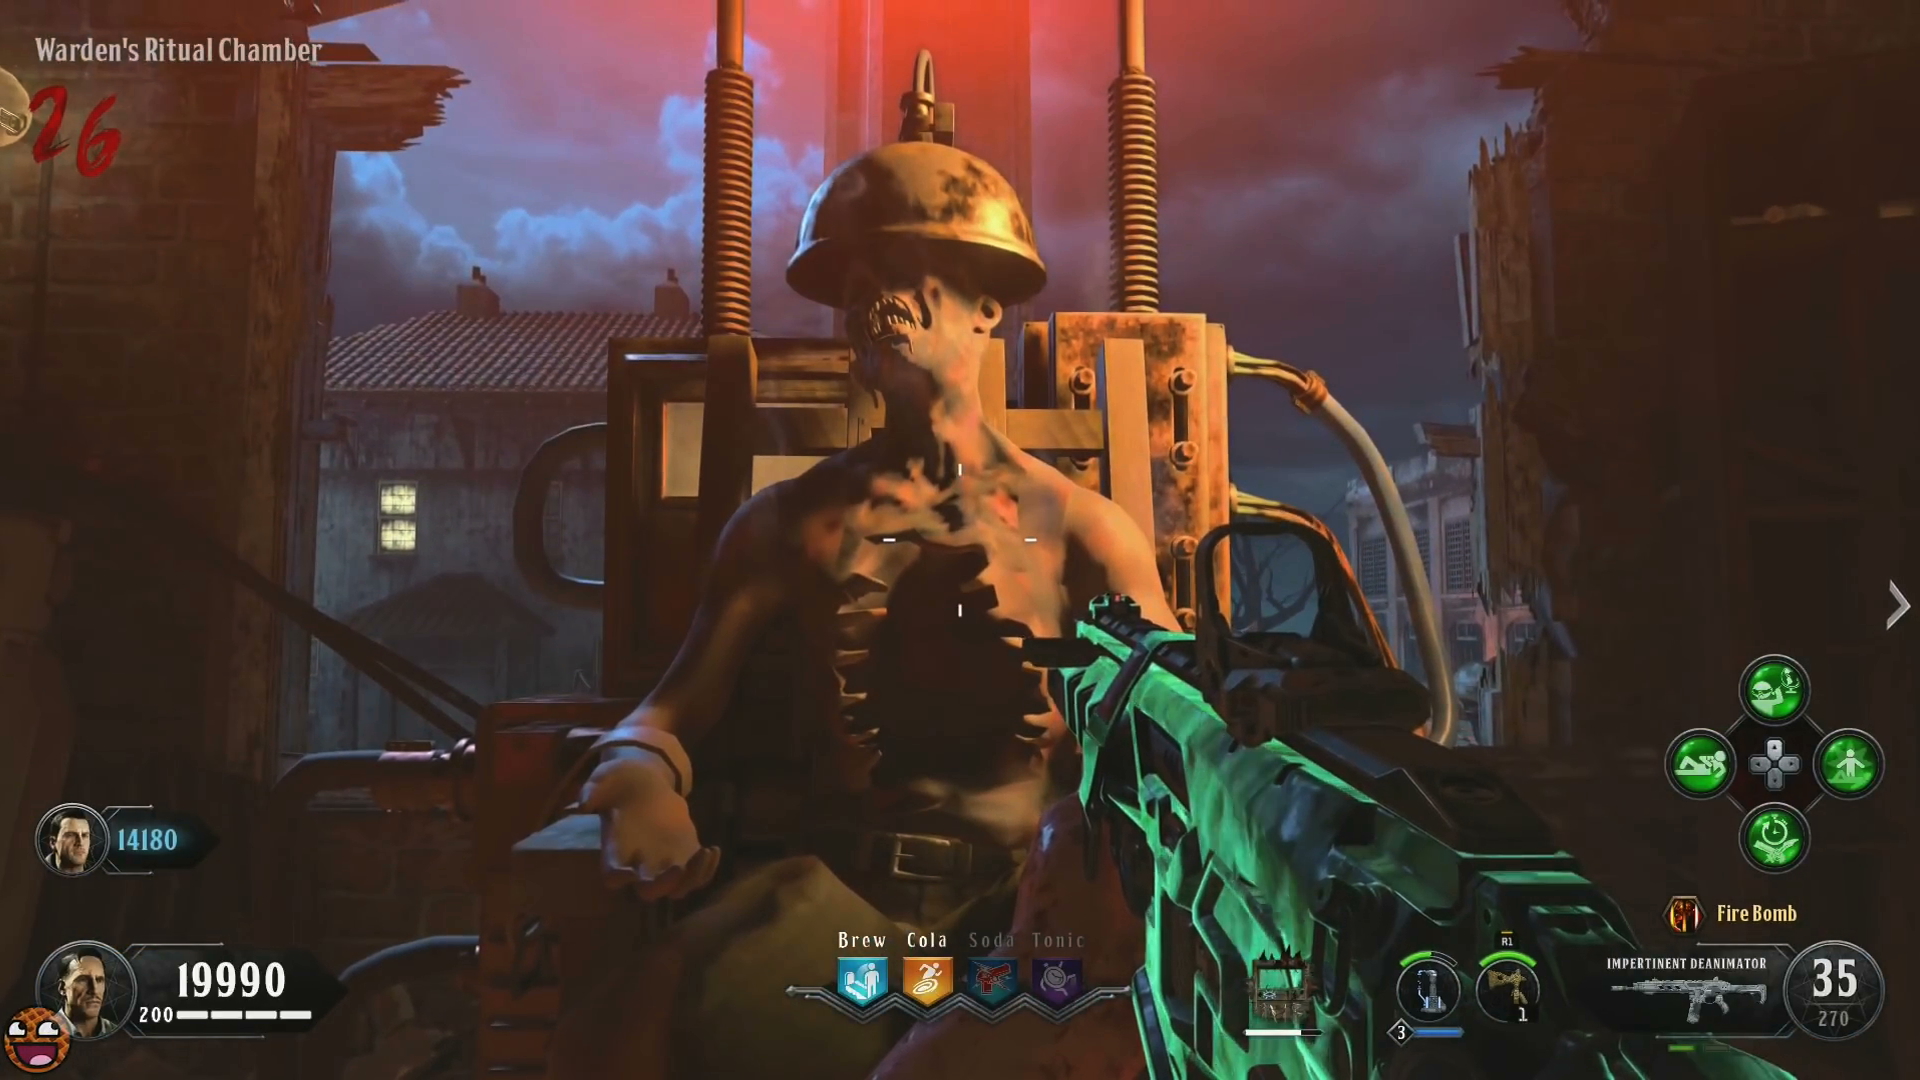
Bring it over to the Warden'southward Firm. At the height of the stairs is a completely blank wall on your left. Gauge what? It's hiding a hole-and-corner door. With the Spoon or Golden Spork as your melee weapon, hit the wall and it should leave a mark. With the Brutus hot on your tail, throw downward a Monkey Flop in front of the wall. The Brutus should become attracted to the allurement and he'll perform a ground pound. If washed correctly, the wall to the left will blast open, revealing a hidden Warden's Ritual Bedroom.
Go within and interact with the lever by the electric chair. Next, pick upwardly the red rock on the tabular array and caput back down to Richtofen'due south Laboratory.
Chasing the Spectral Bird
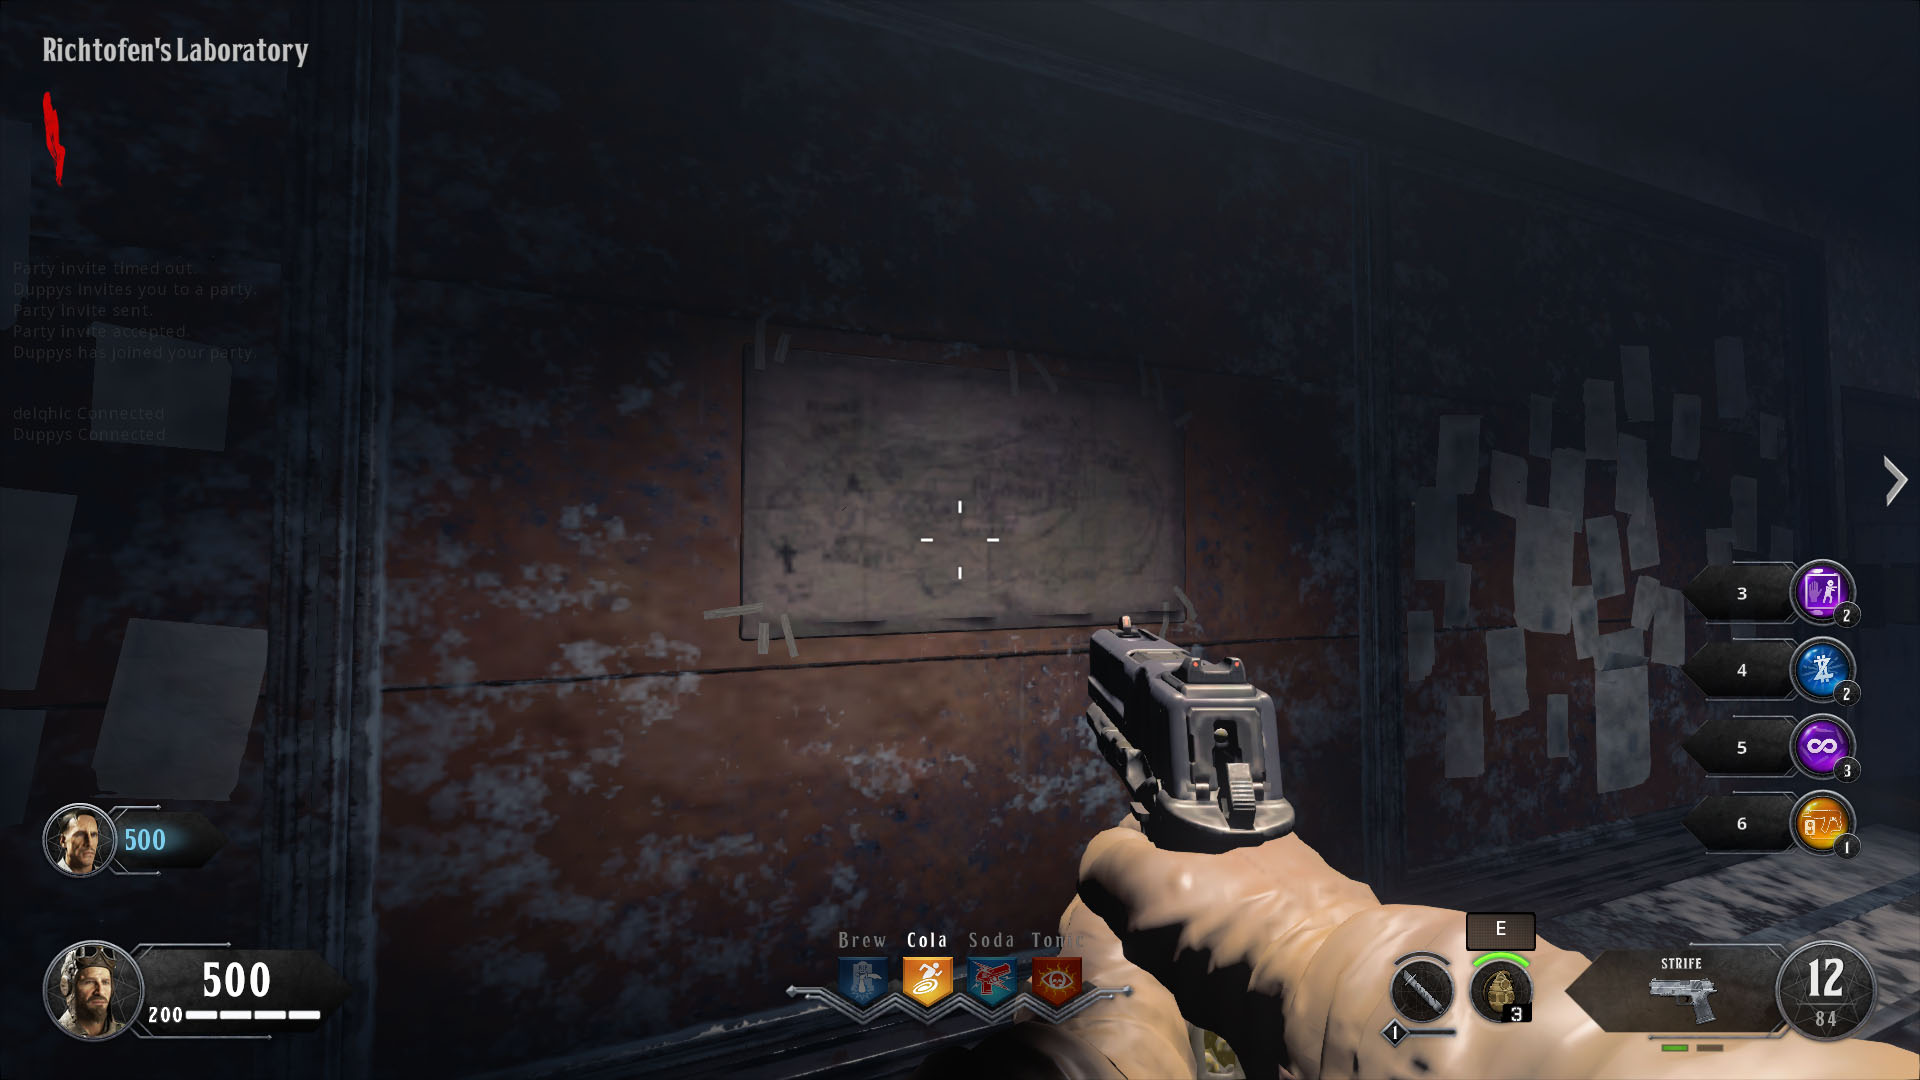
In Richtofen's Laboratory, in that location's a map on the wall. Interact with it to place the red rock on the map, then look on the flooring for the Kronorium book and interact with that. A Spectral Bird volition fly out of the window toward the main Alcatraz prison. This phase tin get infuriating, equally you essentially have to track down that bird.
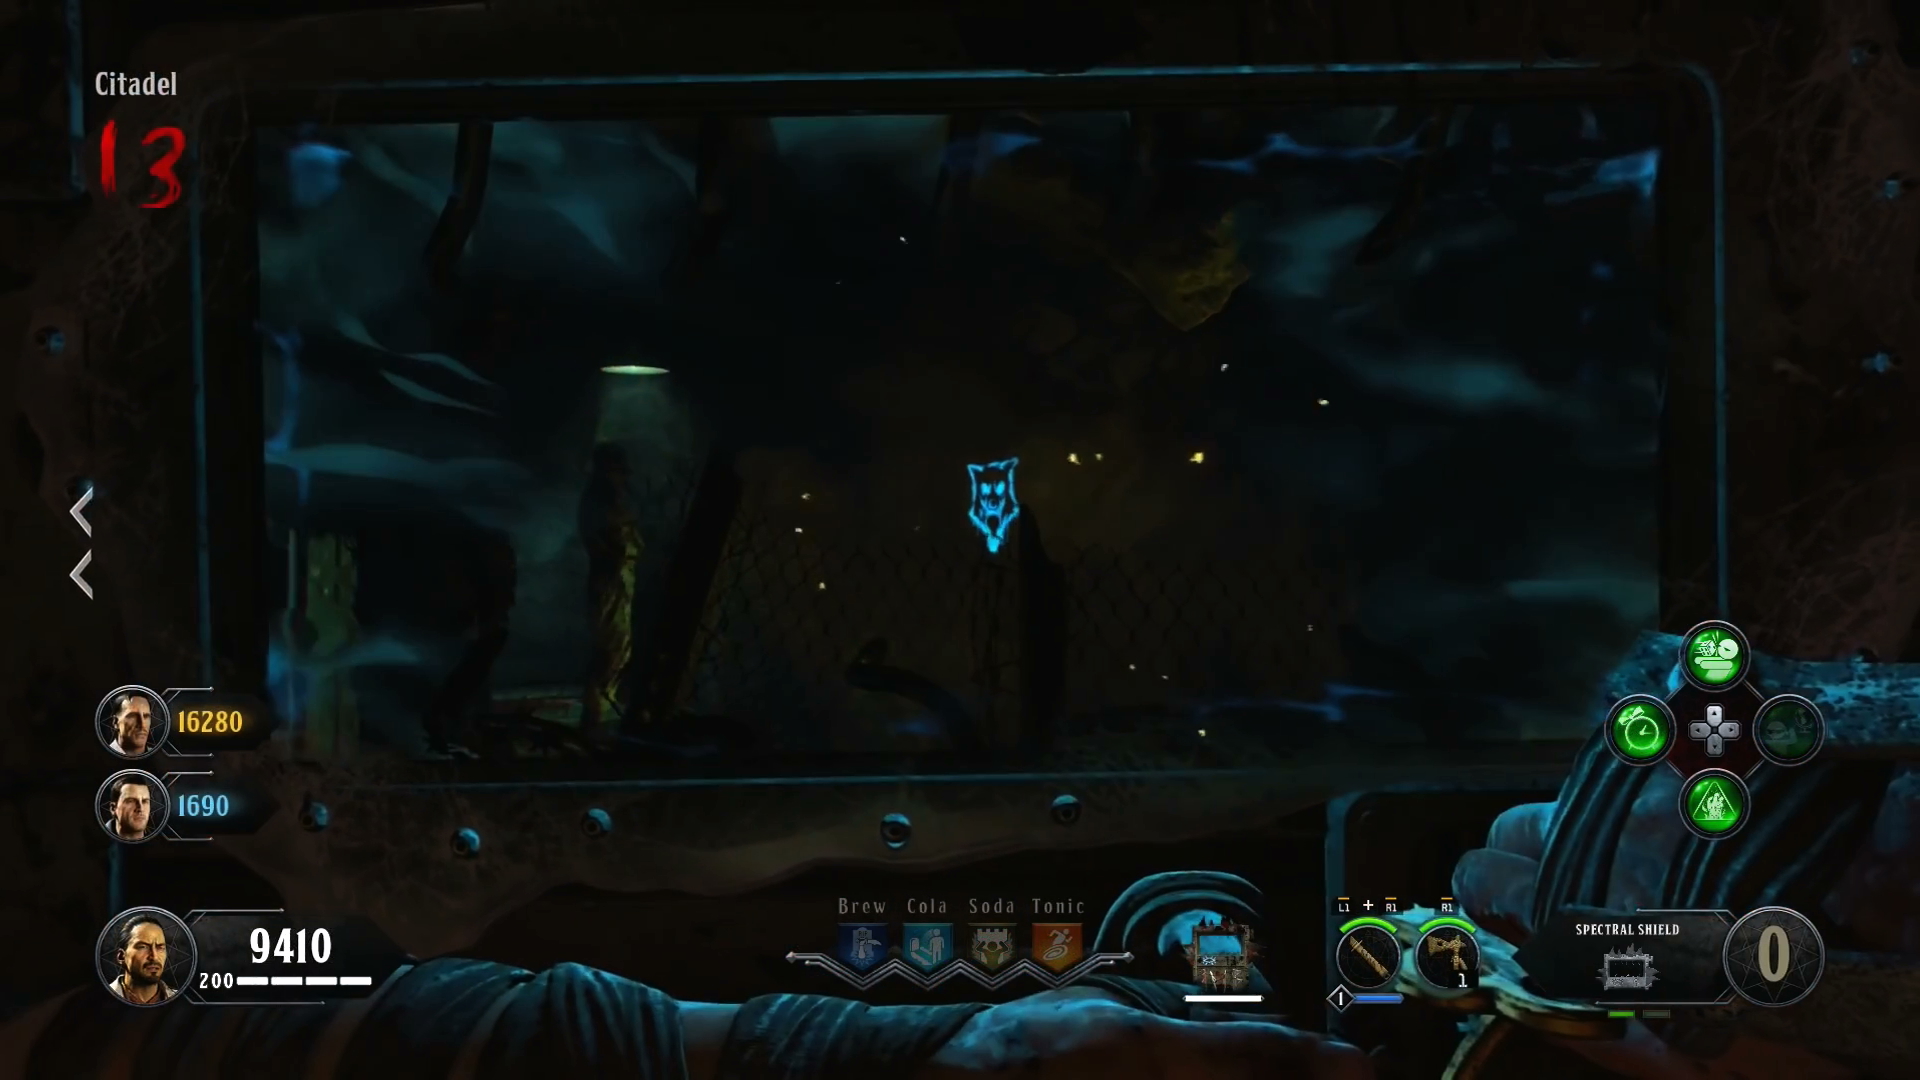
Information technology tin spawn pretty much anywhere on the map. It can exist in every single room, each with multiple spawn points. Yous tin only encounter the bird through your Spectral Shield though, so every new room you get in, you'll demand to equip it and scan the room. The only aid you get is that when y'all do equip your Spectral Shield and zoom in, the bird will make a racket that helps you pinpoint its location.
When you find the bird, shoot it with a Spirit Blast. It will fly off and you have to exercise the same thing again side by side round. And the round after that. The side by side time you await for the bird, it volition now exist an orb and yous'll exist able to hear a man crying in the background. Earlier you lot shoot the orb, yous need to do two things:
- Make sure there is nobody in the nearby vicinity. This step can issues out and break the Easter egg for the entire game. Get everyone else in your game to leave the area and kite zombies in different locations.
- Caput downward to the number pad at the lesser of the Citadel Tunnels and input "872". It'southward the same three numbers every game. When yous input those numbers, a Zombie Blood Pack will spawn. Grab it and head back up to the orb.
Look at it quickly with your Spectral Shield and it should now be a bird again. As quickly as possible, throw your Hell'southward Retriever at the bird instead of shooting it with the Spirit Smash. If y'all do it to deadening, the bird will fly off and you lot'll have to find information technology again side by side circular. You'll know you've washed it correctly because the Kronorium volition appear. Interact with information technology and you've completed the Spectral Bird step of the Blood of the Dead Easter egg.
The 5 Trials
Like Nine and Voyage of Despair, there's a series of trials yous have to consummate in Blood of the Dead. Yous don't get whisked abroad to an alternate reality for these though - you have to consummate them with all the normal zombies swarming you. Some of these are incredibly tough and volition require a lot of persistence, along with a couple of players kiting zombies elsewhere on the map to ease the brunt on the players completing the objectives.
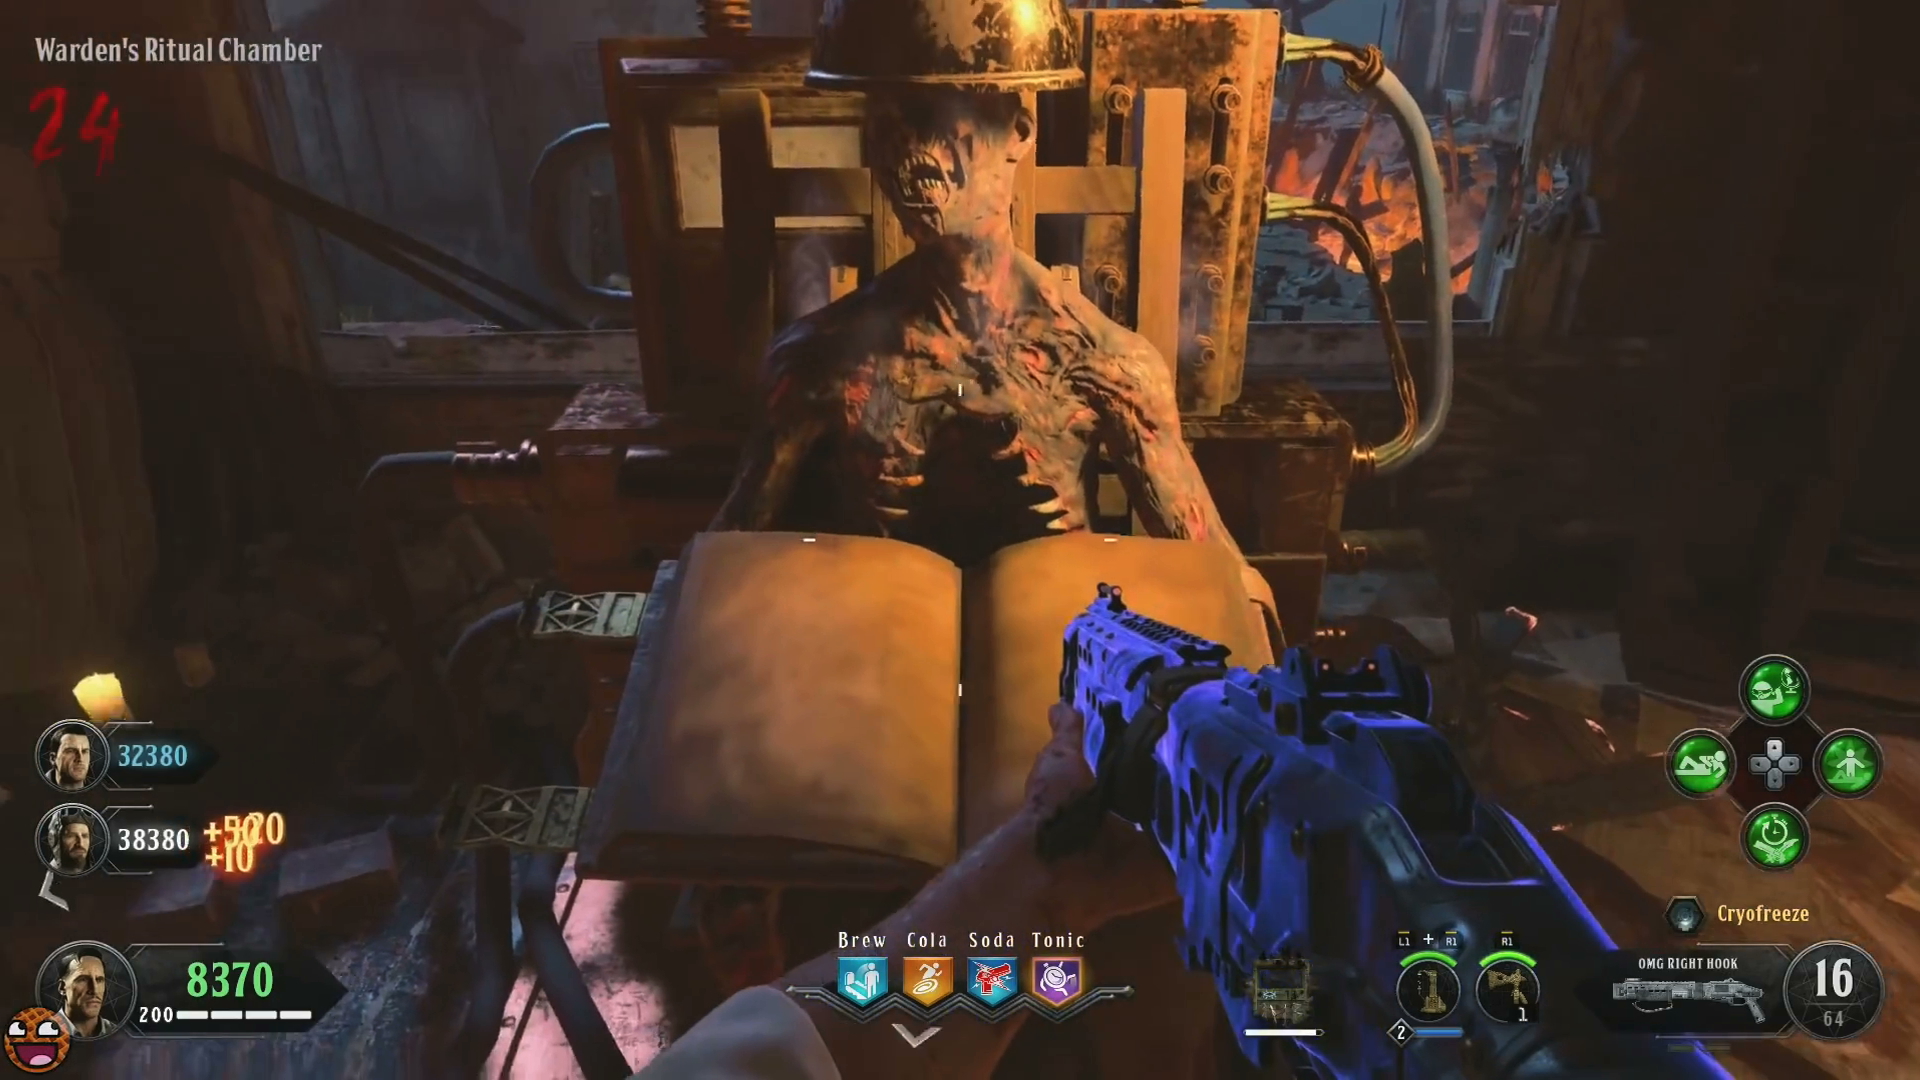
To kick off the trials, caput back to the Warden'south Ritual Chamber in the Warden'southward House. Interact with the electric chair to place the Kronorium and the pages will start flipping non-cease. Interact with it over again, then equip your Spectral Shield. Y'all'll encounter three numbers - have a mental note of them. You're going back down to the number pad in the Citadel Tunnels to input them.
Doing this will crusade the lighthouse beam to move and shine at a specific location. Each location represents a claiming. Before we get on to the specific locations and challenges, whenever you arroyo the location the beam is pointing at, make certain you're firing a Spirit Blast at the cherry portal to starting time the challenge. Later you complete each 1, y'all also demand to revisit the Warden's Ritual Sleeping room and take down iii more numbers from the Kronorium, then input them each time into the number pad.
The social club you receive these challenges is completely random and if you fail information technology, when you lot get more numbers and input them again, you could either get the same claiming over again or a completely dissimilar 1. Without further ado, here are the five Blood of the Dead trials.
Showers
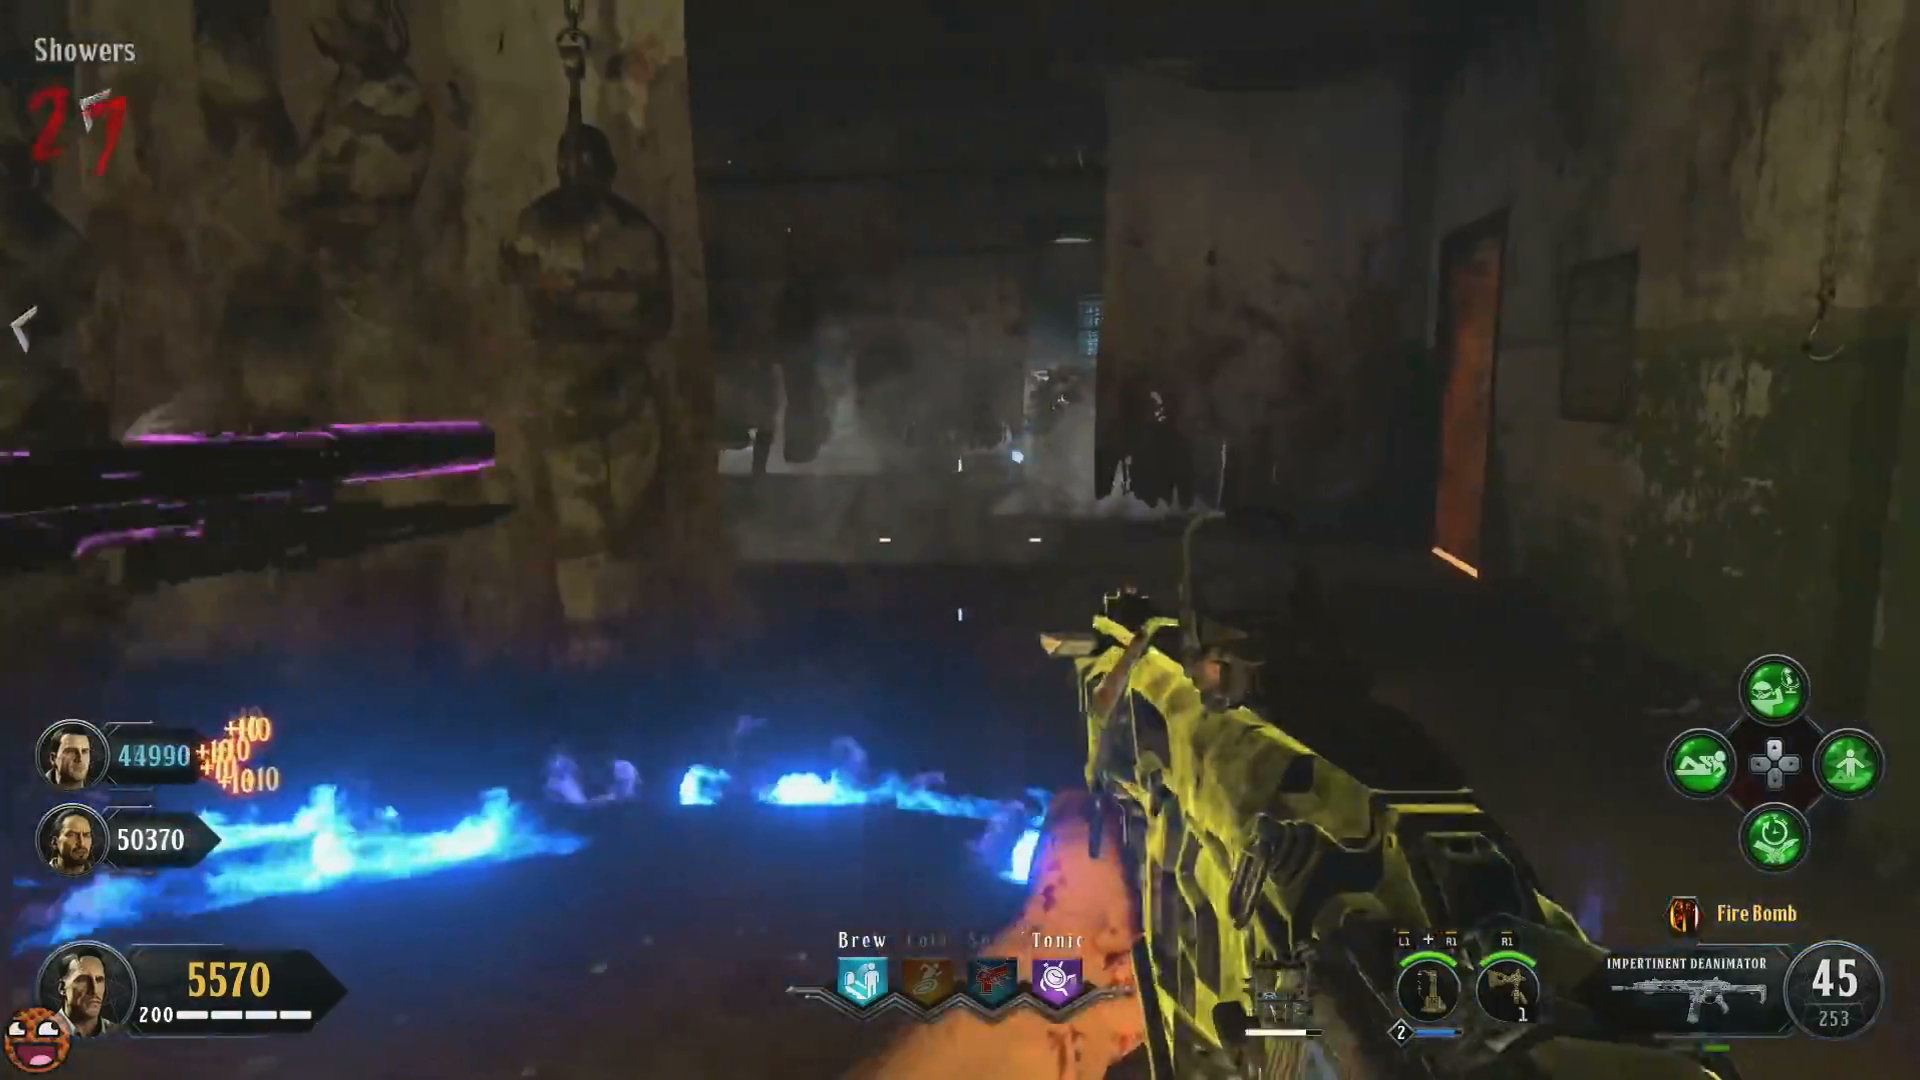
One location the lighthouse beam can point to is the Showers. When you go there and you've shot a Spirit Nail at the red portal, you lot'll be able to encounter a Spectral Zombie playing the banjo. This is i of the stranger trials without a doubt. He'll play the banjo for a few moments before property information technology out for you. Interact with the Spectral Zombie to take the banjo off his hands and conduct it on your back. Blue circles will appear on the ground. Stand in them and kill zombies while the banjo is on your back to collect zombie souls. Note that if you lot're outside of the circles with the banjo on, yous'll start to slowly have damage.
Exercise this a few times and when you lot give the Spectral Zombie his banjo back, he'll vanish and leave backside a crimson stone for y'all, much like the ane you lot've already placed on the map in Richtofen's Laboratory. Caput back to the Warden'due south Ritual Chamber to get more numbers and start the 2nd trial.
Docks
Head to the Docks and Spirit Boom the portal, so make your mode over to the Warden's House. There's a lamp flashing in the house which is emitting morse lawmaking. Take note of the code until it starts to repeat itself, then caput through the Warden's Part into Sally Port, the room opened by the Warden'due south Key which contains the Acidgat part.
You demand to enter the morse code in the machine on the table that we mentioned before. Dots are a quick printing of the push, while dashes are longer holds (approximately iii seconds). If you get it wrong, you'll heard the Warden laugh and you can start over. You'll know when yous've done it correctly because your character volition confirm it and y'all won't exist able to collaborate with the car anymore.
Side by side, head up to the Cell Block Third Floor and to the Gondola at the very end. Await off the edge of the Gondola into the ocean with your Spectral Shield and you should be able to run across a Spectral Boat. Your graphic symbol will annotate on the boat, even if information technology'south quite tricky to brand out.
One time yous've done that, head to the Infirmary and expect for a infirmary bed with a skeleton on. Impale a zombie next to it and a Spectral Zombie should spawn when looking through your Spectral Shield. Spirit Blast it to make it visible to the naked eye then impale a few more zombies and the Spectral Zombie should commencement post-obit you. Your goal is to escort the Spectral Zombie all the manner to the Gondola, then ride the Gondola downwards to the Docks. Approach the portal and the Spectral Zombie will disappear, leaving another red stone in its wake. Pick it up and go ready for the next challenge.
Power House
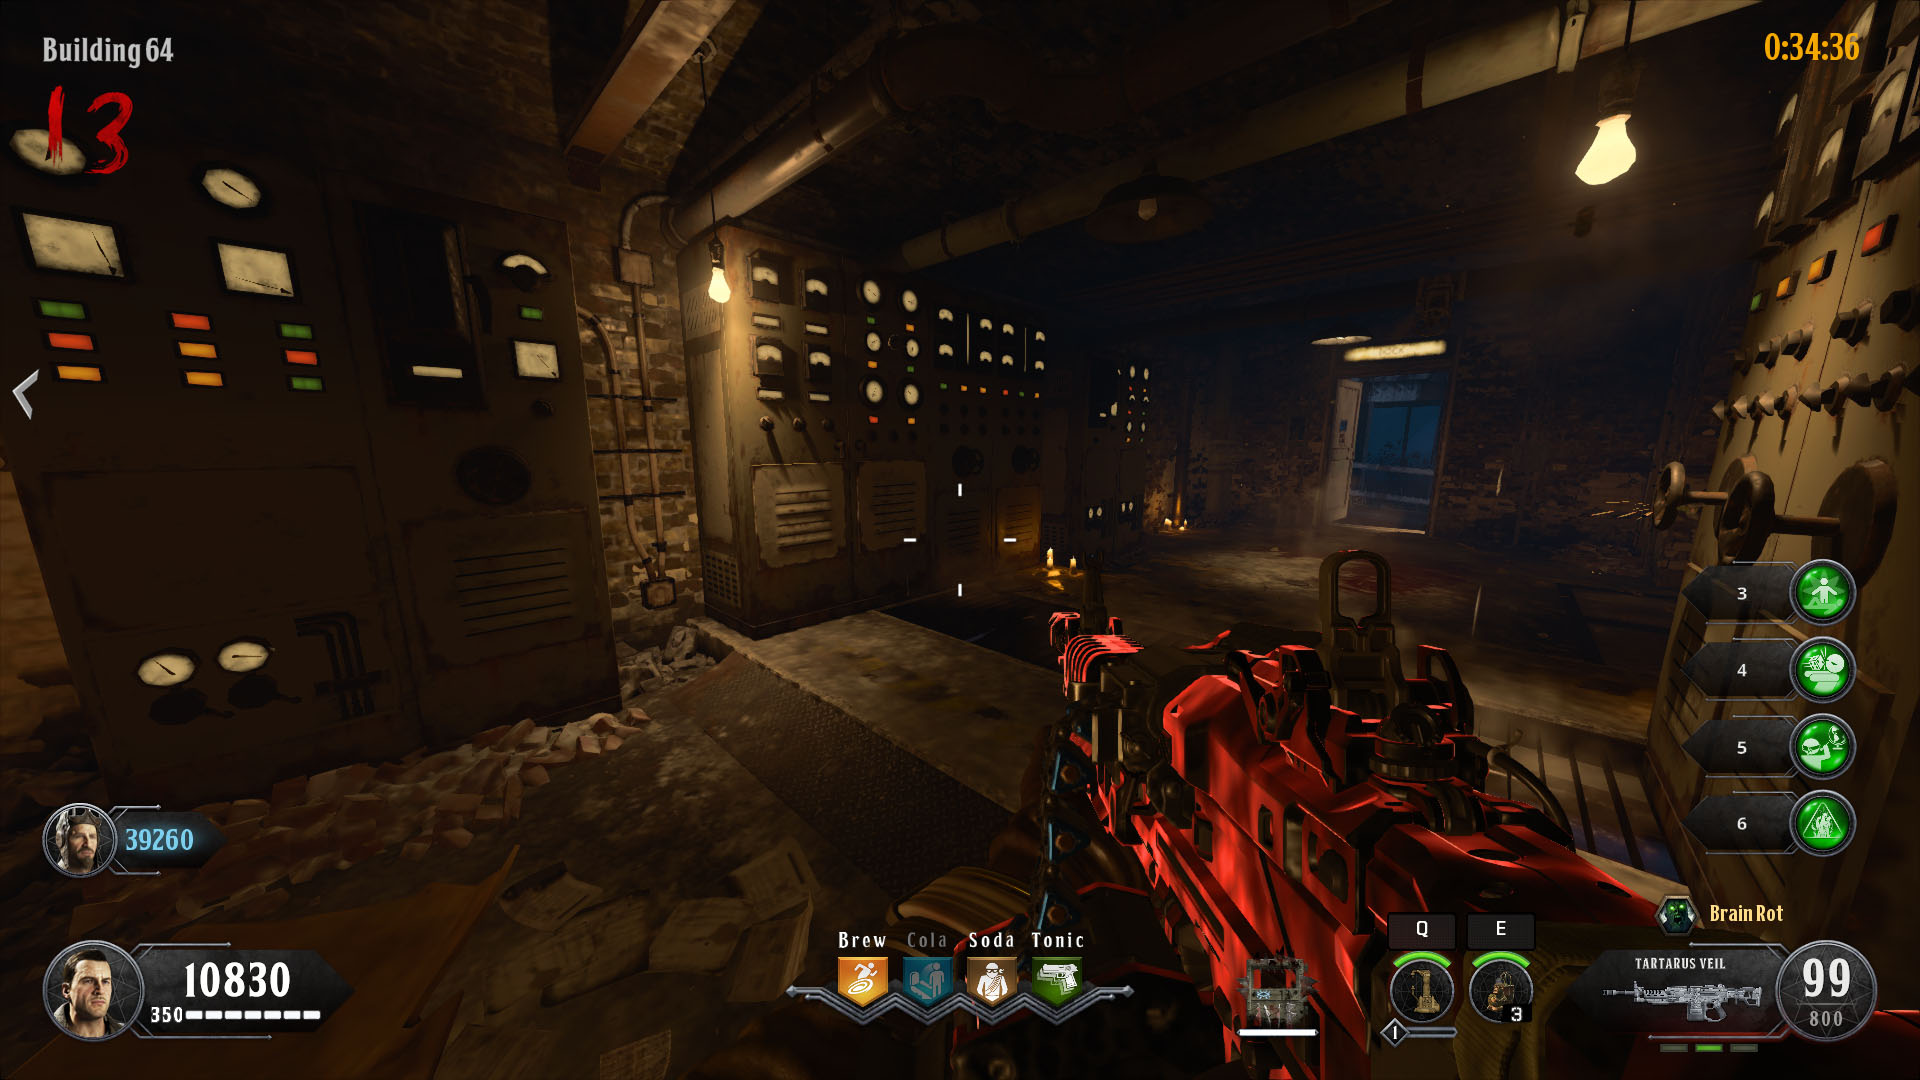
Once you've been back to the Warden's Ritual Chamber and entered four more numbers in the number pad, if the lighthouse axle is aiming at the Power House by spawn, head there and spirit blast the portal. Y'all then want to make your fashion to the opposite side of the map, to Building 64, where the second power switch tin be institute.
Notice the sparking generator in the corner of the room. Interact with it and the lights in the room will shut down. This volition trigger a game of Simon Says. There's five rounds in full: for the first circular, one machine will light up. When the low-cal goes out, collaborate with it and the 2d round volition start. Two machines volition light upward; interact with them in gild and and then on until you lot've completed all five rounds of Simon Says.
When all v rounds are finished, lights will remain turned on higher up three of the machines for approximately five seconds. Each i of these volition have a symbol attached to the bottom on some paper. This cheat sheet (opens in new tab) from the /r/CODZombies subreddit is a handy way to recollect which symbols you got as you just have to call back the corresponding numbers rather than draw the symbols themselves.
Before you exit and move on to the adjacent step of this challenge, approach the shelf in the middle of the room with a skull and six candles on. At that place's also a dial carte - choice this up because you'll demand it to move on.
Head to Model Industries - the room in a higher place Richtofen's Laboratory in the Westward Grounds and insert the punch carte du jour into the auto here. This will plow on monitors in the room, each displaying the six symbols from Building 64 - three of which you should have remembered on the crook canvas as yours. Find the monitors displaying your symbols, then pay attention to the side by side symbol those monitors testify. They volition correspond to one of the symbols on the second part of the same cheat canvass. Remember the number for each of those symbols, and so head on down to the Ability House where you initially started this challenge.
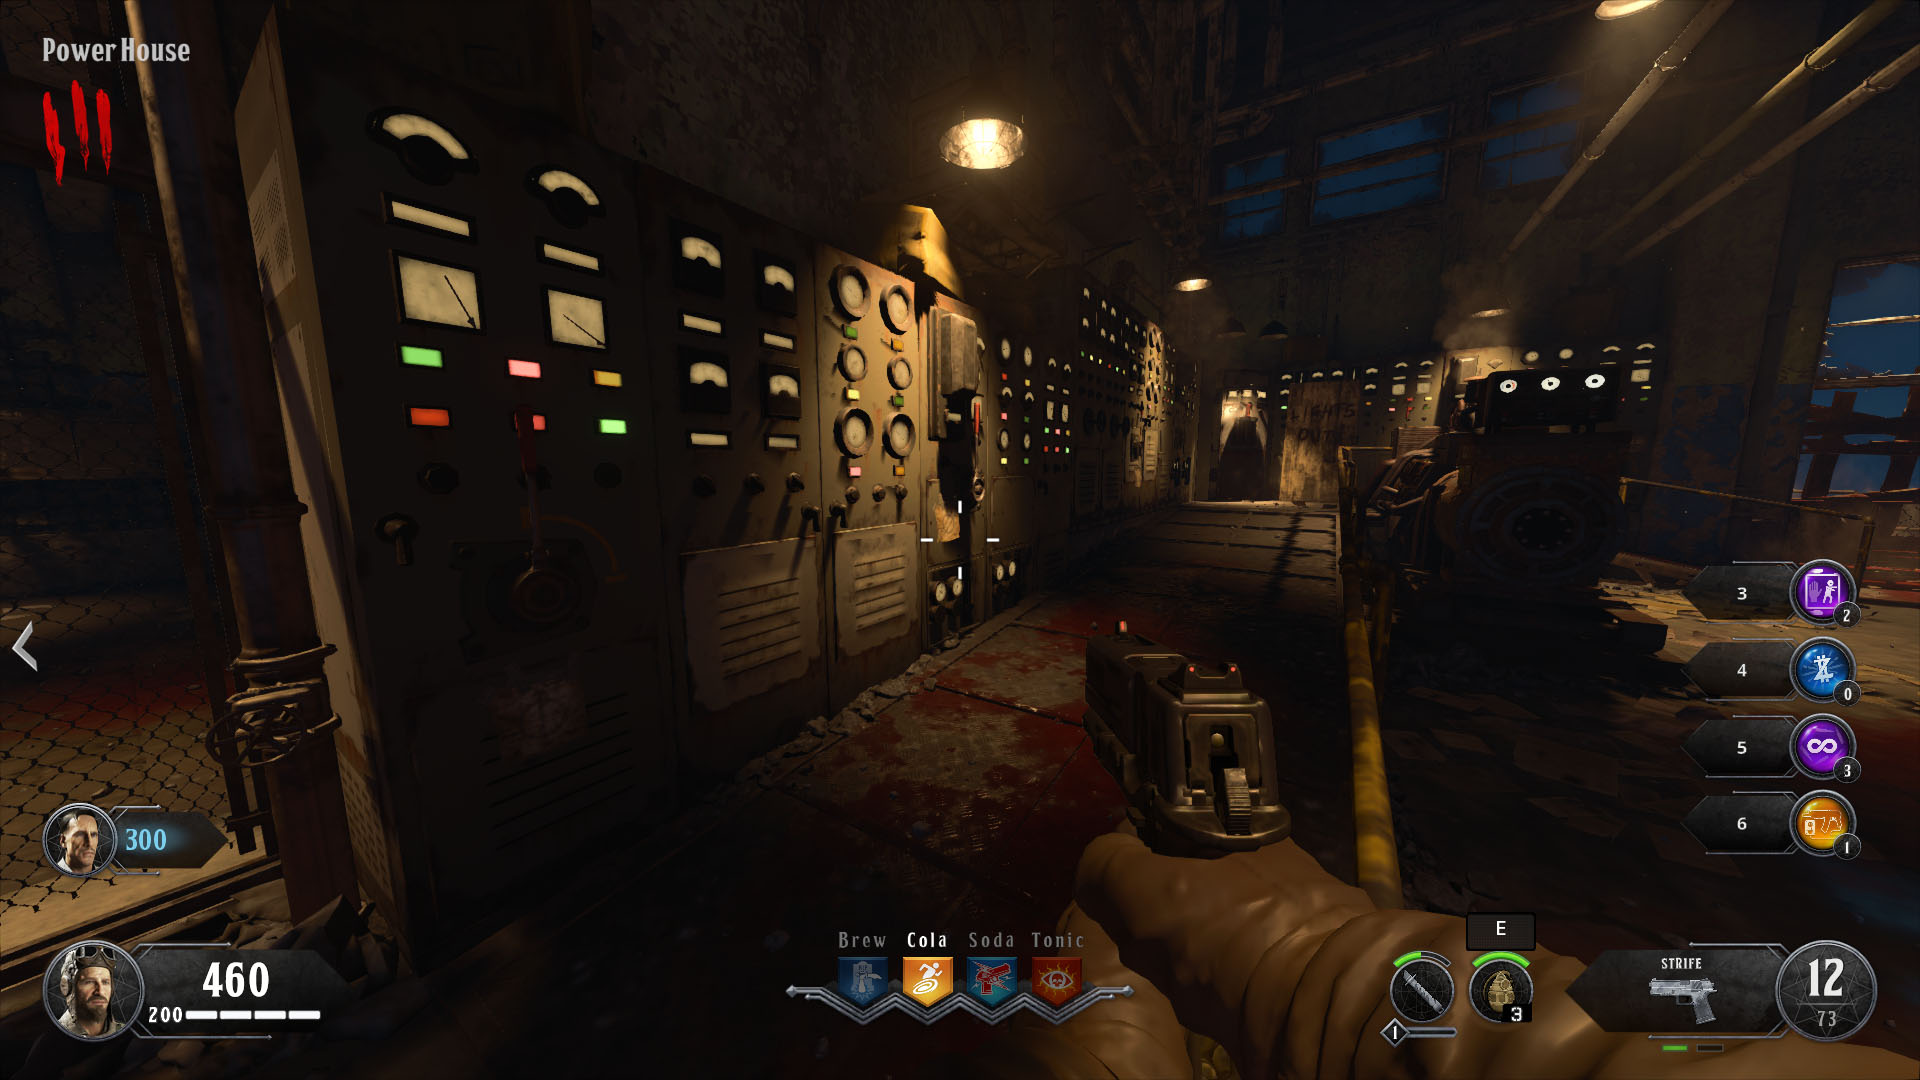
Equip your Spectral Shield and look toward the automobile surrounding the first ability switch you lot interacted with at the very starting time of the game. There's another Spectral Zombie slowly meandering between the levers attached to each of the machines, pulling each 1 in turn. Below each lever is a symbol. Find the right levers for your iii new symbols yous've got noted down, then as the Spectral Zombie approaches the lever for your symbol, shoot him with your Spirit Blast. He volition become visible to the naked eye and turn the lever, before turning spectral once again. Do this for all iii of your symbols and after the Spectral Zombie pulls the third lever, he volition disappear and drop another carmine rock on the floor. Pick it up and head back to the Warden's Ritual Chamber to grab your next claiming.
New Industries
This claiming is without a doubt the toughest i to complete. You and your teammates desire to have as many Spirit Nail charges in your Spectral Shield as possible, because you'll be using them a lot. Head to New Industries near spawn and fire a Spirit Blast at the ruby-red portal to start the challenge.
From at that place, cross the Recreation 1000 and go into the Library to the right of the Cell Cake Entrance. Kill a zombie and another Spectral Zombie will spawn, 1 that you can simply run across through your Spectral Shield vision. Burn down a Spirit Blast at information technology to make him visible then commencement using your cardinal to bleed his health as much as possible. Your goal is to turn this Spectral Zombie completely red before he makes it to the New Industries building.
The reason this challenge is and so tough is because this guy has a lot of health. You as well demand to constantly Spirit Boom him to make him visible, which means having to discover and kill zombies with the key takes away precious seconds y'all could exist draining his health abroad. There's as well the fact that you're likely to be in circular xv+ past this point so the game starts to go trickier and this claiming can exist infuriating.
One trick we know about is to stand in front of the Spectral Zombie then he tin't actually become past you while you drain his health. It'south easiest done on corners and may be necessary to get him weak plenty earlier he reaches New Industries.
When he does reach the New Industries door, if you've got him bright reddish, caput inside and activate the trap in the very centre of the room. When he passes through, the trap should terminate him off and a crimson rock will drib in the middle. Pick that upwards and get ready for the final challenge, which is another escort mission.
Michigan Artery
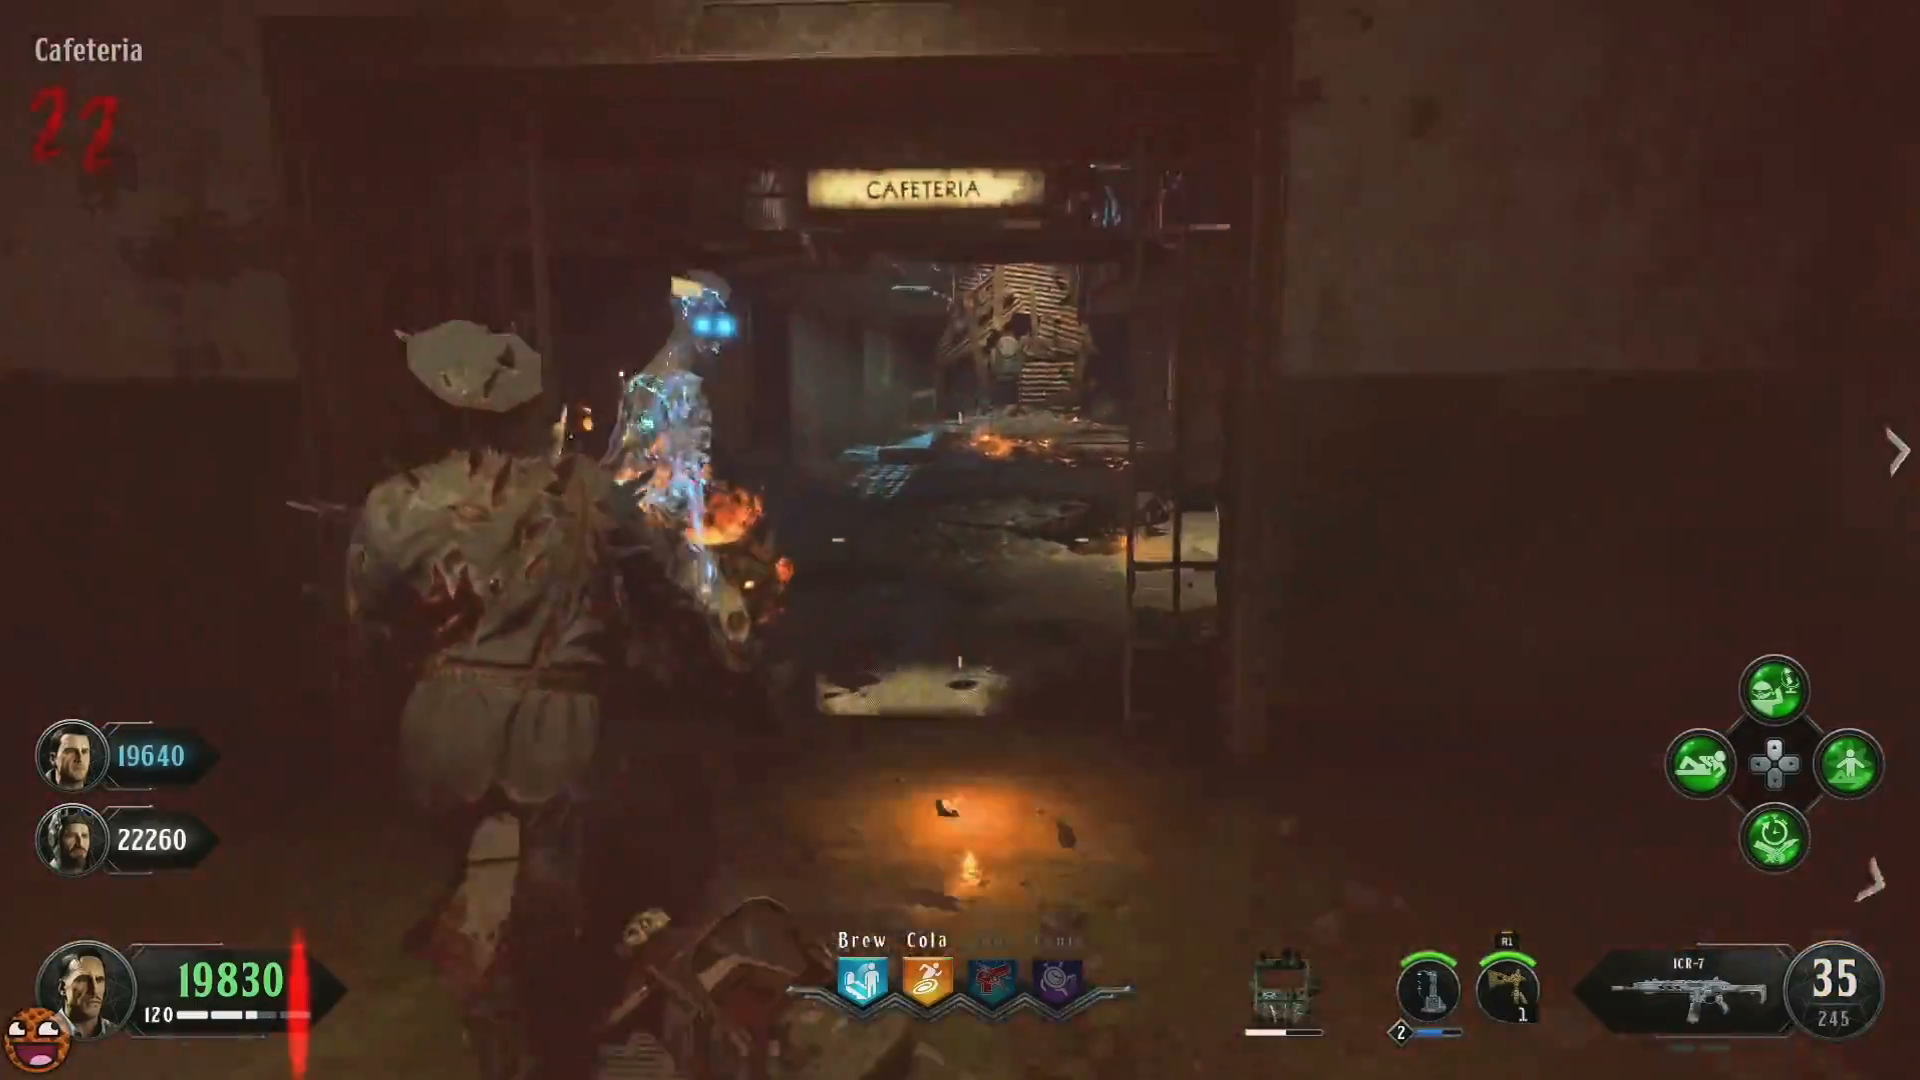
When you've got the lighthouse pointing toward Michigan Artery, head to the terminate where the archway to the Citadel Tunnels is and Spirit Boom the red portal for the final time. Get all players to movement to the Cafeteria then impale a zombie inside. Another Spectral Zombie will spawn, visible only through your Spectral Shield. Spirit Nail him and he will start his journeying.
Y'all literally simply have to defend him, the opposite of the New Industries trial. Kill all the zombies before they can damage him on his route. You lot'll observe a lot of other Spectral Zombies auspicious him on from inside their cells which is a dandy touch. More zombies than usual will spawn during this circular which tin can make it difficult, but as long equally you have reward of a fully upgraded specialist weapon and the Magmus Operandi or Vitriolic Withering, you should be able to protect your ghostly friend.
Eventually, he'll make it to the carmine portal at the end of Michigan Avenue and drop another carmine stone. Option information technology up and finally, you'll have completed all of the five trials. Do note that if you lot failed whatever of the challenges at whatever betoken, yous will only have to re-do that one once again. Any already completed ones upwardly to that point will stay completed.
Escaping the Warden'due south clutches
At present you've done all five trials, prepare yourself for the final boss fight. Make sure your specialist weapon is fully upgraded, you've got a Pack A Punched and upgraded Magmagat or Acidgat, and you've bought all the perks. Head downward to Richtofen's Laboratory and interact with the map to place all v red stones on the map.
Make your way dorsum to the Warden'due south Ritual Chamber and interact with the corpse in the electric chair. This will commence a cutscene where the Warden will knock you out and y'all'll be teleported to the cells. At the cease of the cutscene, the Spectral Bird will make a fleeting appearance, freeing you from the cells. Grab some other Spectral Shield from the workbench right side by side to you then look circular the corner and you'll run into the Spectral Bird floating in a doorway. Interact with the sack beneath the bird and you'll receive all of your weapons and equipment back, since the Warden took them off you.
Follow the bird out of Alcatraz and kill the Warden that stands in front of you. Keep following the bird through the Recreation G and back to the W Grounds. In front of yous, the Warden will reappear again and get through a mini-animation before some more Spectral Zombies announced and start fighting the now-oversized Warden. When they exit, choice up the final reddish stone that appears beneath them. Go into Richtofen's Laboratory, put the stone on the map and the last boss fight will be ready.
Final boss fight
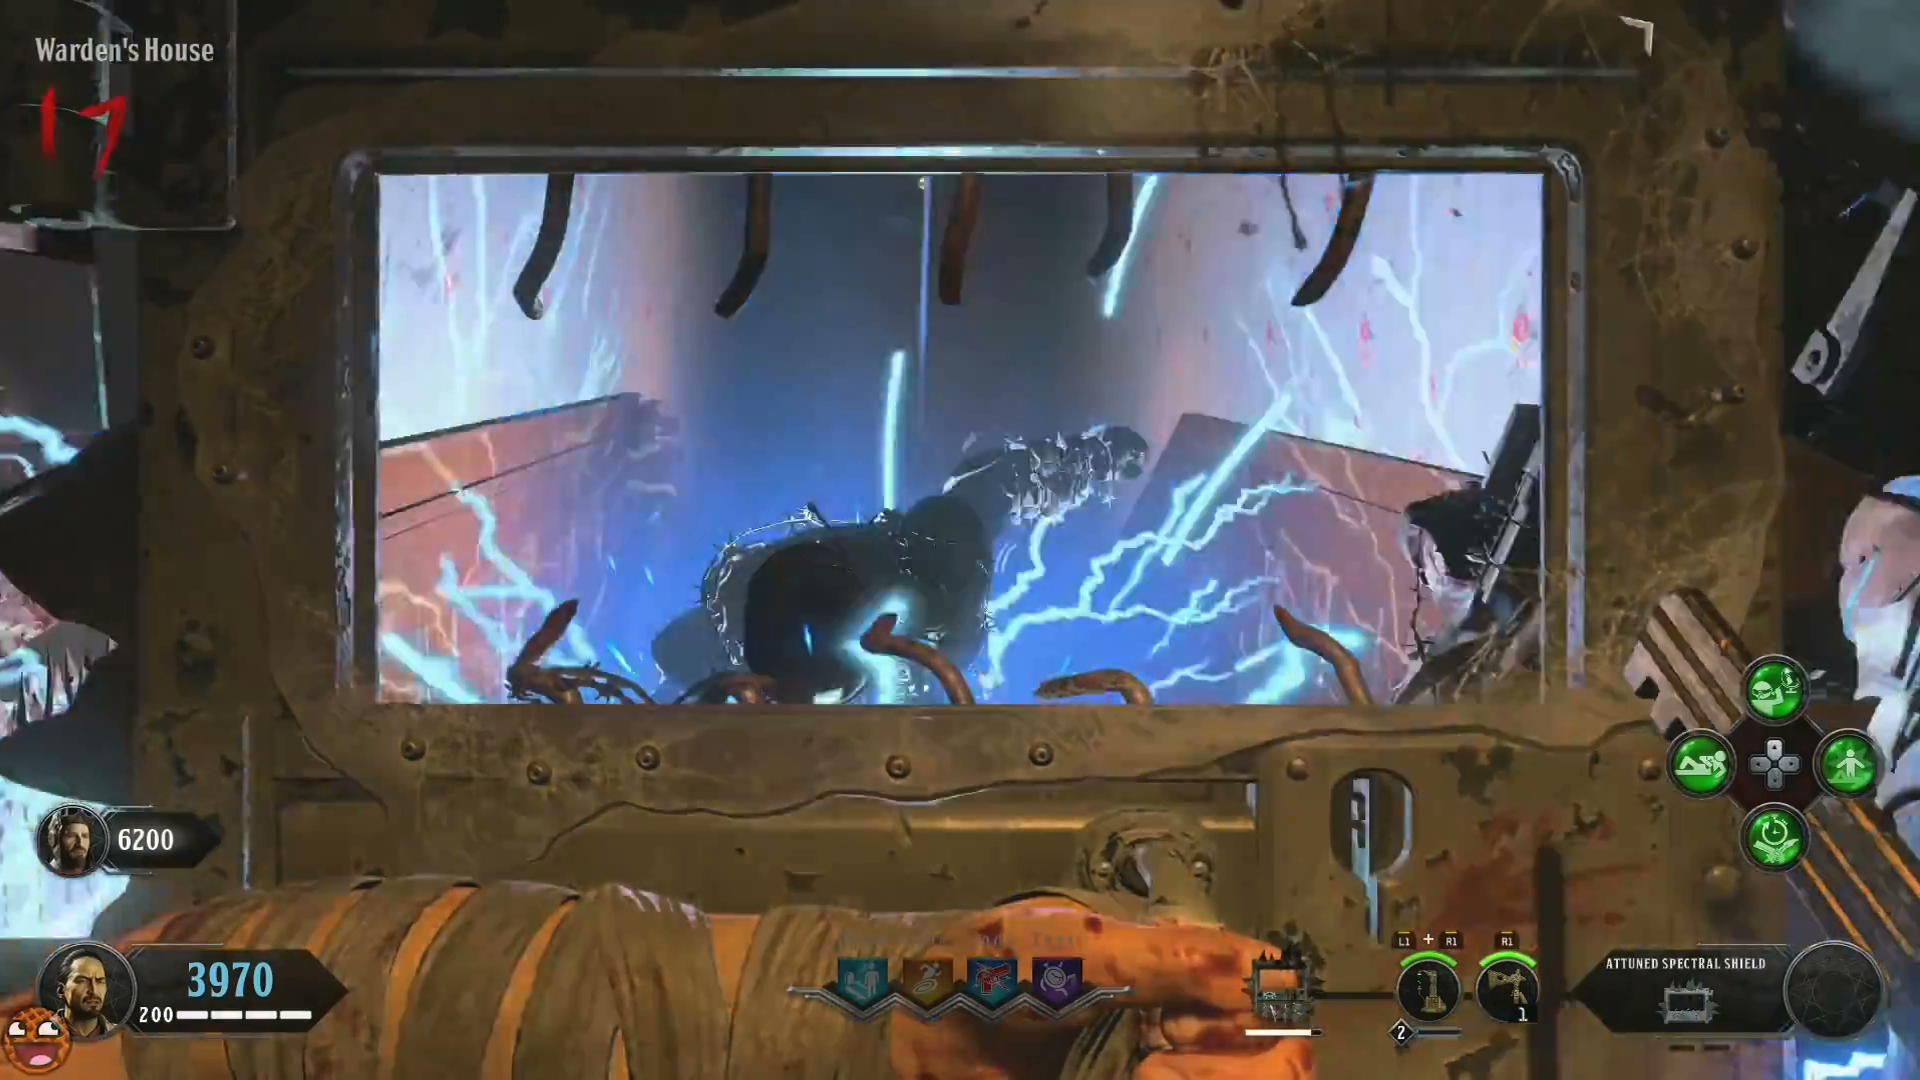
Caput upstairs and have all players stand by the big sliding door. You'll and so exist able to interact with the door and proceed into the boss fight confronting the Warden. The Spectral Zombies are still clinging on to the Warden simply eventually, he'll throw them off. Take annotation of the big machine in the middle, as you need to focus on it during the fight.
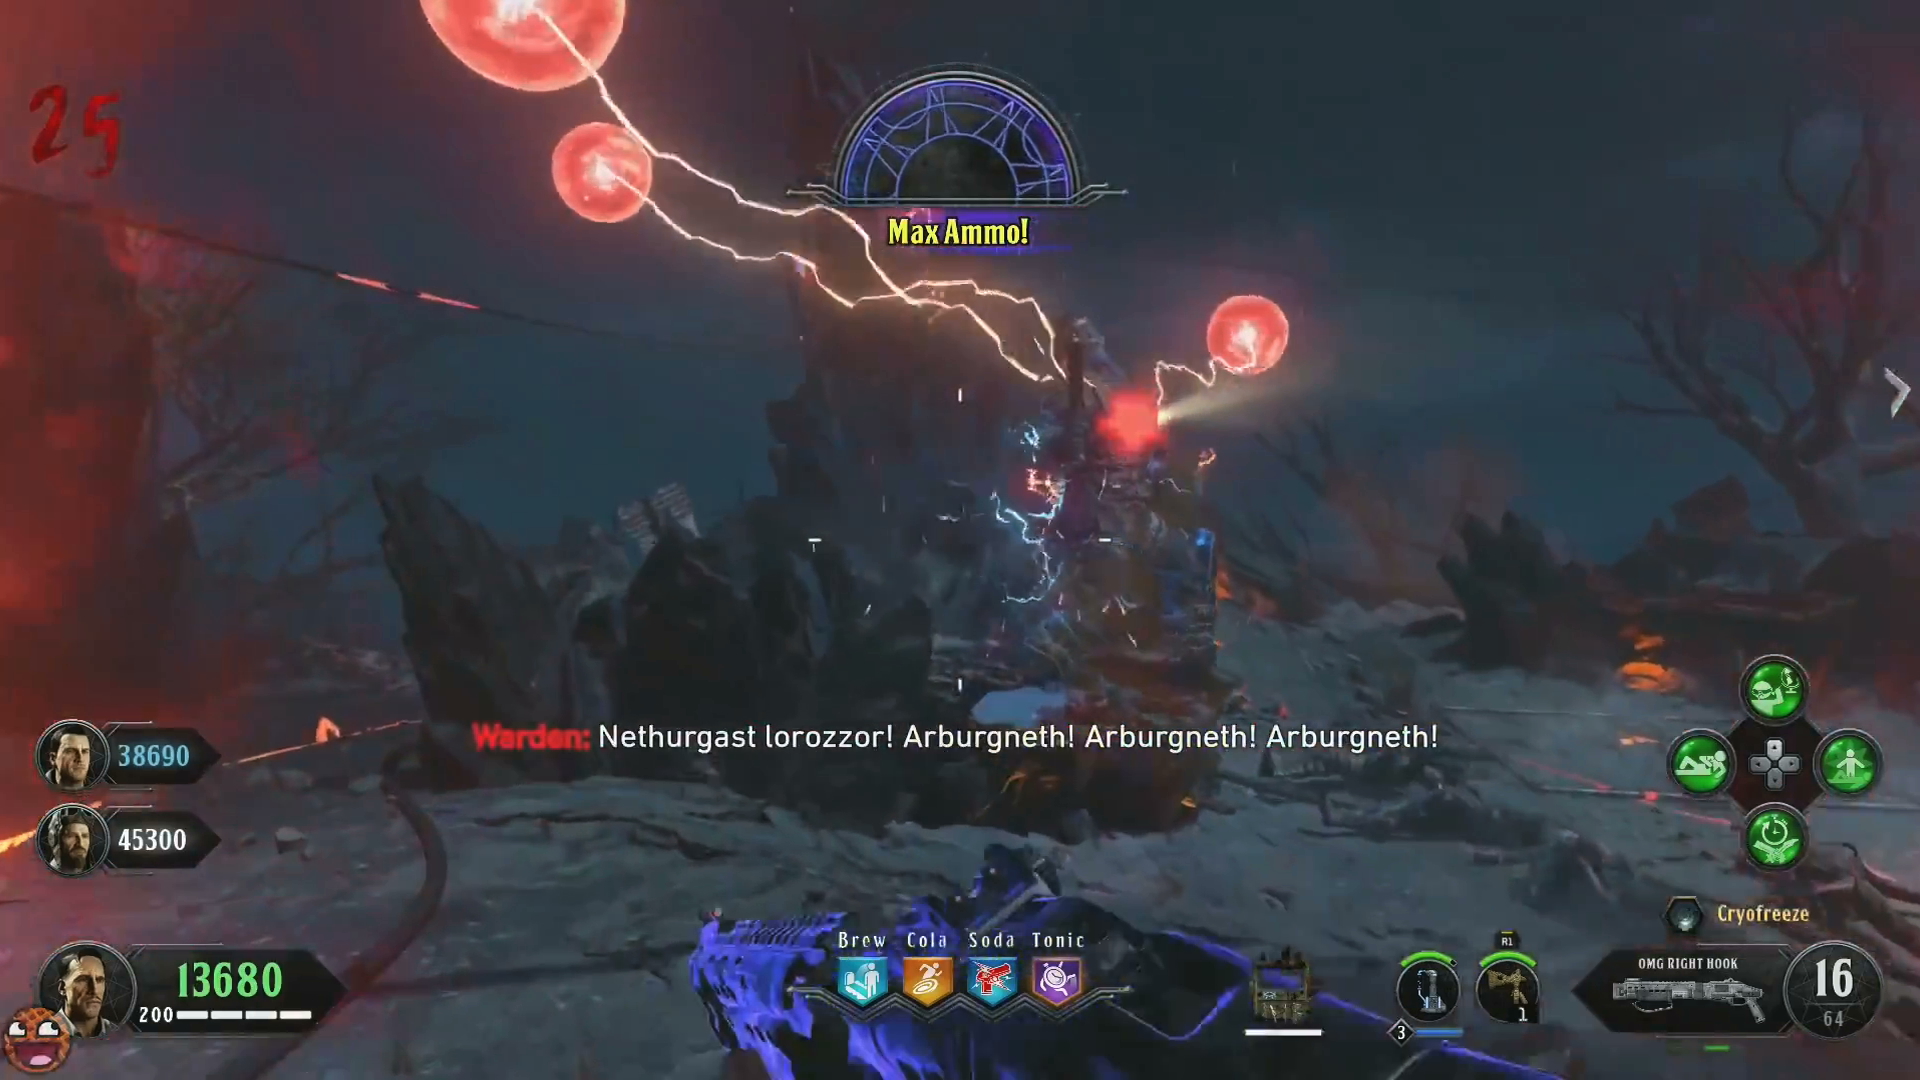
At first, focus your attending on killing zombies and hell hounds with your Spectral Shield key to get some Spirit Blast charges. When you've cleared enough of the smaller enemies, a Max Ammo power-up will spawn along with a Carpenter. The Warden volition jump onto a rock and create a scarlet zone around himself. Head inside the zone and shoot at the floating scarlet orbs he creates. Do not shoot them with the Blundergat or whatsoever version of that weapon considering it will non deal any damage to them. Instead, use one of your other Pack A Punched weapons to destroy the orbs.
When all the orbs are destroyed, apply a Spirit Blast on the Warden, and then use a Spirit Blast on the white orb sat atop the machine in the middle of the arena y'all're fighting in. Do this three times in total; kill the smaller zombies, destroy the orbs then Spirit Blast the Warden and the machine orb. The only difference is that there will be some symbols on the floor that will deal damage to y'all if yous step inside them, along with some toxic gas. When you've washed it for the third time, you need whoever is playing as Edward Richtofen to interact with the machine in the middle. Note: if y'all're playing with less than four people and Richtofen isn't in your game, a bot will spawn in.
Richtofen volition go back downward to Richtofen'south Laboratory while the other players in the game are nevertheless on the surface defending themselves from more zombies. Richtofen will now have a fiery jewel though. He needs to make his style back up the stairs, interact with the door once again to rejoin the others, then interact with the machine in the very middle of the arena. This will cause some other cutscene to play, signalling the end of the Blood of the Expressionless map.
As a side note, Treyarch has been making minor adjustments to Easter egg steps on the Black Ops four Zombies maps, in order to fix bugs and make things take more logic. One instance of this is the Gold Spork stride - when the game launched, you didn't take to shoot the hinges off of the water belfry, you could just grab the Aureate Spork with the Hell's Retriever from the bottom of the normal water tower. They stock-still that step to arrive seem more logical. If annihilation here isn't correct in the future, do let us know.
If you're done with Zombies after all of that, why not check out our Black Ops 4 Coma tips (opens in new tab) ?
Source: https://www.gamesradar.com/call-of-duty-black-ops-4-zombies-blood-of-the-dead-easter-eggs/
0 Response to "Blood of the Dead Can Easter Egg Be Done on Easy"
Post a Comment